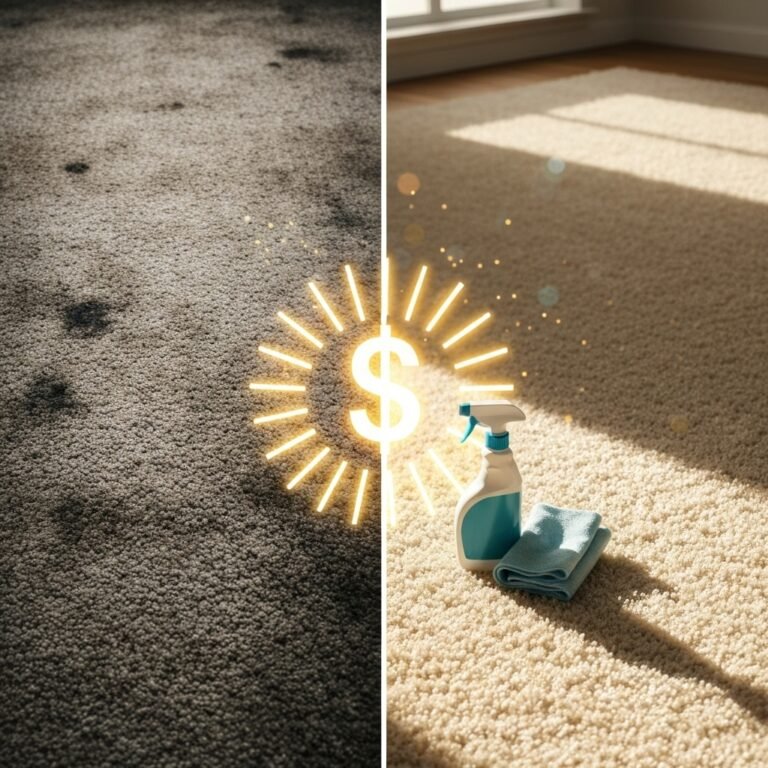
Make Your Floors Look Brand New: The $2 Grout Cleaner Hack
Let’s be real. You’ve looked at your tile floors and felt that sinking feeling. That once-pristine grout is now a dingy, embarrassing shade of who-knows-what. You’ve probably walked down the cleaning aisle, stared at the wall of fancy bottles promising miracles, and flinched at the $15, $20, or even $30 price tags. Or maybe you even got a quote for professional cleaning that made you want to just cover the whole floor with a rug and forget about it. It’s a classic hustle, designed to make you feel like you need their expensive, chemical-laden products to get the job done. But you don’t. That’s the game, and it’s time you stopped playing. We’re here to give you the cheat code. Forget the marketing hype and the overpriced ‘solutions.’ We’re about to show you how to reclaim your floors and make them look shockingly new with a powerhouse cleaner that will cost you less than a cup of coffee. This is the ultimate frugal hack that puts the power—and the savings—back in your hands. Get ready to transform your home for literally pennies.
The High Cost of Clean: Why You’re Getting Played

The home cleaning industry is a multi-billion dollar machine, and it thrives on one thing: making you believe that clean is complicated and expensive. They package basic chemical compounds in fancy bottles, slap a premium label on it, and market it as a specialized, can’t-live-without-it product. Grout cleaner is one of their biggest cash cows. They prey on the frustration of homeowners who are tired of looking at stained, discolored grout lines that make even the cleanest room feel dirty.
Let’s break down the typical options they sell you. First, you have the ‘Grout Pens,’ which are essentially just paint markers. They cover the problem instead of solving it, and they start chipping and peeling within weeks, leaving you with an even bigger mess. Then there are the heavy-duty chemical cleaners. These often contain harsh acids or bleach, come with a laundry list of warnings, and can easily cost $15 for a small bottle that barely covers a small bathroom. They might work, but at what cost to your wallet and your indoor air quality? The final option is calling in the ‘professionals.’ While effective, professional grout and tile cleaning can run you anywhere from $300 to $700 for an average-sized home. It’s a luxury expense that most of us trying to live smart and save money just can’t justify.
The secret they don’t want you to know is that the active ingredients in many of these products are incredibly simple and cheap. The rest is just water, fragrance, thickeners, and marketing fluff. You’re paying for the brand name and the illusion of a magical solution, not the actual cleaning power. This $2 hack cuts through all that noise. It uses basic chemistry—the kind that actually works—to lift years of dirt and grime without the toxic fumes or the ridiculous price tag. It’s about working smarter, not spending harder.
Your $2 Arsenal: The No-Nonsense Ingredient List
Forget complex formulas and impossible-to-find ingredients. Your toolkit for this grout takedown is simple, cheap, and probably sitting in your pantry right now. This is all about using common household staples that pack a serious punch when combined. Here’s your entire shopping list:
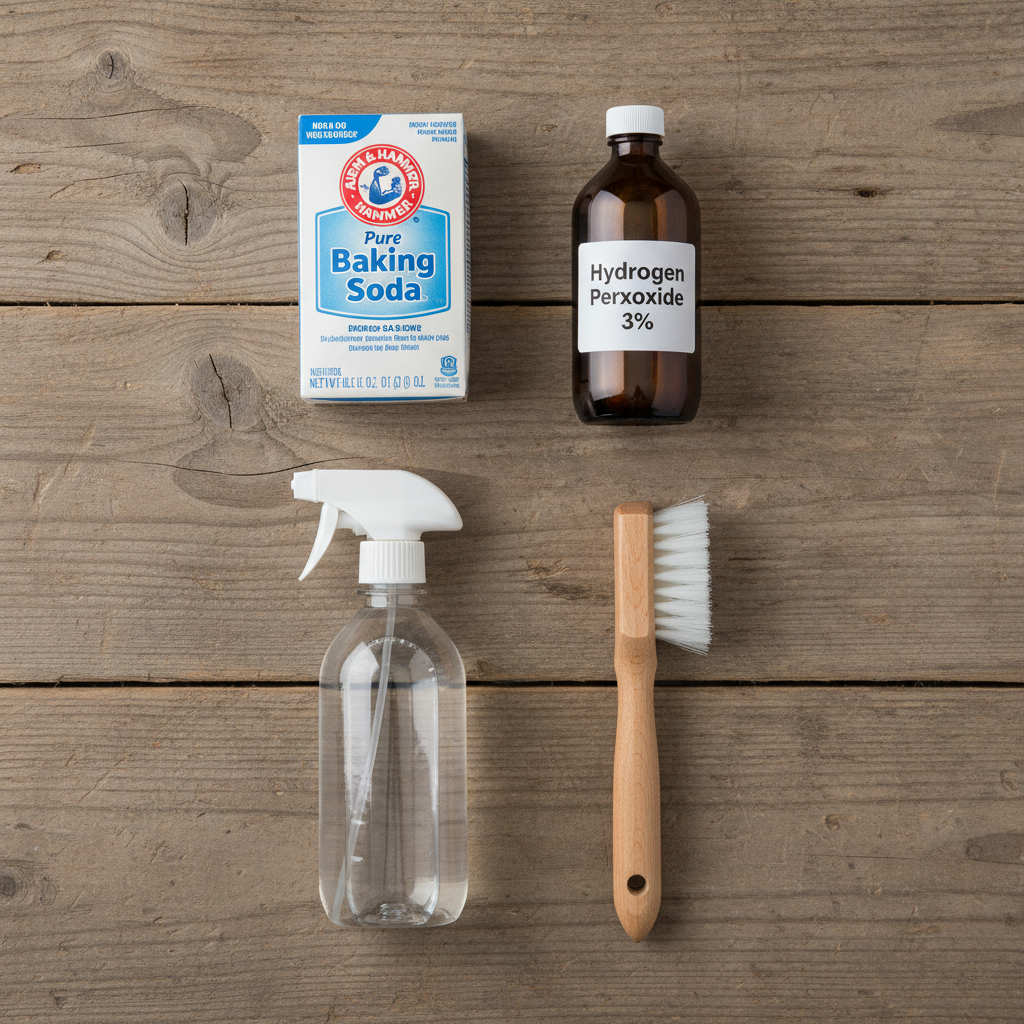
The Core Components:
- Baking Soda (Sodium Bicarbonate): This is your gentle abrasive. It scrubs away grime without scratching your tile. A big box costs about $1 and will last you for dozens of cleaning sessions.
- Hydrogen Peroxide: This is your whitening and disinfecting agent. It bubbles up to lift stains and kill mold and mildew. A large bottle costs around $1 at any dollar store or pharmacy.
- A Few Drops of Dish Soap (Optional but recommended): This acts as a surfactant, helping the mixture cling to the grout lines and break down greasy buildup. You already have this, so it’s essentially free.
The Tools of the Trade:
- A Small Bowl or Squeeze Bottle: For mixing your cleaning paste. An old condiment bottle works perfectly for precise application.
- A Stiff-Bristled Brush: This is crucial. An old toothbrush is fine for small areas, but for a whole floor, a dedicated grout brush (usually under $5) will save your back and knuckles. It’s a one-time investment that pays for itself immediately.
- A Spray Bottle with Water: For rinsing the area clean.
- Some Rags or a Mop: For the final wipe-down.
That’s it. Your primary cleaning agents, baking soda and hydrogen peroxide, total about $2. Everything else is either a one-time purchase or something you already own. This isn’t just cheap; it’s resourceful. You’re using multi-purpose items instead of buying a single-use product that will clutter up your cabinets. This is the foundation of frugal, effective home care.
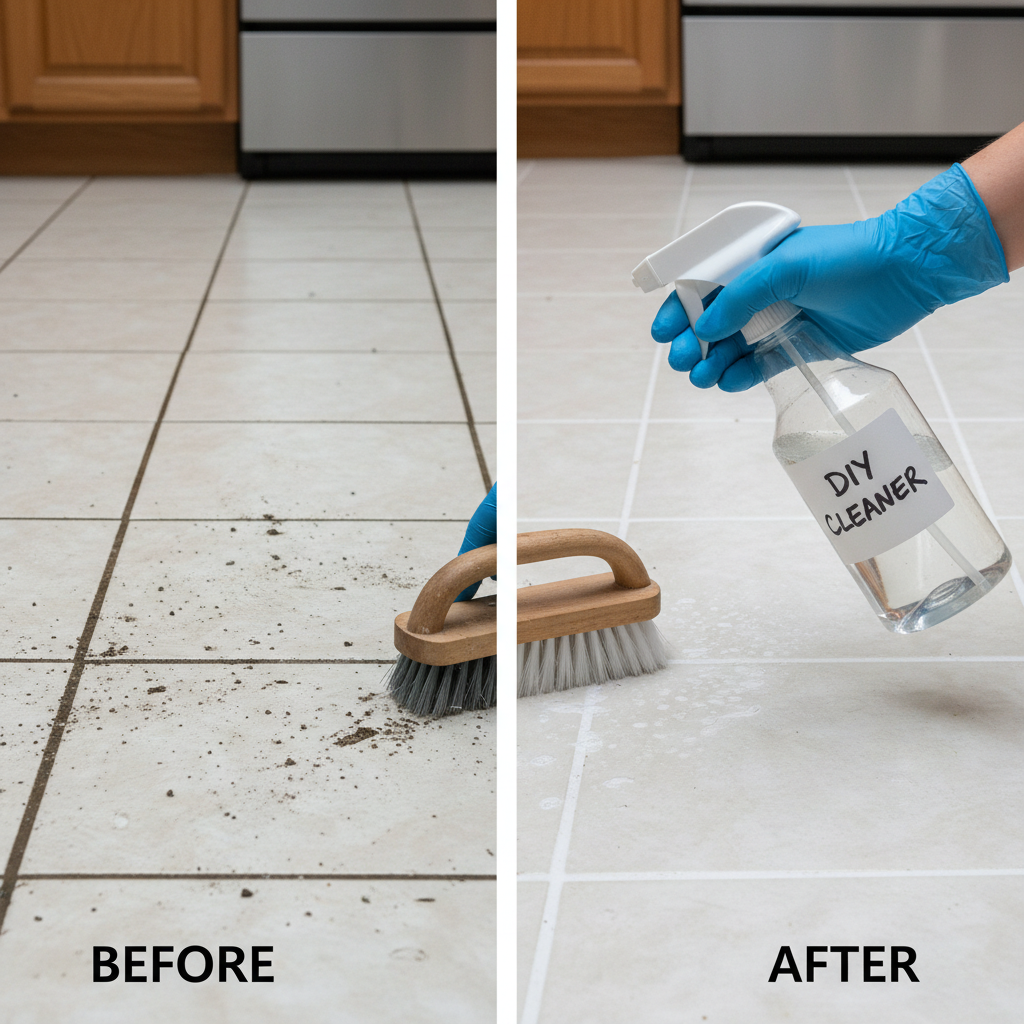
The Step-by-Step Takedown: How to Execute the Grout Hack
Alright, it’s go time. No more staring at that dingy grout. Follow these steps precisely, and you’ll be amazed at the results. It’s more about elbow grease than chemical magic, so put on some music and get ready for a satisfying transformation.
- Prep the Area: First things first, sweep or vacuum the floor thoroughly. You want to get rid of all the loose dirt, dust, and hair. You’re here to attack the deep grime in the grout, not push around surface-level dirt.
- Mix Your Power Paste: In your small bowl, start with about a half-cup of baking soda. Slowly pour in hydrogen peroxide and mix it until you have a thick, spreadable paste. It should have the consistency of toothpaste. If it’s too runny, add more baking soda. If it’s too thick, add a bit more peroxide. Now, add two or three drops of dish soap and give it one last stir. The mixture might fizz a little—that’s the magic starting to happen.
- Apply the Paste: This is the most critical step. Using your finger (wear a glove if you have sensitive skin) or the back of a spoon, apply the paste directly onto the grout lines. Don’t be shy; lay it on thick. You want to cover the entire grout line completely. For large areas, loading the mixture into a squeeze bottle can make application much faster and cleaner. Work in manageable sections, like a 3×3 foot area, so the paste doesn’t dry out before you get to scrubbing.
- Let It Dwell: Do not start scrubbing immediately! This is the mistake most people make. You need to let the mixture sit and do its work for at least 10-15 minutes. The hydrogen peroxide is busy bubbling away, breaking down stains and lifting dirt from the porous grout. Be patient. This dwell time is what does the heavy lifting for you.
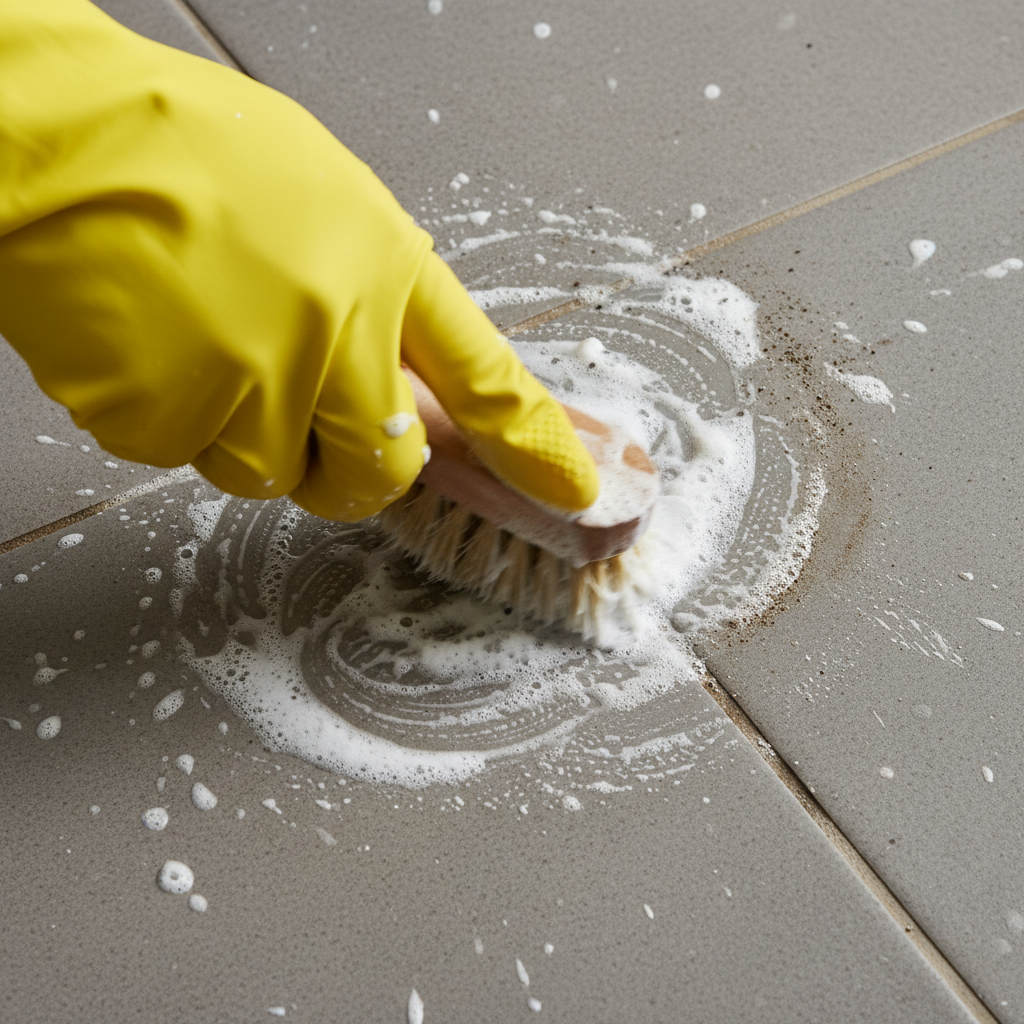
- Time to Scrub: Grab your stiff-bristled brush. Spray the area lightly with a little water to re-moisten the paste if it has started to dry. Now, scrub the grout lines using firm, back-and-forth motions. You’ll literally see the grime lifting out and turning the white paste a dirty brown. It’s disgusting and incredibly satisfying.
- Rinse and Reveal: Once you’ve scrubbed a section, it’s time for the big reveal. Use a rag soaked in clean water or a mop to wipe away all the paste and lifted grime. You might need to rinse your rag or change your mop water a few times to get it all up.
- Assess and Repeat: Take a look. For most everyday dirt, one pass is enough. But if you’re dealing with years of neglect or deep-set stains, don’t be discouraged if it’s not perfect. Simply apply a second round of paste to the stubborn spots, let it sit, and scrub again.
Key Rule: Always test this mixture on a small, hidden area of your grout first, especially if you have colored or epoxy grout. While safe for most standard cementitious grout, it’s always smarter to test than to be sorry.
The Math Don’t Lie: DIY vs. Store-Bought Breakdown
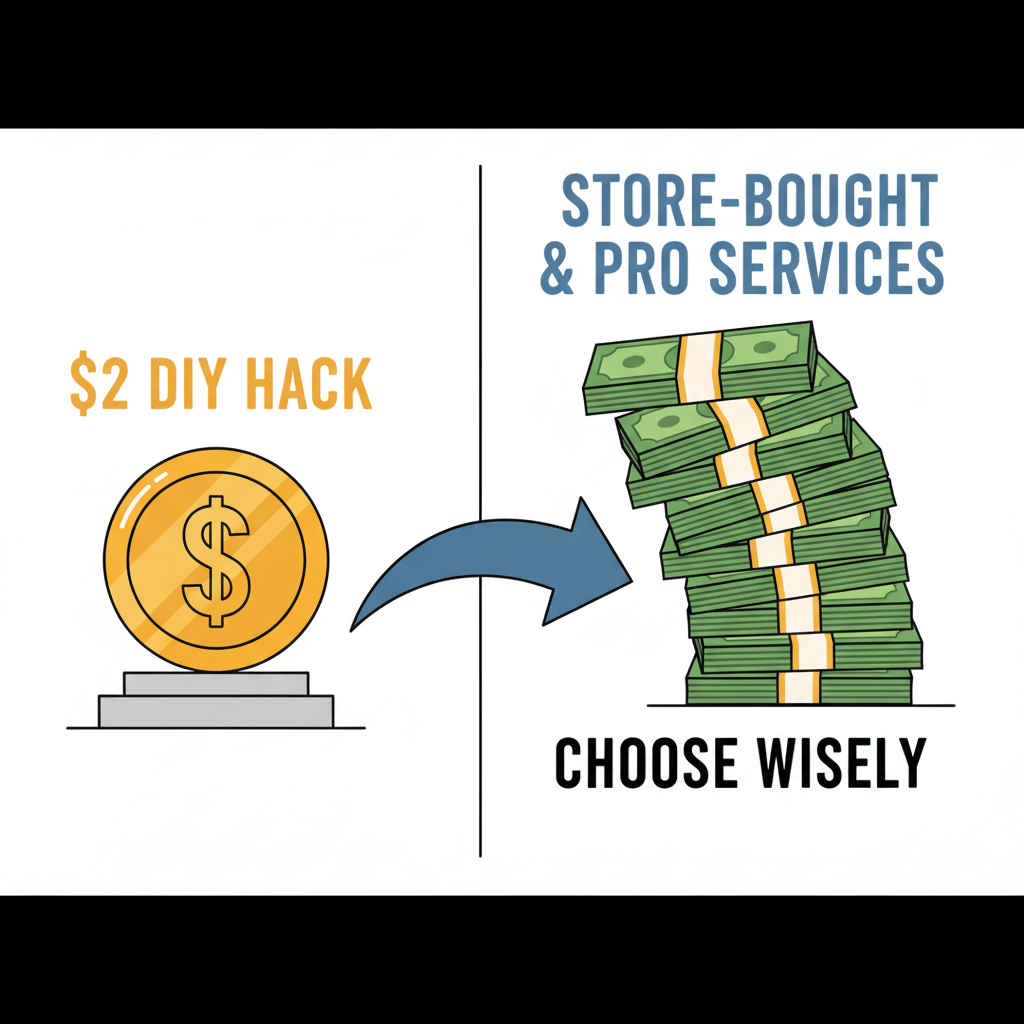
Talk is cheap, but numbers speak for themselves. Let’s put this hack head-to-head with the options they try to sell you at the store. We’ll compare the cost to clean a standard 150-square-foot kitchen floor. The results are not just surprising; they’re proof that you’ve been overpaying for years.
| Item / Service | Typical Cost | Cost Per Cleaning (150 sq ft) | Notes |
|---|---|---|---|
| The $2 DIY Hack | $1 for Baking Soda, $1 for Peroxide | ~$0.50 | Uses about 1/4 of the ingredients. Insanely effective. |
| Premium Brand Grout Cleaner | $18.00 per 32 oz bottle | ~$9.00 | Often requires half a bottle for one deep cleaning session. |
| “Miracle” Grout Pen | $9.00 per pen | $27.00+ | Covers the stain, doesn’t clean. You’d need 3+ pens for a kitchen. |
| Professional Grout Cleaning Service | $450.00 (average minimum) | $450.00 | Highest cost, for those who value time over money. |
Look at those numbers. By choosing this simple DIY hack, you’re not just saving a few bucks; you’re spending 18 times less than you would on a premium store-bought cleaner for the exact same, if not better, result. Over the course of a year, if you deep clean your grout twice, you’re looking at a savings of nearly $35 compared to the chemical cleaner and a staggering $899 compared to hiring a pro. That’s real money you can put toward debt, savings, or something you actually enjoy. This isn’t just about having clean floors; it’s about making a conscious choice to stop letting corporations drain your bank account for basic household tasks you can easily master yourself.
Pro-Level Tips & Traps to Avoid
Pro-Level Tips & Traps to Avoid
You’ve got the recipe and the method. Now, let’s elevate your game from amateur to pro. These are the street-smart tips that will maximize your results and help you avoid common pitfalls that can sabotage your hard work.
Supercharging Your Mix
For truly apocalyptic grout stains (think rust, mold, or mystery discoloration), you can add one more ingredient to your arsenal: Oxygen Bleach powder (like OxiClean or a generic equivalent). Add a tablespoon to your paste. It’s a color-safe bleach that attacks stains on a molecular level. It’s a game-changer for white or light-colored grout.
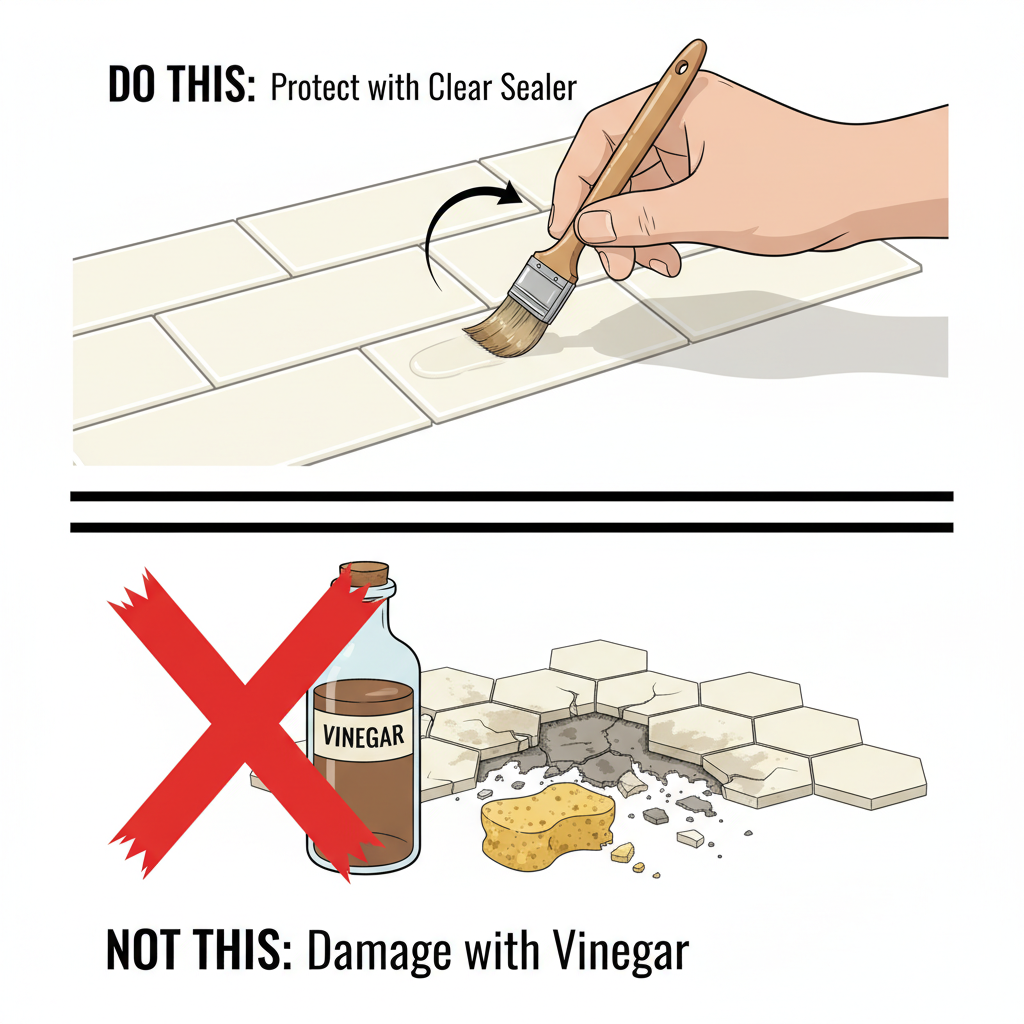
The Post-Clean Seal of Approval
You just spent all that time making your grout look perfect. Don’t let it get dirty again in five minutes. The single best thing you can do is to apply a grout sealer after it’s completely clean and dry (wait at least 24 hours). A sealer is a liquid barrier that soaks into the porous grout and prevents dirt and spills from seeping in. A bottle costs around $15 but will last for years and save you countless hours of future scrubbing. It’s a non-negotiable step for long-lasting results.
Common Traps and How to Sidestep Them
Even the best hacks can go wrong if you’re not careful. Keep these warnings in mind to ensure a flawless finish.
Scam Warning: The Vinegar ‘Hack’. You’ll see a lot of blogs recommend mixing baking soda with vinegar. Don’t do it for grout. Vinegar is an acid. While it cleans, it can slowly eat away at the grout and the sealant over time, making it more porous and prone to staining in the future. Stick to hydrogen peroxide, which is pH-neutral and much safer for the long-term health of your grout.
Warning: Natural Stone Is Different. If you have natural stone tiles like marble, travertine, or limestone, do NOT use this hack without extreme caution and testing. Hydrogen peroxide can potentially discolor or etch these delicate surfaces. For natural stone, it’s best to use a pH-neutral cleaner specifically designed for that material.
Finally, remember that consistency beats intensity. A quick wipe-down of your floors once a week will prevent the kind of deep, set-in grime that requires a major scrubbing session. A little maintenance goes a long way in keeping your floors looking brand new and your wallet happy.
Conclusion
There you have it. The power to restore your floors to their former glory wasn’t in an expensive bottle on a store shelf; it was in your pantry all along. For the ridiculously low cost of about $2 and a bit of effort, you’ve achieved professional-level results, saved a significant amount of cash, and avoided bringing harsh chemicals into your home. This is what frugal living is all about: identifying the ripoffs, finding smarter solutions, and taking control. Your sparkling clean floors are a trophy—a visible reminder of a savvy financial decision. So next time you see a ‘miracle’ cleaning product, just smirk, walk on by, and remember the power of the $2 hack. Your home and your bank account will thank you for it.