Your Mattress is Dirty: Deep Clean it Today With Baking Soda
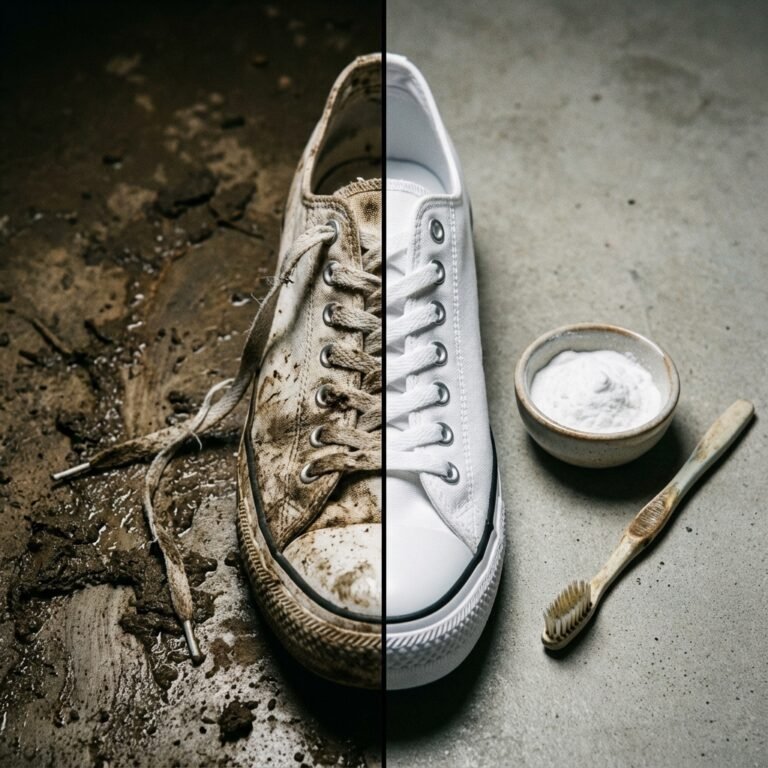
Let’s get real. The bed you crash in every night is probably the filthiest thing in your bedroom. We’re talking a nasty cocktail of sweat, dead skin cells, drool, dust mites, and whatever else you track in. It’s a five-star resort for germs. Now, the big brands want you to believe the only solution is to drop $20 on a can of chemical-laden ‘mattress miracle’ spray. Or maybe you’ve considered shelling out $150 for a ‘professional’ to come steam it. Forget that. That’s sucker money. The most powerful weapon against a funky mattress is probably already sitting in your kitchen pantry, costing you less than a cup of coffee. We’re talking about baking soda. It’s time to stop wasting money and start sleeping clean. This guide is your playbook to deep clean your mattress, kill odors, and save a serious chunk of change. Your wallet and your sinuses will thank you.
The High Cost of a Dirty Bed: Why You’re Losing Money
Before we get into the how-to, let’s talk about the why. Why are you flushing money down the toilet on this problem? It boils down to two traps: the marketing hype and the ‘pro’ price tag. Walk down any cleaning aisle, and you’ll see a dozen products screaming about ‘odor-eliminating technology’ and ‘allergen-destroying formulas’. These are mostly water, perfume, and harsh chemicals in a fancy bottle, marked up by 1000%. You’re paying for the packaging and the TV commercial, not the results.
Then you have the professional services. They roll in with big machines and an even bigger invoice, often charging anywhere from $75 to $200 for a single mattress cleaning. Sure, they do a deep steam clean, but for everyday maintenance, deodorizing, and tackling light stains, it’s total overkill. Think of it like this: you wouldn’t hire a professional chef to make you a peanut butter sandwich. This DIY method is your everyday solution that keeps those big bills at bay. Neglecting your mattress doesn’t just cost you in cleaning supplies; it shortens the life of the mattress itself. A well-maintained mattress lasts years longer, pushing back that massive $1,000+ expense of buying a new one. The real frugal hack isn’t just about cleaning cheap; it’s about making your expensive investments last.
Your Frugal Arsenal: Gear Up for Under $5

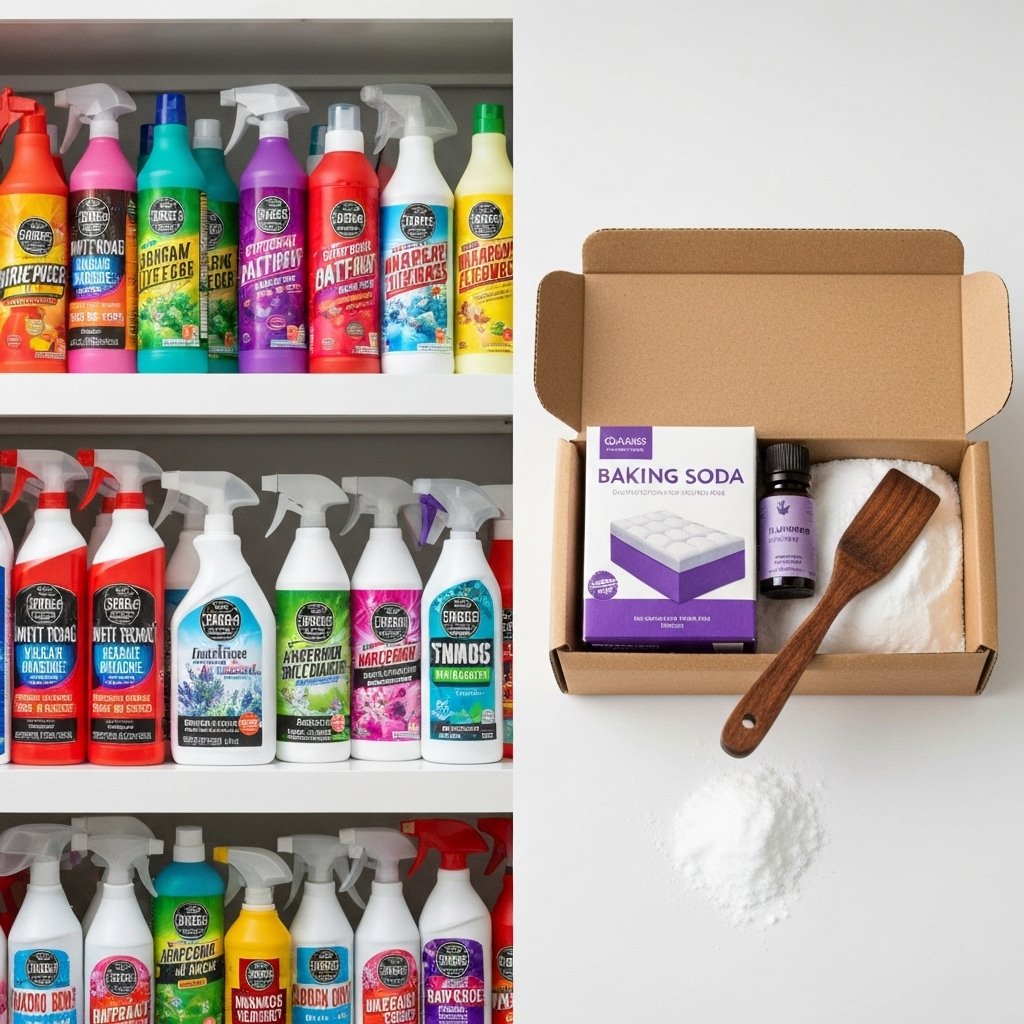
You don’t need a hazmat suit or a science lab to get this done. The beauty of this hack is its simplicity. You’re using basic, multi-purpose household items, which is the cornerstone of frugal living. Every item here has a dozen other uses around the house, so you’re not buying a one-trick pony. Here’s your complete shopping list:
- Baking Soda: The undisputed champion. You’ll need a full 1-2 cup box. Go for the generic brand; it’s the same sodium bicarbonate and costs pennies.
- A Vacuum Cleaner with an Upholstery Attachment: This is non-negotiable. You need strong suction and the right tool to pull all the grime and baking soda out of the fabric.
- A Sifter or Fine-Mesh Strainer: This is the secret to getting a nice, even coat. No clumps! A simple flour sifter works perfectly.
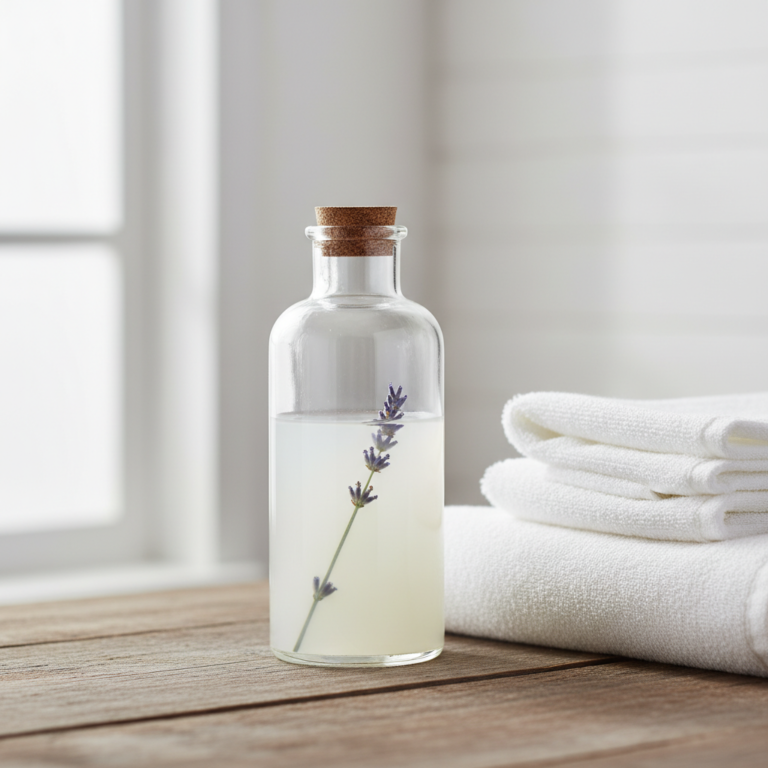
- Essential Oils (Optional but Recommended): A few drops of lavender, eucalyptus, or tea tree oil mixed into the baking soda will not only add a fresh scent but also bring antibacterial and antimicrobial properties to the party. Lavender is great for promoting sleep.
- A Clean Cloth or Sponge: For spot-treating any specific stains we need to tackle first.
That’s it. You likely have all of this already. If not, a trip to the dollar store will get you everything you need for less than a fiver. This isn’t just cleaning; it’s a financial power move.
The Ultimate Mattress Deep Clean: A Step-by-Step Playbook
Alright, it’s go-time. Block out an afternoon for this, as the most important step is letting the baking soda work its magic. Don’t rush the process. Follow these steps exactly, and you’ll have a mattress that feels and smells brand new.
Phase 1: Prep and Attack
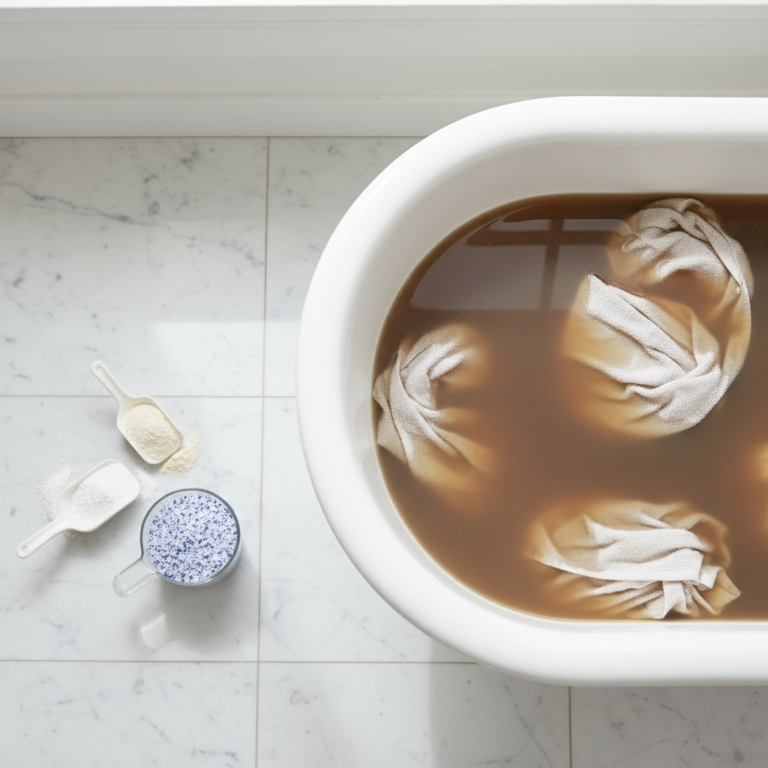
- Strip It Down: Rip everything off the bed—sheets, blankets, mattress protector, everything. Toss them in the wash on the hottest setting they can handle to kill any lingering dust mites.
- The First Pass Vacuum: Using your upholstery attachment, vacuum the entire surface of the mattress. Go slow. Use overlapping strokes, like you’re mowing a lawn. Pay extra attention to the seams and crevices where dust and dead skin love to hide. This initial pass removes all the surface-level debris.
- Spot Treatment Offensive: Got any specific stains? Now’s the time to deal with them. Mix a small amount of baking soda with a tiny bit of water to create a paste. Gently dab the paste onto the stain with a clean cloth. Don’t rub or scrub aggressively, as this can push the stain deeper. Let the paste dry completely for at least 30 minutes before moving on.
Phase 2: The Deodorizing Power Hour
- Mix Your Magic Dust: In a bowl, mix your baking soda with 5-10 drops of your chosen essential oil. If you’re using a full one-pound box, you might want to use up to 20 drops. Whisk it together to break up any clumps and distribute the oil evenly.
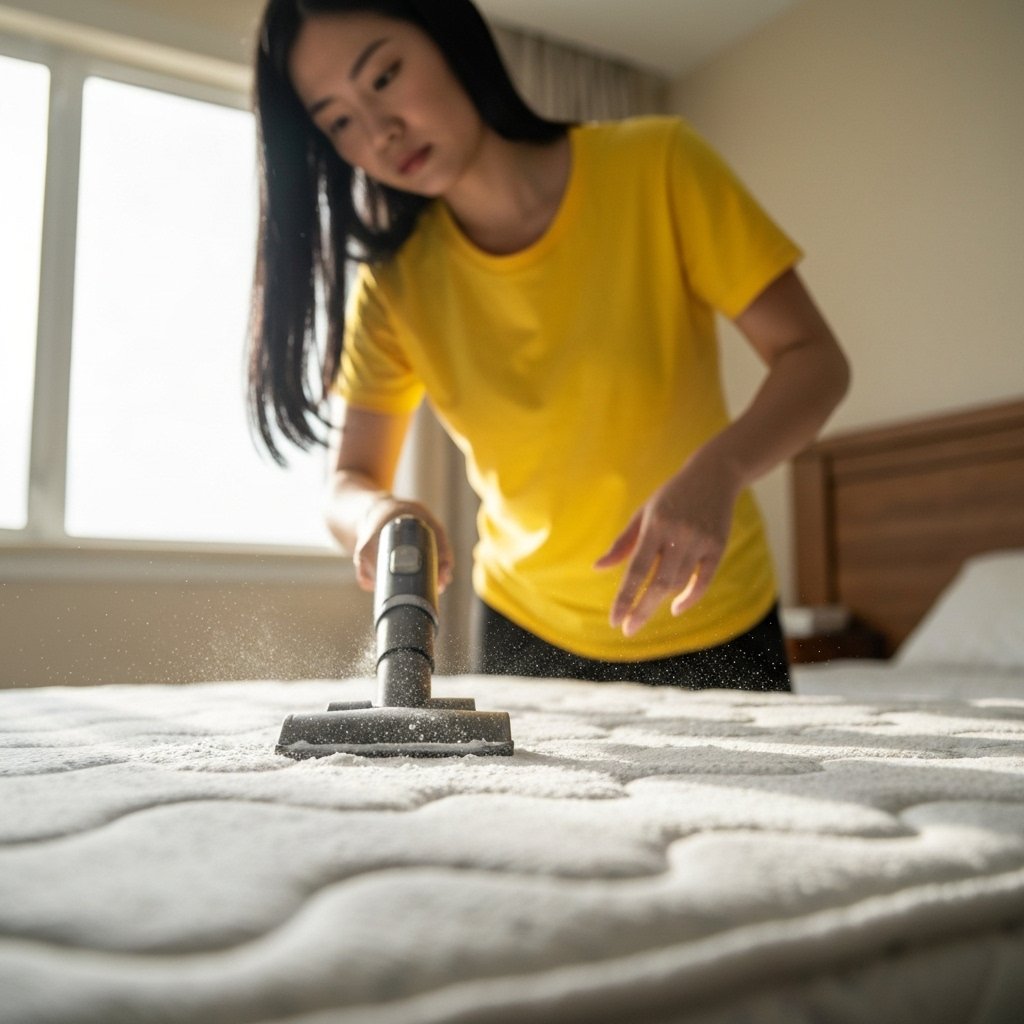
- The Baking Soda Blizzard: Pour your scented baking soda into your sifter. Now, generously coat the entire mattress. Don’t be shy! You want a solid, even layer covering every square inch. A full box for a queen or king mattress is about right. The baking soda is going to pull moisture, odors, and dirt out of the fabric.
- Let It Marinate: This is the most critical step. Walk away. Let the baking soda sit for AT LEAST one hour. For a really deep, powerful clean, let it sit for as long as possible—up to 24 hours if you can swing it. The longer it sits, the more funk it absorbs. Open a window to let the room air out and help the process along.
Phase 3: The Final Extraction
- The Final Vacuum: Time for the grand finale. Using your clean upholstery attachment, vacuum up all the baking soda. Again, be slow and methodical. Go over every spot multiple times and from different directions to ensure you get all the powder. You’ll be vacuuming up the baking soda along with all the nasty stuff it absorbed.
- Air It Out and Remake: If possible, let the mattress air out for another 30 minutes before putting on your freshly laundered mattress protector and sheets. Breathe deep. That’s the smell of clean—and the smell of money saved.
The Cost Breakdown: DIY vs. The Big Spenders
Numbers don’t lie. When you see the savings in black and white, you’ll never go back to the old way. We’re talking about a massive return on a tiny investment of your time. This isn’t just about saving a few bucks once; it’s about building a frugal habit that saves you hundreds over the long run. Let’s break down the typical cost for cleaning a single queen-sized mattress.
| Cleaning Method | Average Cost | Notes |
|---|---|---|
| The Frugal Hacker DIY Method | $2 – $4 | Cost of baking soda and optional essential oil. Uses existing vacuum. |
| Store-Bought ‘Mattress Spray’ | $15 – $25 | Often just masks odors with perfume. Requires multiple cans for a deep clean. |
| Professional Cleaning Service | $125+ | Average starting price. Can go much higher depending on location and mattress condition. |
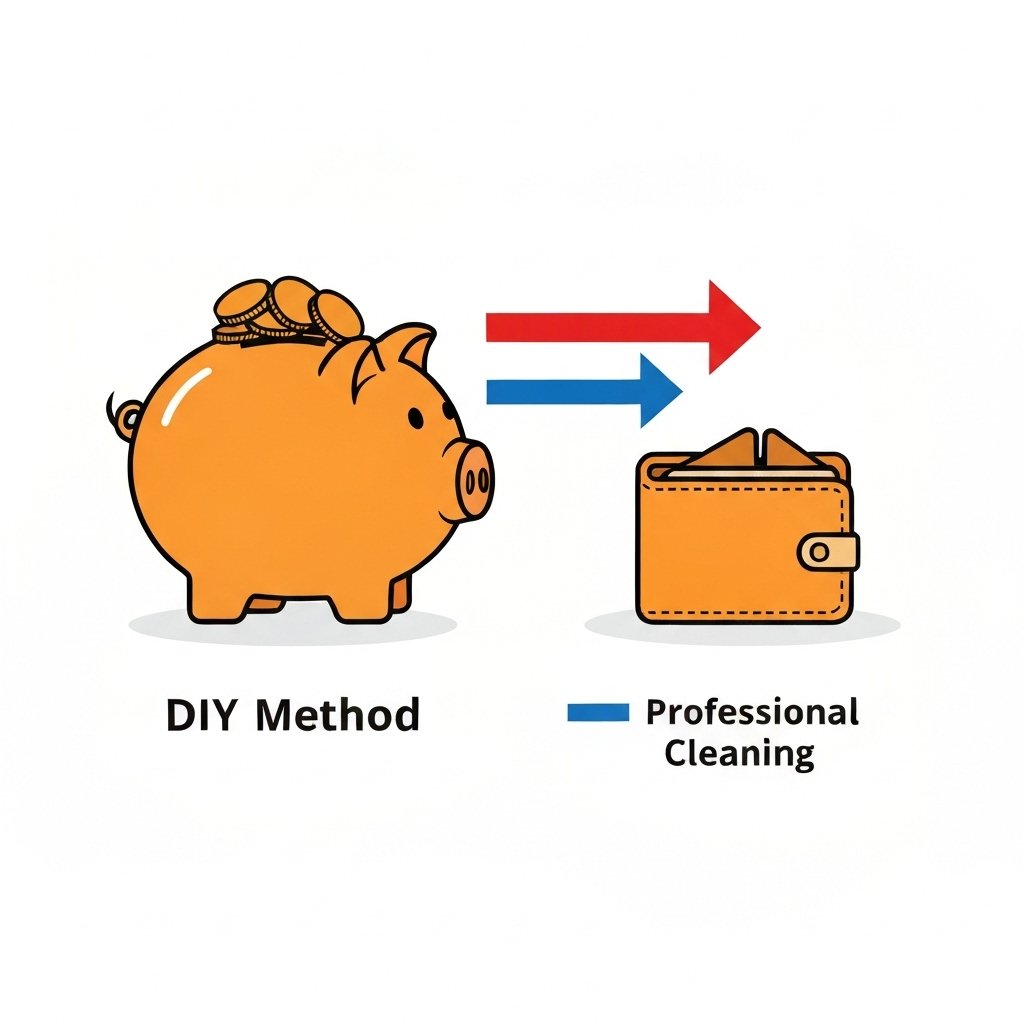
By investing about an hour of your time and less than $5, you are saving over $120 compared to a professional service. If you do this twice a year, that’s an easy $240 back in your pocket. That’s a car payment, a big chunk of a utility bill, or a nice boost to your savings account—all for using baking soda. It’s one of the smartest, easiest financial wins you can get in your own home.
Rookie Mistakes and Pro-Level Upgrades
You can’t mess this up if you follow the playbook, but some common slip-ups can make the process less effective. Avoid these rookie mistakes to get pro-level results every time.
Common Mistakes to Sidestep
- Getting it Too Wet: When spot-treating, never saturate the mattress with water. This can lead to mold and mildew, creating a bigger problem than you started with. A slightly damp paste is all you need.
- Being Impatient: Don’t cut the ‘marinating’ time short. The baking soda needs several hours to do its job. Rushing this step means leaving odors and moisture behind.
- Using a Dirty Vacuum: Make sure your vacuum filter is clean and the canister is empty before you start. You want maximum suction power to pull everything out of the mattress fibers.
- Skipping the Sifter: Dumping baking soda straight from the box will create clumps and an uneven layer, leading to a patchy clean. A sifter is your best friend for this job.
Key Rule: Always do a spot test. Before you use your baking soda paste on a visible stain, test it on a small, inconspicuous area of the mattress to ensure it doesn’t cause any discoloration.
Pro-Level Upgrades
- Sunlight is Your Secret Weapon: If you can, drag your mattress into a sunny spot for a few hours. The UV rays from the sun are a natural disinfectant and will help kill bacteria and dust mites.
- Rotate and Flip: While you have the bed stripped, rotate and/or flip your mattress if it’s double-sided. This ensures even wear and extends its lifespan.
- Invest in a Protector: The best offense is a good defense. A high-quality, waterproof mattress protector is your number one shield against spills, sweat, and allergens. It makes future cleanings a thousand times easier.
Conclusion
There you have it. You’re now armed with the knowledge to conquer mattress grime without getting ripped off. This isn’t just a cleaning hack; it’s a statement. It’s proof that you don’t need to spend big money to have a clean, healthy home. For the price of a generic box of baking soda, you’ve done what companies charge hundreds for. You’ve extended the life of your mattress, created a better sleeping environment, and kept your hard-earned cash where it belongs—in your pocket. So next time you change your sheets, don’t just put a clean layer over a dirty problem. Take an hour, grab the baking soda, and take control. That’s the frugal hacker way.