Hide Those Wires! Genius DIY Cable Management Hacks Under $5
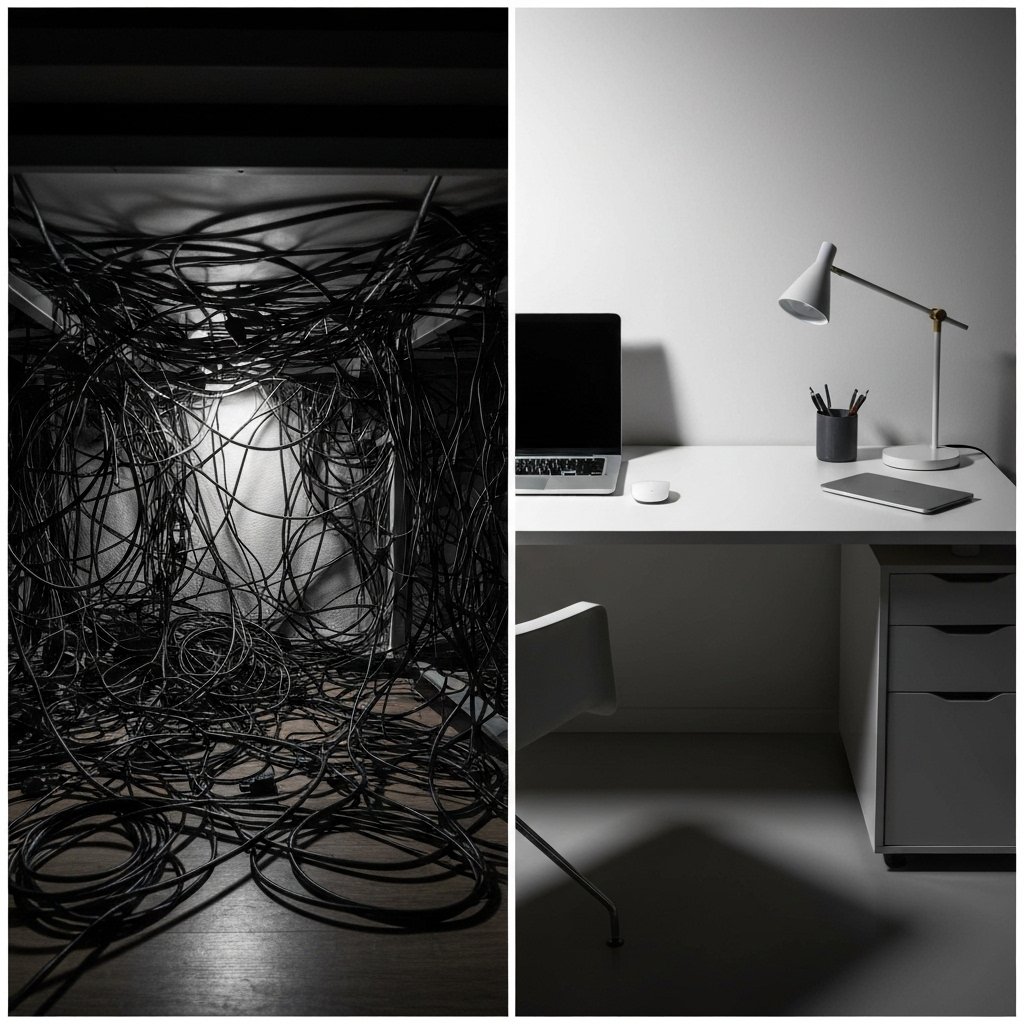
Look under your desk. Go on, I dare you. If what you see is a tangled nightmare of wires—a ‘cable spaghetti’ monster that eats dust bunnies for breakfast—you’re not alone. That chaotic mess isn’t just ugly; it’s a tripping hazard, a nightmare to clean, and it puts unnecessary strain on your expensive electronics. The big-box stores want you to think the only solution is to shell out $30 or more for some chunk of branded plastic. Forget that. You’re a frugal hacker, and you play by different rules. Today, we’re taking back control. We’re going to show you how to conquer that cable chaos with four genius DIY hacks that will cost you less than $5, using stuff you probably already have lying around the house. It’s time to get organized, save cash, and make your space look like a million bucks—for just a few cents.
The Bottom Line: DIY vs. Store-Bought
Before we dive into the ‘how,’ let’s talk about the ‘why.’ Why bother with DIY when you can just buy a solution? The answer is simple: money. Companies have built entire product lines around selling you overpriced plastic. They prey on the idea that organization is complicated and expensive. It’s not. It’s about being smarter with your resources. Your goal is to get the same, or even better, results for a fraction of the cost. This isn’t just about saving a few bucks; it’s a mindset. It’s about refusing to pay a premium for something you can easily do yourself. Let’s look at the hard numbers.
| Cable Management Solution | Typical Store-Bought Price | DIY Hack Price | Your Savings |
|---|---|---|---|
| Cable Management Box (to hide a power strip) | $20 – $35 | Decorated Shoebox (Free – $2) | ~$28 |
| Adhesive Cable Clips (10-pack) | $10 – $15 | Binder Clips (~$3) | ~$9 |
| Under-Desk Cable Tray | $25 – $40 | Command Hooks (~$4) | ~$26 |
| Cable Sleeve/Organizer | $15 – $25 | Toilet Paper Rolls (Free!) | ~$20 |
The math doesn’t lie. By going the DIY route, you’re keeping $50 or more in your pocket for just an hour of your time. That’s money you can put toward a side hustle, your savings goals, or just treating yourself to something that isn’t a plastic box. Now, let’s get to the good stuff.
Hack #1: The Binder Clip Boss – Your Desk Edge’s New Best Friend
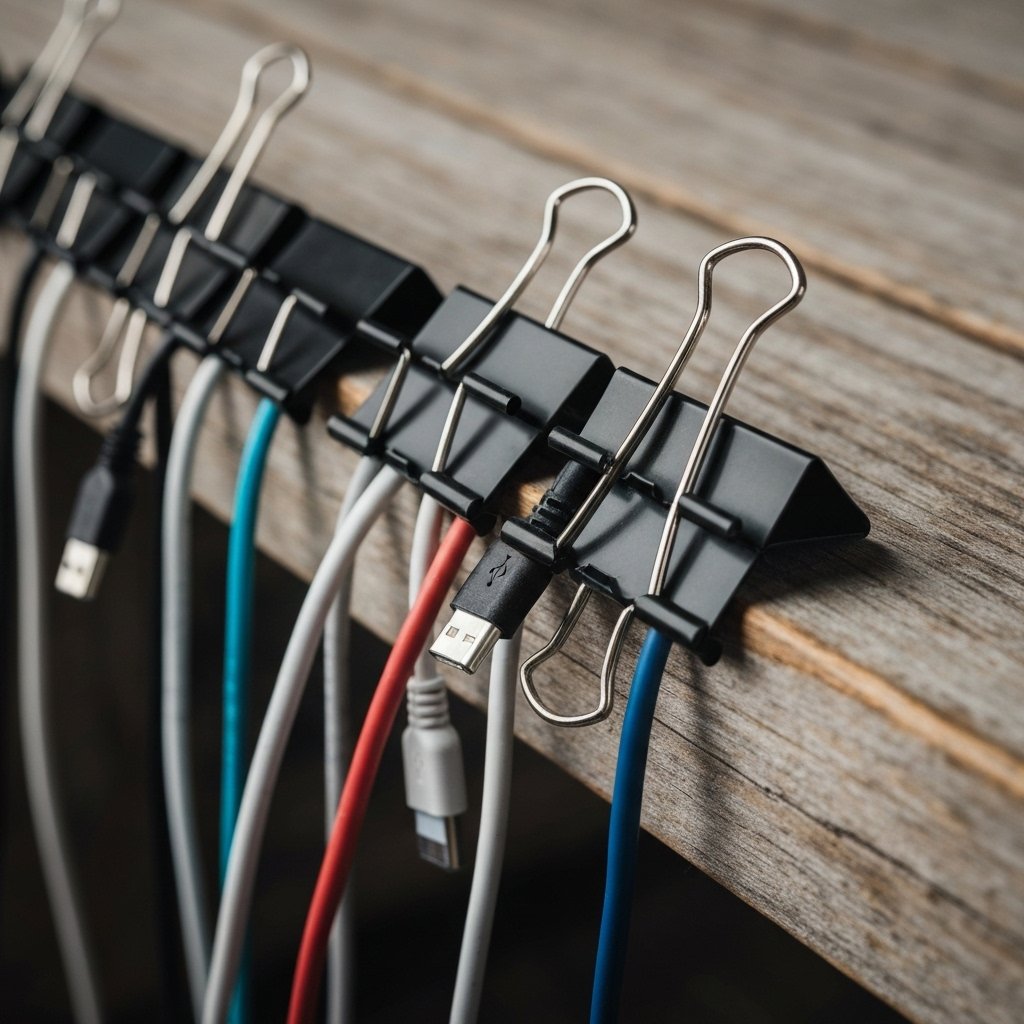
This is the OG of frugal cable hacks, and for good reason. It’s practically free, takes ten seconds to set up, and is ridiculously effective for managing those daily-use cables like your phone charger or laptop cord. Stop letting them fall behind your desk every time you unplug. It’s time to put them in their place.
What You’ll Need:
- Medium or large binder clips (the black ones with the silver wire arms)
The Step-by-Step Playbook:
- Grab a binder clip. Seriously, that’s the first step.
- Identify the edge of your desk, nightstand, or workspace where you want your cables to live.
- Clip the binder clip onto the edge of the surface.
- Take one of the silver wire arms and flip it up so it’s pointing towards you. You can remove the other one if you want a cleaner look.
- Thread your cable (like a USB-C or Lightning cable) through the loop of the wire arm. The head of the cable will be too big to fall through, so it will hang there perfectly, waiting for you.
- Repeat with as many clips as you need, spacing them out for a super-organized look.
Boom. Done. You now have a custom cable holder that keeps your essential cords exactly where you need them, preventing them from disappearing into the abyss behind your furniture.
Hack #2: The Command Hook Commando – The Under-Desk Invisibility Cloak
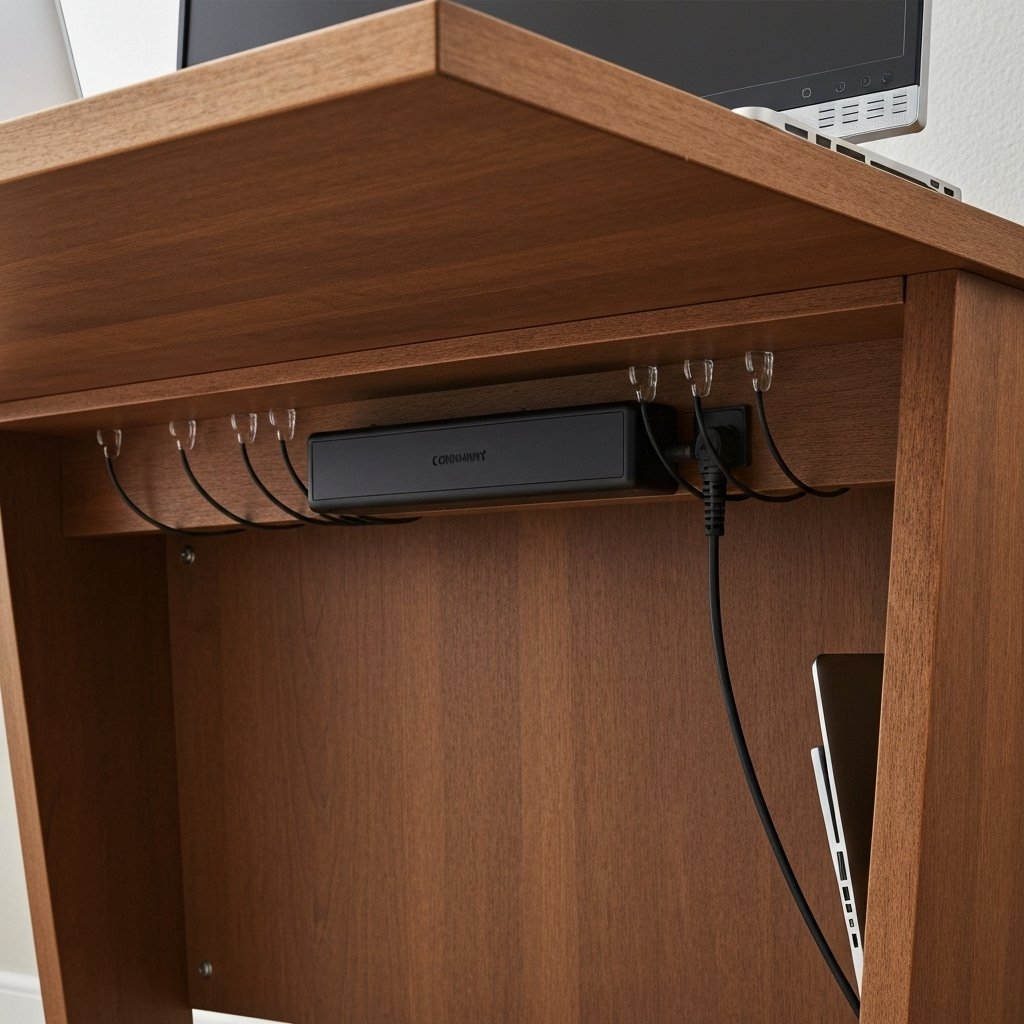
The biggest wire messes come from the things that are always plugged in: your monitor, your speakers, your lamp. The goal here is invisibility. We want to route these cables along surfaces where they can’t be seen, and Command hooks are the perfect weapon for this mission because they leave no trace behind.
What You’ll Need:
- A pack of small, clear Command hooks or cable clips.
- Rubbing alcohol and a clean cloth.
Key Rule: A clean surface is a happy surface. Always wipe down the area with rubbing alcohol before sticking on any adhesive hooks. It removes oils and dust, ensuring a super-strong grip. Don’t skip this!
The Step-by-Step Playbook:
- First, plan your route. Trace the path you want your cables to take from the device to the power outlet. The best paths are along the back edge of your desk, down a leg, or along the baseboard.
- Clean every spot where you plan to place a hook with rubbing alcohol and let it dry completely.
- Start placing your Command hooks along the planned route, about 6-12 inches apart. You can face the hooks upwards, downwards, or sideways depending on what works best for your path.
- Once the hooks are securely in place (follow the package instructions for wait time), gently press your cables into them.
- You can even mount your entire power strip to the underside of your desk using two larger Command hooks or heavy-duty Velcro strips. This gets the entire power brick off the floor, making cleaning a breeze and achieving ultimate cable invisibility.
This hack transforms the underside of your desk from a chaotic jungle into a clean, organized grid. It’s the secret to that floating, minimalist desk look without drilling a single hole.
Hack #3: The Toilet Paper Roll Transformer – Taming Your Drawer of Doom
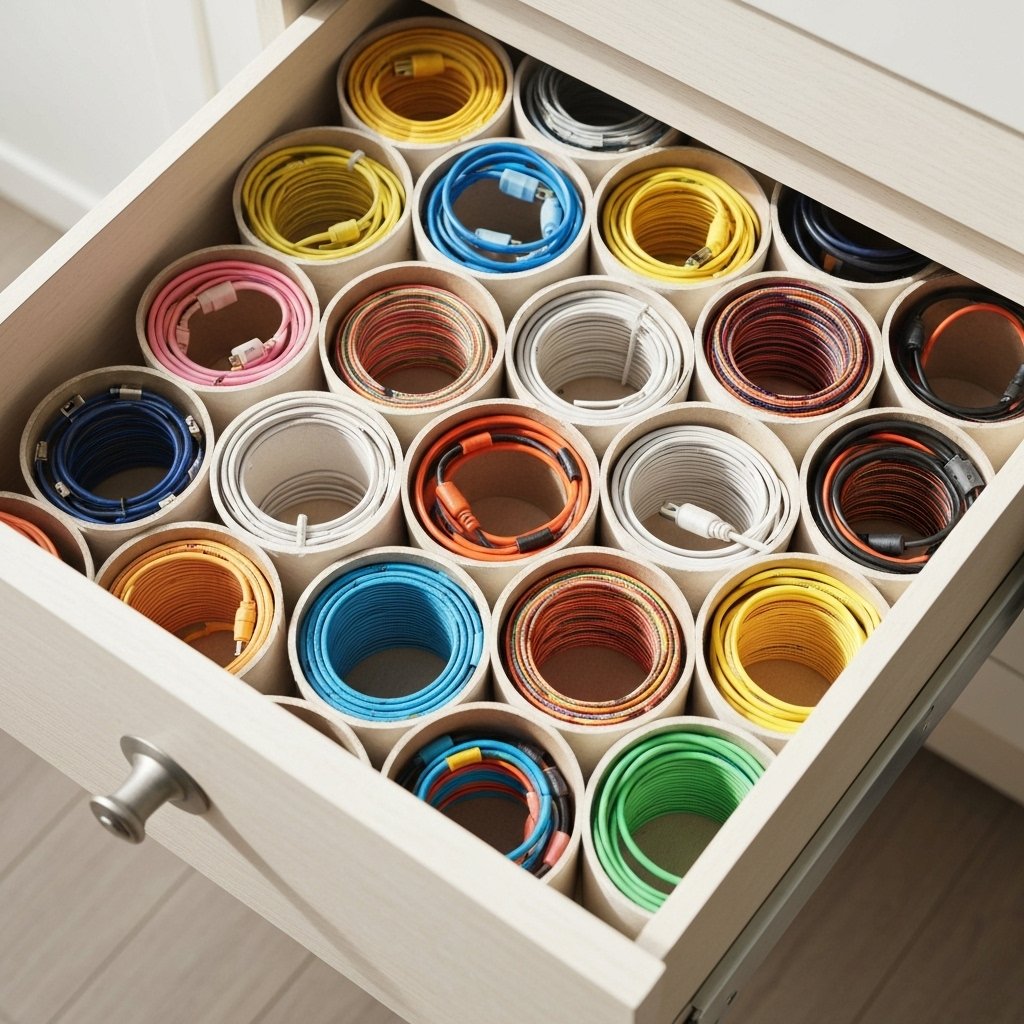
Every frugal hustler has one: the dreaded ‘junk drawer’ or box filled with a tangled nest of spare USB cables, old chargers, and headphone cords. Trying to find the right one is a frustrating waste of time. No more. The humble toilet paper roll is here to save the day and your sanity.
What You’ll Need:
- Empty toilet paper or paper towel rolls.
- Optional: Washi tape, wrapping paper, or paint to make them look good.
The Step-by-Step Playbook:
- Gather your empty cardboard rolls. If you’re using paper towel rolls, cut them down into smaller, 3-4 inch sections.
- If you want to get fancy, now’s the time. Decorate the rolls with washi tape, paint, or anything else to match your style. This is totally optional but makes your organized drawer look extra sharp.
- Take one of your spare cables. Coil it neatly. Don’t wrap it tightly around your hand, as this can damage the internal wires. A loose, gentle loop is best.
- Slide the coiled cable inside one of the cardboard tubes. The tube will keep it perfectly coiled and prevent it from tangling with other cables.
- Stand the tubes upright in a drawer or a shoebox. You’ve just created a perfect, honeycomb-like storage system.
Now when you need a micro-USB cable, you can just grab the corresponding tube without having to untangle it from three old iPhone chargers and a pair of broken earbuds. It’s simple, free, and incredibly effective.
Hack #4: The DIY Charging Station Power-Up – From Shoebox to Tech Hub

This is the boss-level hack. It takes a bit more effort, but the payoff is huge. We’re going to turn an ordinary shoebox (or any small cardboard box) into a custom, hidden charging station that corrals all your devices and hides the ugly power strip and cord mess completely.
What You’ll Need:
- A shoebox or similar cardboard box with a lid.
- A power strip.
- A box cutter or X-Acto knife.
- A pen or pencil.
- Optional: Wrapping paper, fabric, or spray paint for decoration.
The Step-by-Step Playbook:
- Prep Your Box: If you want to decorate your box, do it now before you start cutting. Cover it in cool wrapping paper, fabric, or give it a coat of spray paint. Let it dry completely.
- Mark Your Holes: Place your power strip inside the box. At one of the short ends of the box, trace an outline of the power strip’s main cord. This is where the power will come in.
- Create Cable Exits: On one of the long sides of the box, decide where you want your device cables to come out. Use a pen to mark small holes or slits—one for each device you plan to charge. You can make them small circles or neat rectangles.
- Cut Carefully: Using your box cutter or X-Acto knife, carefully cut out the holes you marked. An adult should always handle this part. Be slow and precise.
- Assemble the Station: Place the power strip inside the box. Feed its main power cord through the large hole you cut and plug it into the wall.
- Plug In: Plug all your device chargers (phone, tablet, watch, etc.) into the power strip inside the box.
- Feed the Cables: Thread the end of each charging cable out through its designated small hole on the side of the box.
- Close It Up: Place the lid on the box. Arrange your devices neatly on top or next to the box, plug them in, and admire your work.
You’ve just created a custom piece of tech organization that looks clean and intentional. All the clutter is hidden away, and your devices have a dedicated, tidy home. It’s the ultimate frugal power move.
Conclusion
You did it. You looked the cable monster in the eye and you didn’t back down. With just a few common household items and a little bit of street-smart ingenuity, you’ve proven that an organized, efficient, and safe space doesn’t have to come with a hefty price tag. You’re in control of your space and your wallet. Whether you used a binder clip to tame your phone charger or built a full-blown charging station from a shoebox, you’ve taken a concrete step toward a more streamlined life. Now, take a look at your clean desk, your organized drawer, or your tidy entertainment center. That’s not just a lack of clutter—that’s a win. Don’t ever let anyone tell you that you need to spend big to live well. Now, what other part of your house can you conquer next?