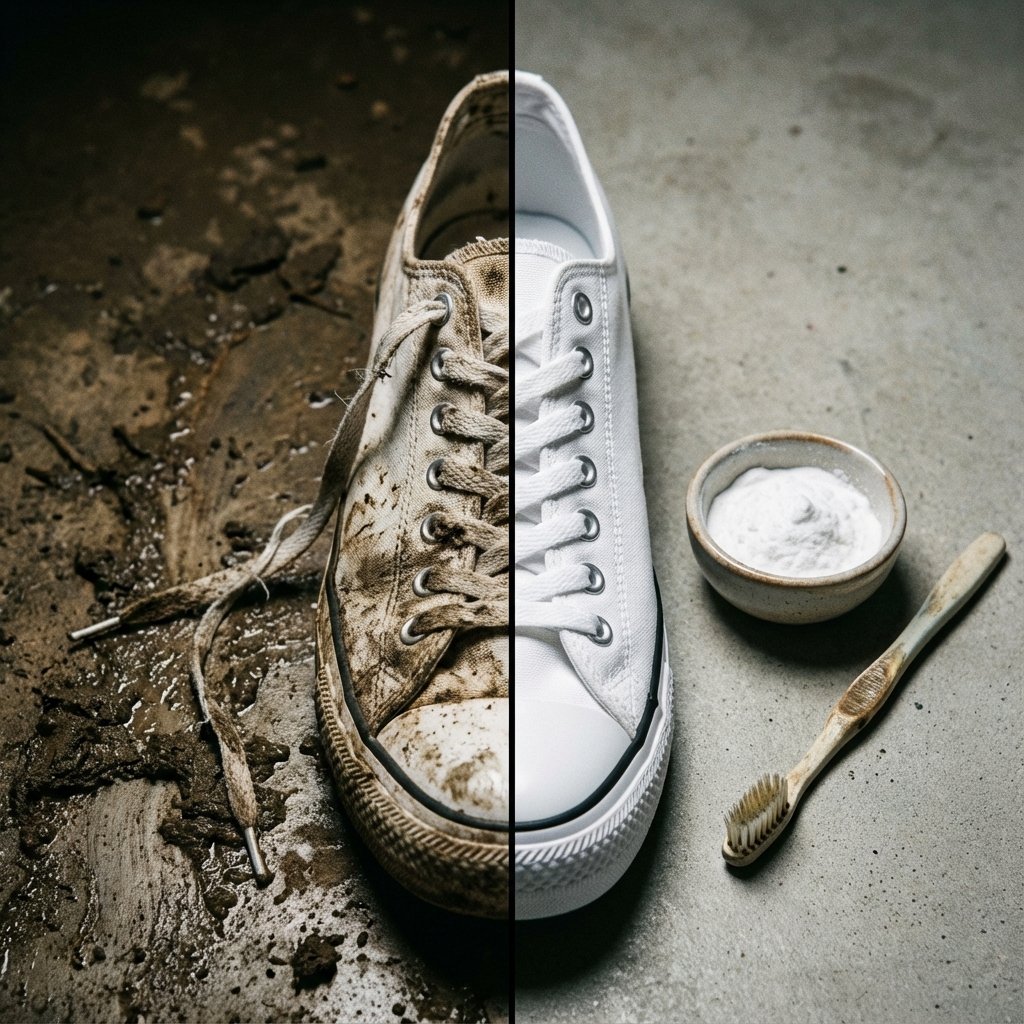
Make Dirty White Sneakers Look Brand New With This $1 Pantry Item
Let’s be real. Nothing kills a fresh outfit faster than a pair of dingy, scuffed-up white sneakers. They’re the ghost of good style past. You’ve probably stared at your favorite pair, now a sad shade of beige, and considered two options: drop $20 on some fancy ‘sneaker revival kit’ that’s mostly marketing fluff, or just give up and buy a new pair. Forget that noise. That’s the sucker’s choice. What if I told you the ultimate solution to bringing your kicks back from the dead costs less than a buck and is probably sitting in your kitchen pantry right now? You don’t need a miracle, you just need to be smarter than the brands trying to sell you tiny bottles of soap for a fortune. In this guide, we’re going to break down the exact, no-BS method to make your sneakers look box-fresh using one simple, powerhouse ingredient. Get ready to save money and turn heads.
The Sneaker Graveyard: Why Your White Kicks Die Young
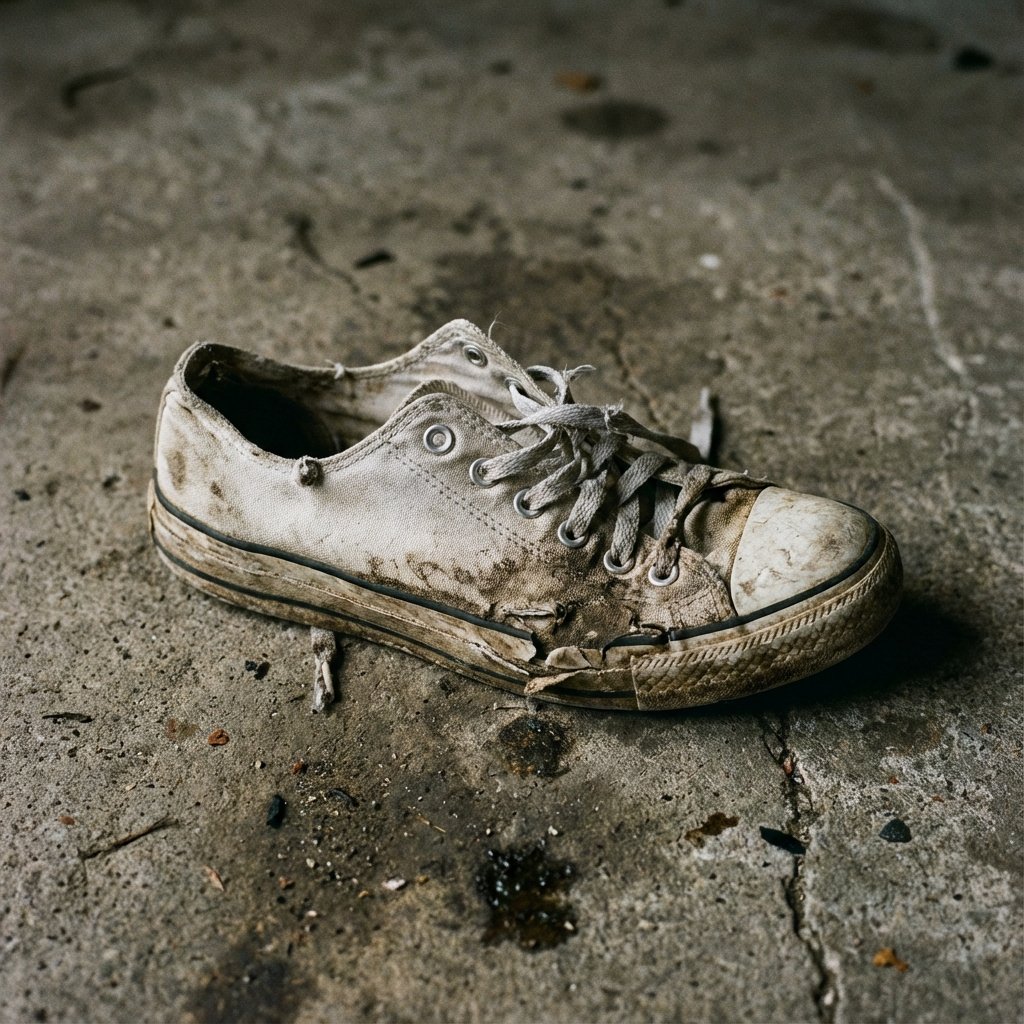
White sneakers are a magnet for disaster. Every step is a gamble against dirt, grass stains, mystery scuffs from the subway, and that one time your friend spilled coffee on them. They start out crisp and end up looking like they’ve been through a mud wrestling tournament. The industry that’s popped up around this problem is a masterclass in making you feel like you need a chemistry degree to clean your shoes. They hit you with ‘nano-technology foam’, ‘premium bristle brushes’, and ‘sole brighteners’. Translation: soap, a brush, and bleach.
These kits are designed to do one thing: separate you from your cash. They prey on the idea that shoe care is complicated and requires a special, expensive formula. It’s a total racket. You’re paying for a fancy box, a tiny plastic bottle, and a whole lot of marketing. The active ingredients are often cheap and basic, but they’re packaged to look like high-tech magic. We’re here to pull back the curtain on that whole operation and show you the power you already have in your home. You don’t need their overpriced kits; you just need to know the hack.
The Ultimate Frugal Hack: Meet Your $1 Secret Weapon
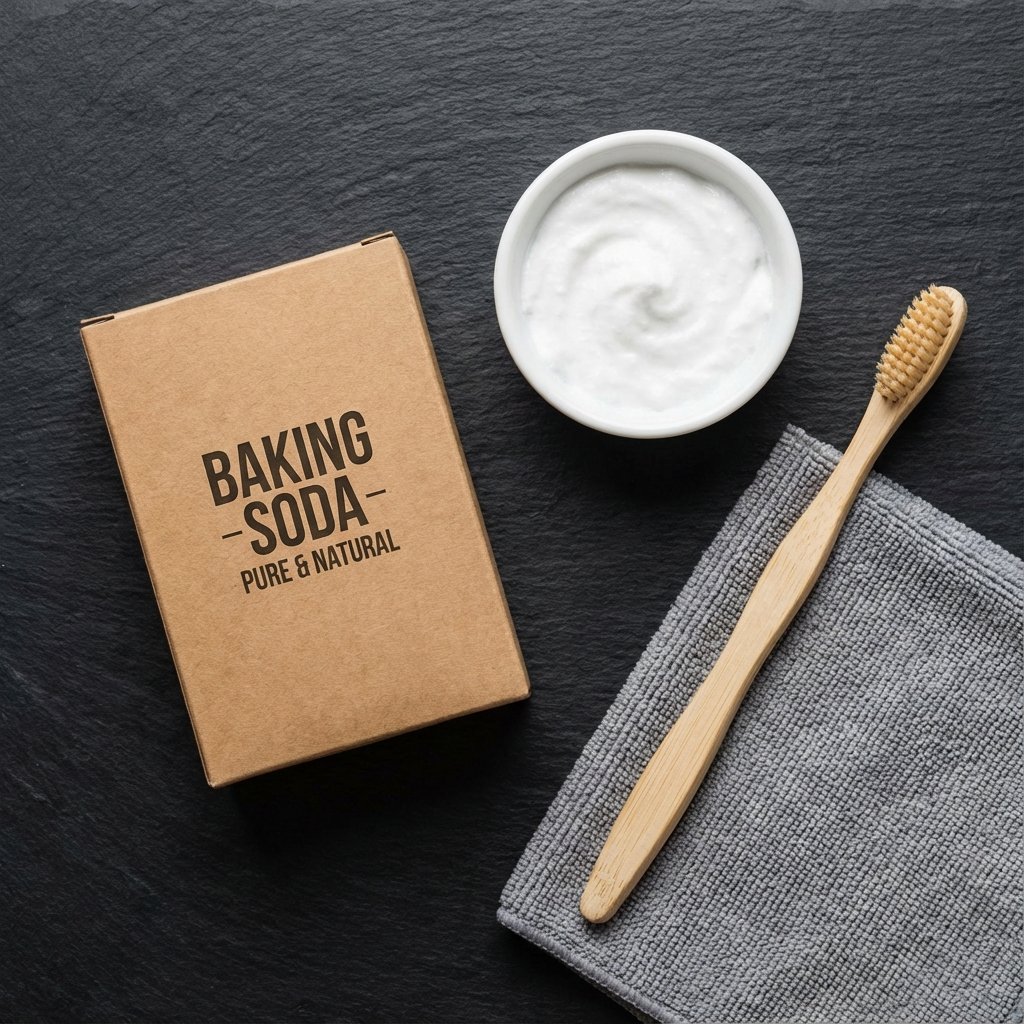
Alright, let’s cut to the chase. The hero of this story, the secret weapon that will wage war on dirt and grime, is simple, humble, and ridiculously effective: Baking Soda. Yeah, that box of Arm & Hammer in the back of your fridge. It’s not just for baking or getting rid of weird smells; it’s a cleaning powerhouse.
So, Why Does It Work?
This isn’t some old wives’ tale; it’s basic science that works in your favor. Here’s the breakdown:
- Mild Abrasive: Baking soda (or sodium bicarbonate) has a fine, gentle grit. When you mix it into a paste, it acts like a super-fine sandpaper that scrubs away surface-level dirt and scuffs without damaging the fabric of your shoes.
- Natural Whitener: It has mild alkaline properties that help break down and lift stains, particularly on white fabrics. When combined with a little hydrogen peroxide (another cheap pantry staple), it creates a powerful, non-bleach whitening reaction.
- Odor Neutralizer: The same reason it works in your fridge is why it works for your shoes. It absorbs and neutralizes the acidic molecules that cause bad odors, leaving your sneakers smelling fresh, not just looking clean.
The best part? It’s dirt cheap, non-toxic, and multi-purpose. You’re not buying a one-trick pony. You’re using an all-star player that belongs in every frugal hacker’s toolkit.
The Play-by-Play: Your 5-Step Sneaker Revival
Time to get your hands dirty to get your shoes clean. This process is simple, but following the steps gets you the best results. No shortcuts.
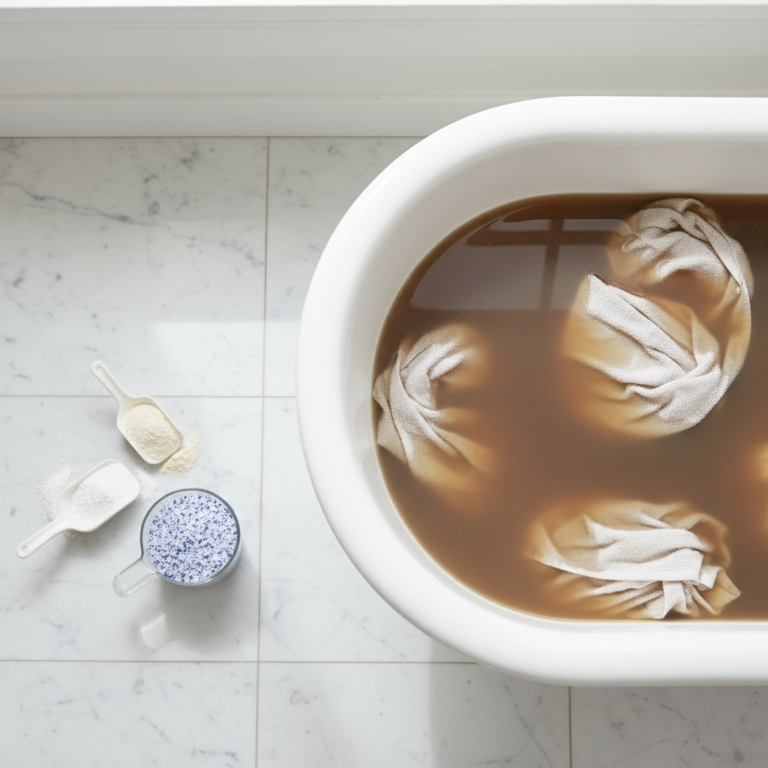
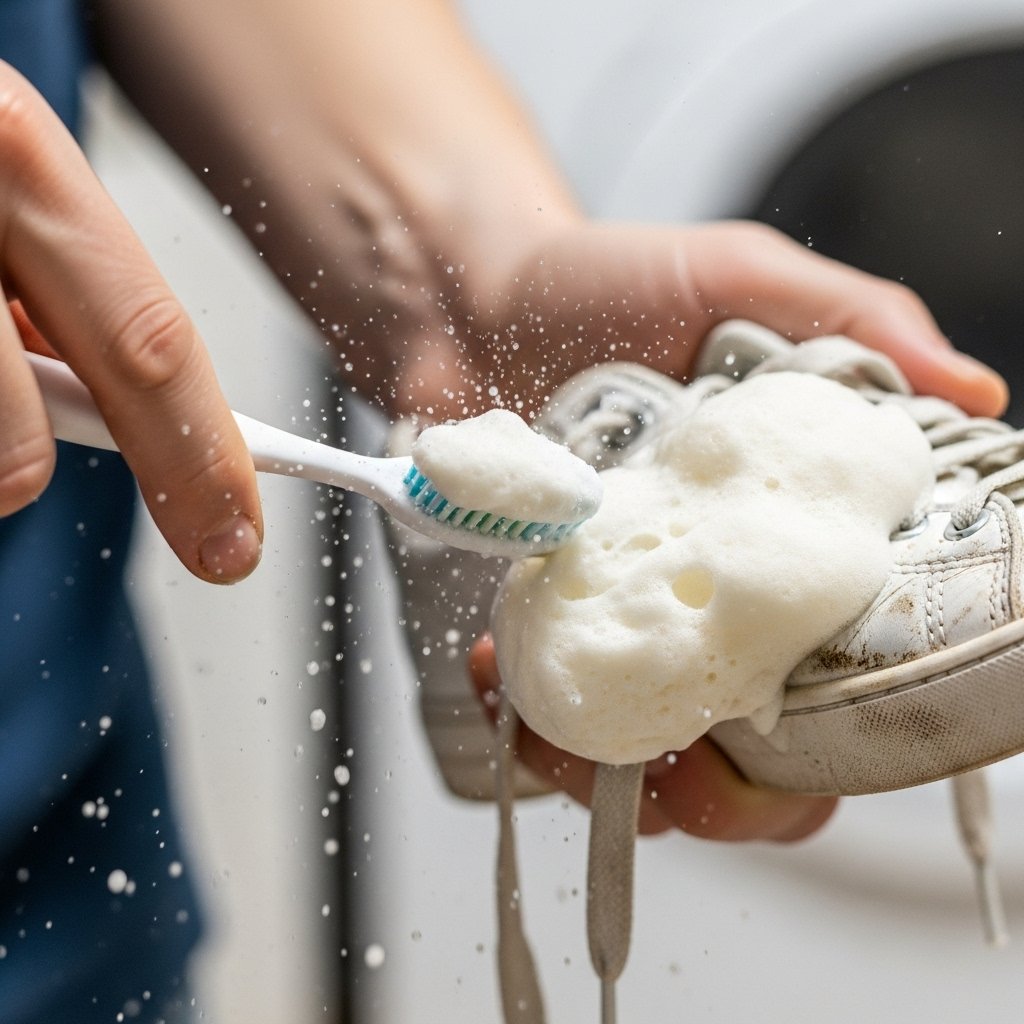
- The Prep: First, get your workstation ready. You don’t need much: a small bowl, your box of baking soda, some water (or hydrogen peroxide for extra power), and an old toothbrush. Take the laces out of your sneakers—they need their own separate bath. Use a dry brush to knock off any loose dirt and dust from the shoes.
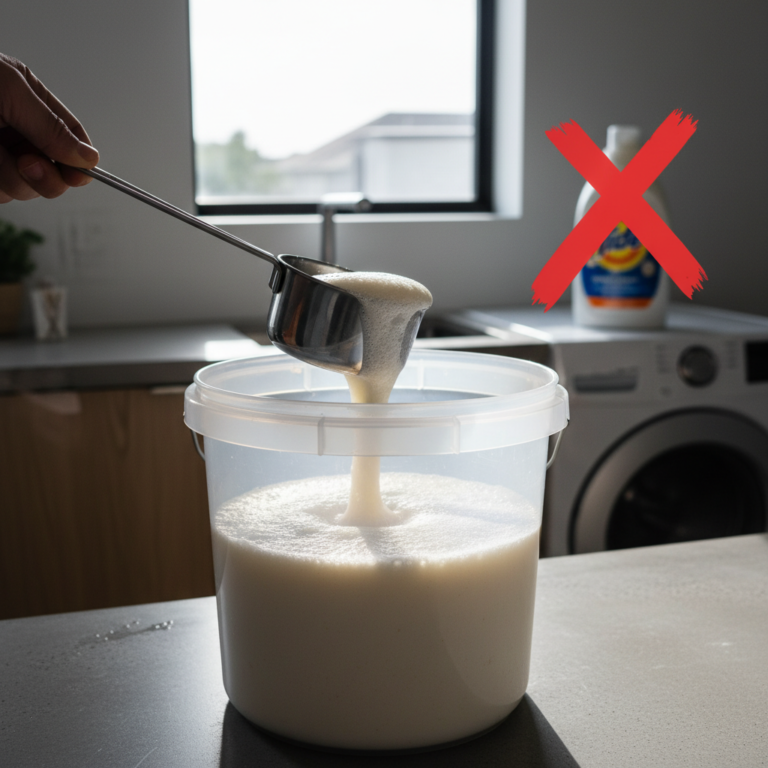
- Mix Your Magic Paste: In your bowl, mix about two tablespoons of baking soda with one tablespoon of warm water. If you have tougher stains or want that extra-bright white, use hydrogen peroxide instead of water. Stir it up until you have a thick, consistent paste, kind of like toothpaste. Don’t make it too watery; you want it to cling to the shoe.
- Scrub Down: Dip your toothbrush into the paste and start scrubbing the dirty areas of your sneakers in small, circular motions. Apply a little pressure, but let the abrasive quality of the paste do most of the work. Don’t be shy—cover the entire shoe, including the rubber soles and canvas. Once coated, let them sit.
- The Sunbath: Place your paste-covered sneakers outside in direct sunlight for a few hours if you can. The UV rays from the sun will react with the baking soda paste, naturally bleaching and brightening the fabric. The paste will harden and crack as it dries. If you can’t use the sun, a warm, dry spot indoors will work too, it just might take longer.
- The Reveal: Once the paste is completely dry and cracked, clap the sneakers together outside to knock off the bulk of the dried baking soda. Use a dry toothbrush or a stiff brush to scrub off the remaining residue. For any lingering bits, wipe them down with a damp cloth. You’ll be amazed at the difference. For the laces, just soak them in a small bowl of the same paste mixture, rinse, and let them air dry.
The Bottom Line: DIY vs. Store-Bought

Talk is cheap, but so is this hack. Let’s look at the actual numbers. Seeing the savings in black and white is what separates the casual saver from a true frugal enthusiast. We’re comparing our simple DIY method to a popular, mid-range sneaker cleaning kit you’d find online or in a mall.
| Feature | Popular Sneaker Cleaning Kit | DIY Baking Soda Method |
|---|---|---|
| Initial Cost | $18.00 – $25.00 | $1.00 – $2.00 (for a whole box) |
| Ingredients | Proprietary soap solution, plastic brush, microfiber cloth | Baking soda, water, old toothbrush |
| Number of Cleanings (Approx.) | 15-20 per kit | 50+ per box of baking soda |
| Cost Per Cleaning | ~$1.20 | ~$0.04 |
| Annual Savings (Cleaning 1x/month) | Base Cost: $14.40 | You Save Over 95% per cleaning! |
The math doesn’t lie. You’re paying a massive premium for packaging and marketing with the store-bought kits. Over a year, the savings from this one simple switch can buy you a couple of meals or add up in your savings account. This is the essence of frugal living: finding the smarter, cheaper way to get the same, if not better, results.
Level Up: Pro-Tips and Rookie Mistakes to Dodge
You’ve got the basic technique down. Now let’s make sure you’re getting pro-level results every time and not making common mistakes that can mess up your kicks.
Pro-Tips for a Flawless Finish
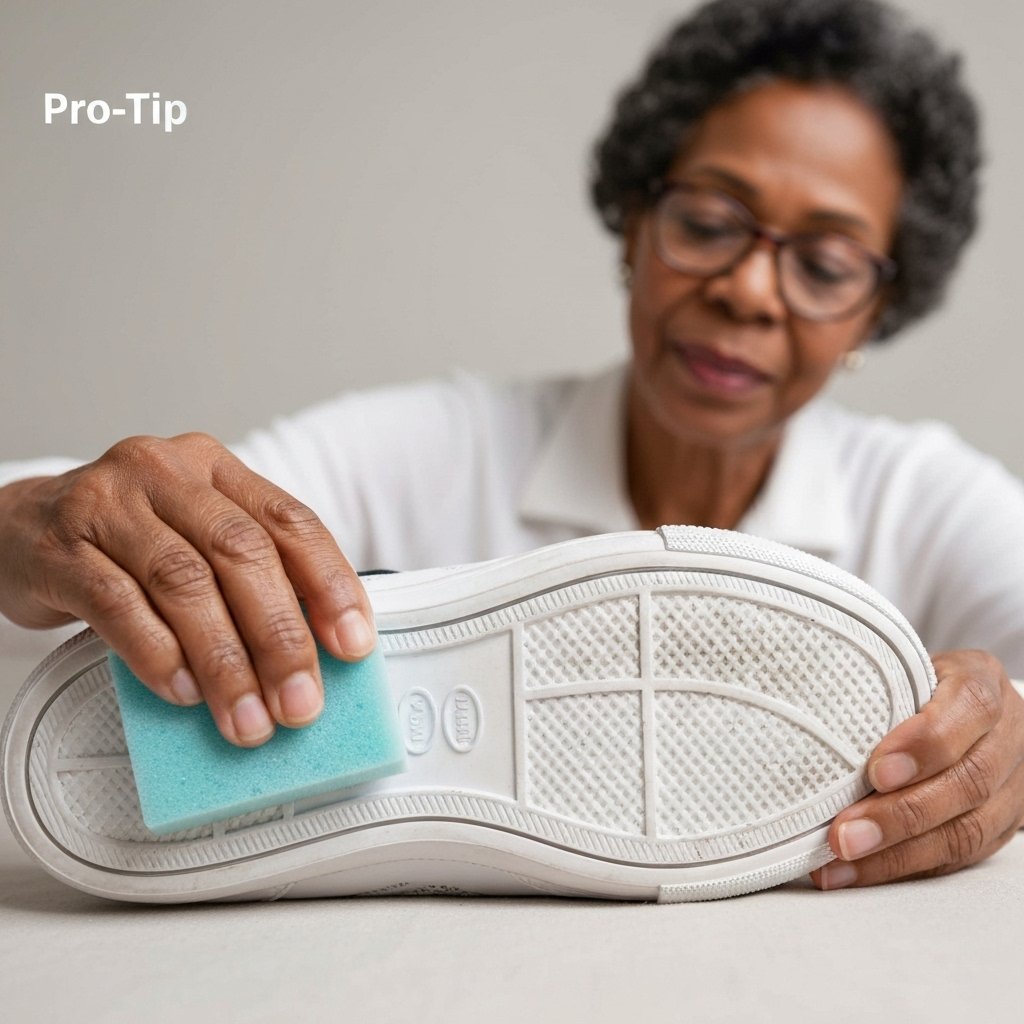
- Soles and Shell Toes: For tough scuffs on rubber soles or shell toes, a magic eraser is your best friend. After your baking soda scrub, go over the rubber parts with a damp magic eraser to lift any remaining marks.
- Lace Spa Treatment: Don’t just toss your laces in the wash. Soak them in a bowl with a scoop of baking soda and hot water for an hour before you rinse them. They’ll come out looking brand new.
- Patience is Key: Don’t rush the drying process. Letting the paste fully dry and harden is what pulls the dirt out of the fabric. Rinsing it off while it’s still wet is a rookie move and won’t be nearly as effective.
Rookie Mistakes to Avoid
- The Bleach Trap: Never, ever use straight bleach on your white sneakers. It seems like a good idea, but it can react with the materials and actually turn them yellow over time, permanently staining them.
- The Dryer of Death: Do not put your sneakers in the clothes dryer. The high heat can warp the rubber, melt the glue holding the shoe together, and cause them to lose their shape. Always air dry.
- Ignoring the Material: This baking soda hack works wonders on canvas, mesh, and rubber. For materials like leather or suede, you need a different approach. Using a water-based paste on suede will ruin it. Always know what your shoe is made of.
Key Rule: Always test any cleaning solution on a small, hidden spot first, like the inside of the tongue. Not all kicks are created equal, and a quick spot-test can save you from a major disaster.
Conclusion
There you have it. The power to restore your favorite white sneakers wasn’t in some $20 bottle; it was in a $1 box you already owned. This is more than just a cleaning hack—it’s a mindset. It’s about looking past the hype and finding smart, effective solutions that keep your money in your pocket. You don’t have to choose between looking sharp and being broke. By being resourceful, you can have both. So go ahead, rescue that ‘lost cause’ pair from the back of your closet and give them a new life. Walk with the confidence of someone who knows the value of a dollar and the secret to impossibly clean kicks.