The “Money Pizza” Gift Tutorial Every Graduate Actually Wants
Let’s be real. That new graduate in your life doesn’t want another inspirational quote book or a fancy pen they’ll lose in a week. They’re staring down the barrel of student loans, security deposits, and the sudden, terrifying realization that groceries don’t magically appear in the fridge. What they want—what they need—is cash. But just handing over a few bills in a flimsy card feels impersonal and, frankly, a little lazy.
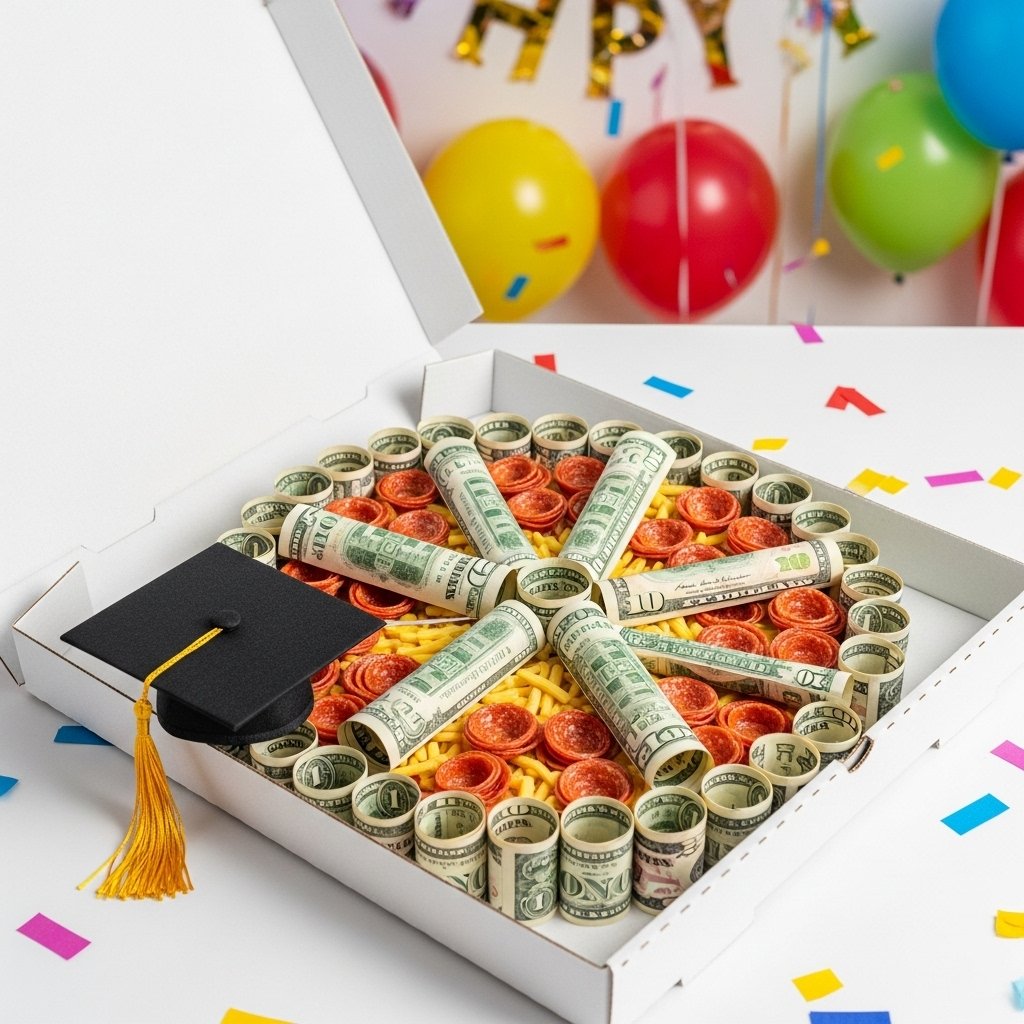
Enter the Money Pizza. This isn’t just a gift; it’s a statement. It says, “I get it. I’m here to help you get started, and I’m cool enough to do it with style.” It’s the ultimate frugal hack for gift-giving season. You deliver the practical gift of cash in a package that’s fun, Instagram-worthy, and shows you put in genuine effort without blowing your own budget on overpriced, forgettable junk. Forget delivery fees; it’s time to deliver the dough yourself. This tutorial will walk you through every step of creating the most talked-about gift at the party.
The Game Plan: Assembling Your Money Pizza Kit
Before you can build your masterpiece, you need to get your supplies in order. This isn’t about spending a ton; it’s about being smart. Most of this stuff you might already have, and the rest is dirt cheap. The real value is in the cash you’re gifting, not the packaging.
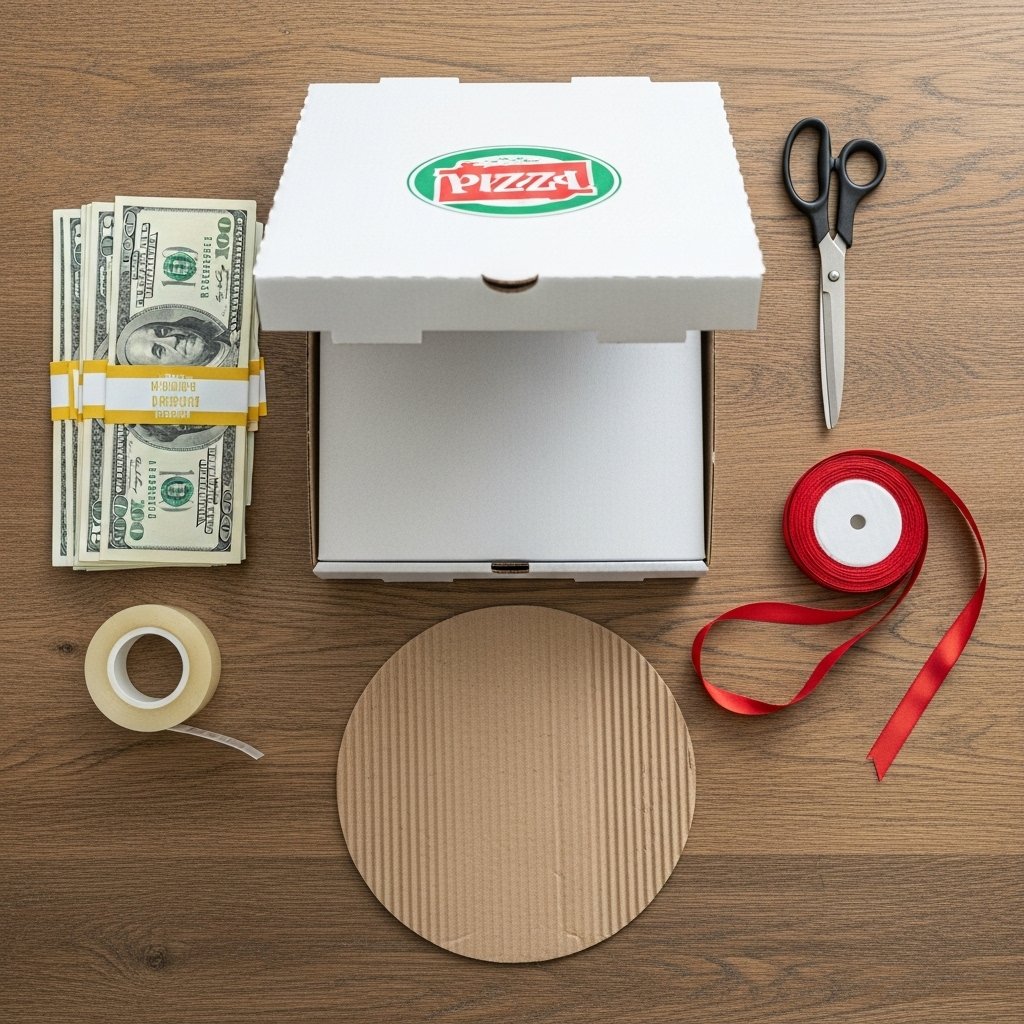
Your Shopping List:
- A Clean Pizza Box: The foundation of your project. You can ask your local pizza joint for a spare clean one (most will give you one for free or a buck), or buy one from a party supply store. Go for a standard 10 or 12-inch box.
- The “Dough”: Crisp, new bills work best for rolling. Head to the bank and ask for fresh bills. Decide on your gift amount. A $50 pizza made of $1 bills looks incredibly full and impressive. A mix of $1s, $5s, and $10s can create a cool visual effect.
- Cardboard Base: You need a circle of cardboard that fits snugly inside the pizza box. Trace the bottom of a pan or a plate and cut it out from an old shipping box. This is your pizza “crust.”
- Clear Tape: The invisible hero. You’ll need plenty of standard clear tape to secure your rolled bills.
- Double-Sided Tape: Essential for sticking the cardboard base to the box and the cash rolls to the base without making a mess.
- Ribbon or Paper Clips: Optional, but a thin ribbon or small paper clips can add a pop of color and help secure the bill rolls.
- The “Toppings”: Coins! Quarters make great “pepperoni,” and dimes or pennies can be your “olives” or “peppers.” Get a roll of shiny new quarters from the bank to make it look sharp.
- A Centerpiece (Optional): A small, round container like a sauce cup or a bottle cap can be placed in the middle to help you arrange your rolls. You can even fill it with more coins or a rolled-up larger bill (like a $20 or $50).
The Bottom Line: DIY Money Pizza vs. Lame Store-Bought Gifts

Still on the fence? Let’s break down the math. People often feel pressured to buy a “proper” gift, thinking that cash is tacky. That pressure leads to spending money on things the recipient doesn’t even want. A Money Pizza flips the script by making the cash itself the thoughtful, creative part of the gift. Look at how the value stacks up.
Let’s assume your total gift budget is around $75.
| Gift Option | Cost Breakdown | Actual Value to the Graduate |
|---|---|---|
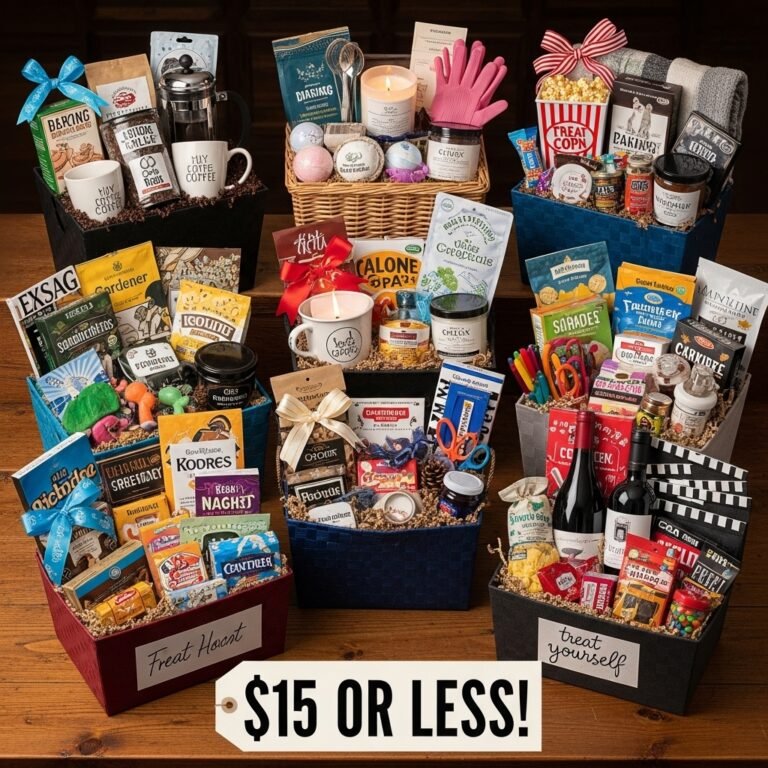
| The “Fancy” Gift Basket | Gourmet Coffee ($15), Weird Crackers ($8), Scented Candle ($20), Cheap Mug ($10), Basket & Wrapping ($22). Total: $75 | Maybe $15 if they like the coffee. The rest is likely to be re-gifted or collect dust. Low utility, high perceived cost. |
| The Generic Gift Card | Gift Card to a specific store ($70), Greeting Card ($5). Total: $75 | $70, but it’s restrictive. They’re forced to shop at one place, and it can get lost or forgotten. It feels impersonal. |
| The DIY Money Pizza | Cash Gift ($70), Pizza Box ($1), Tape & Supplies ($4). Total: $75 | $70 in cold, hard, flexible cash they can use for rent, food, gas, or student loans. Plus, a memorable, fun experience they’ll tell their friends about. Maximum utility and impact. |
The table doesn’t lie. For the exact same budget, the Money Pizza delivers 100% usable value to the graduate. You’re not paying for overhead, branding, or a wicker basket. Every dollar of your gift (minus a few bucks for craft supplies) goes directly into their pocket, wrapped in a package of creativity and care.
The Assembly Line: Your Step-by-Step Guide to Building the Perfect Pie
Alright, it’s time to get to work. Put on some music, clear your table, and let’s build this thing. Follow these steps, and you’ll have a masterpiece in no time.
- Prep Your Base: Take your cardboard circle and cover it with paper (white, green, or red works well) if you want to hide the brown cardboard. Use double-sided tape to secure the cardboard circle to the inside bottom of the pizza box. This prevents your pizza from sliding around.
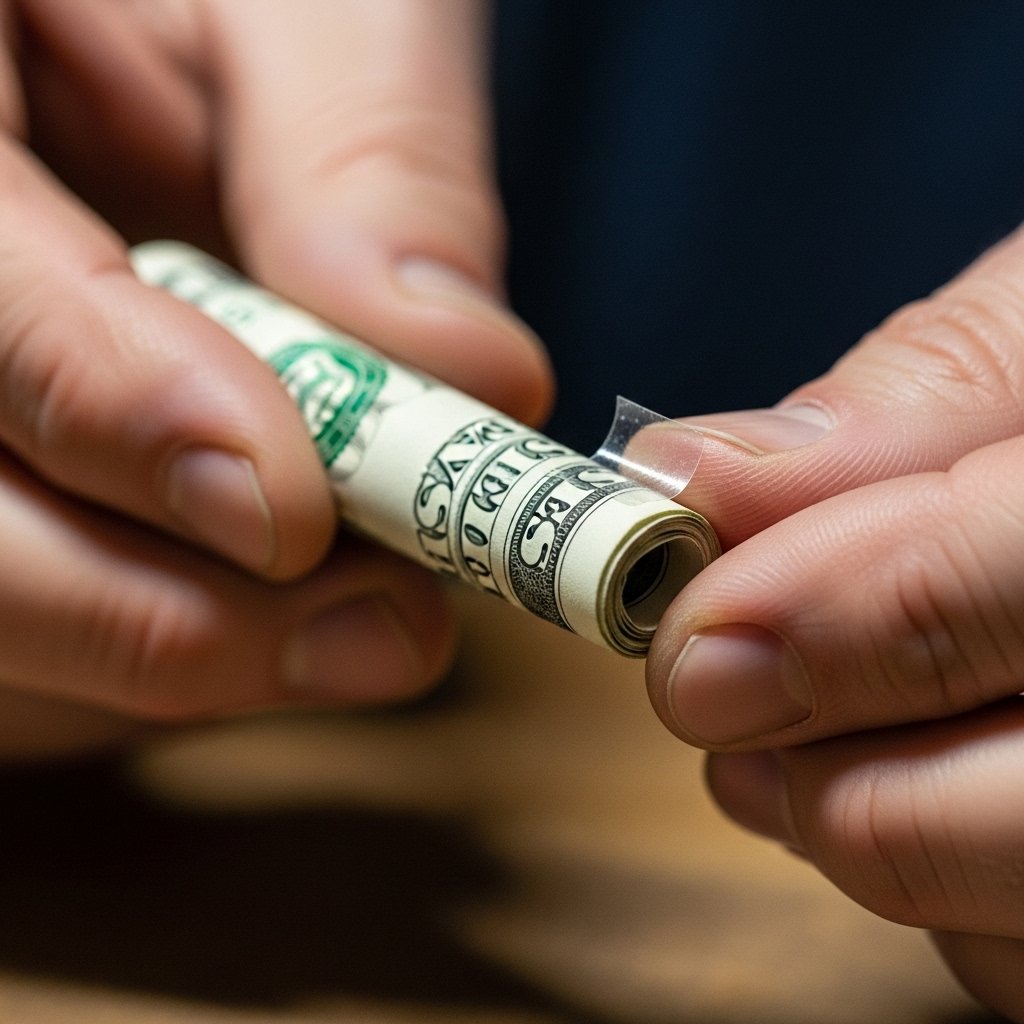
- Roll the “Pepperoni”: This is the most important part. Take a single bill and roll it tightly. For a consistent look, always roll it the same way (e.g., with the portrait facing out). Don’t crease it! A gentle roll is all you need. Secure the end of the roll with a small, discreet piece of clear tape. Repeat this for all your bills. This is the most time-consuming step, so be patient.
- Place Your Centerpiece: Put your sauce cup or bottle cap right in the middle of the cardboard base. This will act as your guide. You’ll build the pizza around it.
- Lay the First Layer: Start placing your rolled-up bills vertically around the centerpiece. Stand them up on their circular ends. Pack them in tightly so they support each other. Create a full circle around your center guide.
- Build Outward: Once the first ring is complete, start on the second. Place the next layer of rolled bills around the first, continuing the circular pattern. Use small, folded pieces of double-sided tape on the bottom of the rolls if you need extra stability, but packing them tightly is usually enough. Continue adding concentric circles of bills until you reach the edge of your cardboard “crust.”
- Add the “Cheese” and “Toppings”: Once all your bills are in place, it’s time for the finishing touches. Sprinkle your coins over the top of the rolled bills. The quarters will nestle into the gaps, looking like pepperoni. Use dimes and pennies for extra color and texture. Don’t go overboard—you want it to look like toppings, not a coin explosion.
- The Final Slice (Optional): For a classic pizza look, you can create “slices.” Use a couple of strands of ribbon or black string to divide the pizza into 8 triangular sections. Lay the ribbon from the center outwards to the edge of the crust.
- Box It Up: Close the lid, and your Money Pizza is ready for delivery! You can write a message on the inside of the box lid for an extra personal touch.
Level Up: Pro Customization Hacks for a Five-Star ‘Pizza’

You’ve mastered the basic recipe. Now, let’s add some secret ingredients to make your Money Pizza truly legendary. These simple hacks take minimal effort but have a massive impact.
- The Custom Box Top: Design and print a custom label for the top of the pizza box. Use a free online design tool and come up with a funny pizzeria name. How about “Graduation Grub,” “Papa John’s Got Nothing on This,” or “Here’s Some Dough, Bro”? A personalized top makes the whole package feel like a premium, thoughtful gift.
- The “Stuffed Crust”: Use larger bills ($10s or $20s) for the outermost ring of your pizza. This creates a “stuffed crust” effect and is a great surprise when the recipient starts deconstructing their gift.
- A Side of “Breadsticks”: Want to include a gift card? Roll it up tightly, wrap it in a piece of paper labeled “Cheesy Bread,” and tuck it alongside the pizza inside the box. It’s a perfect combo.
- Denomination Toppings: Instead of using just $1 bills, mix it up. Use $5s for the pepperoni rolls and $1s for the main pizza base. The different colors will make the design pop. You can even use a $2 bill for good luck.
- The “Special Note” Centerpiece: Instead of a sauce cup, write a personal check for an odd amount (like $20.24 for the graduation year), roll it up, and make it the centerpiece of the entire pizza. It’s a personal touch right in the middle of it all.
These customizations show you went the extra mile. They transform a clever craft into a deeply personal and unforgettable gift that perfectly matches the graduate’s personality and your relationship with them.
Conclusion
There you have it. The complete playbook for ditching boring graduation gifts forever. The Money Pizza isn’t just about giving cash; it’s about giving it with personality, humor, and genuine thought. You’re giving them a fun story to tell and the financial freedom to use your gift on what they actually need—whether that’s a professional outfit for their first interview, a deposit on an apartment, or simply a month’s worth of ramen noodles. You’ve successfully hacked the art of gift-giving, saving yourself from the trap of overpriced, useless products while delivering maximum value and a memorable experience. Now go on, get to the bank, grab a pizza box, and give that graduate a slice of the good life they truly deserve.