Grow Superfoods On Your Counter: Growing Microgreens At Home To Save Money For Beginners
Let’s be real: that tiny plastic box of microgreens at the grocery store costs more than a latte. You see it, you know it’s good for you, but paying $5 for a handful of tiny plants feels like a scam. It is. They’re charging you a premium for something you can grow yourself, on your kitchen counter, for literal pennies. This isn’t about becoming a farmer; it’s about a simple, powerful money-saving hack that puts you back in control of your food and your budget.
Forget complicated gardening setups and expensive equipment. We’re talking about a system so easy, you can start this weekend with less than $20 in supplies. This guide is your no-fluff playbook. We’ll show you the exact gear you need (and what’s a waste of money), the step-by-step process to go from seed to harvest in about 10 days, and how to turn this simple skill into a legit side hustle that can put cash back in your pocket. It’s time to stop paying the ‘health tax’ and start growing your own superfoods. Let’s get started.
The Microgreen Hustle: Why You’re Overpaying for Tiny Greens

The first step to any good hustle is understanding the market you’re about to disrupt. In this case, it’s the ridiculously overpriced ‘superfood’ aisle. Microgreens are just young vegetable greens, but they pack a massive nutritional punch—up to 40 times more vitamins and minerals than their mature counterparts. Stores know this, and they leverage ‘health’ as a luxury brand. They sell you convenience and hype in a plastic clamshell, and you pay for their packaging, shipping, spoilage, and marketing.
But when you break down the math, the picture becomes crystal clear. You’re not paying for the greens; you’re paying for everything else. By taking on the simple task of growing them yourself, you cut out every single middleman. You control the supply chain. The savings aren’t just a few cents here and there; they are massive. Look at this breakdown and see for yourself where the money goes.
Cost Breakdown: DIY vs. Store-Bought
| Item | DIY Homegrown (First Harvest) | Store-Bought (Single Container) |
|---|---|---|
| Greens | Broccoli Microgreens (approx. 2 oz) | Organic Broccoli Microgreens (2 oz) |
| Upfront Cost | Seeds: $15 for 1lb bag Coco Coir: $5 for 1 brick Trays: $10 for a set of 5 |
$4.99 |
| Cost Per Harvest (2 oz) | Seeds: ~$0.90 Coir: ~$0.25 Trays: Reusable (cost amortizes to zero) |
$4.99 |
| Total Cost for 2 oz | ~$1.15 | $4.99 |
| SAVINGS PER HARVEST | You save ~$3.84 on every single harvest. Grow one tray a week, and you’re saving over $200 a year on just one type of green! | |
That 1lb bag of seeds will produce over 16 trays of microgreens. The math is undeniable. For the cost of three store-bought containers, you can buy the supplies to grow enough microgreens to last you for months. This is the definition of a frugal hack: a small, one-time investment that pays you back over and over again.
Your No-Fluff Starter Kit: What You Actually Need

Walk into any garden center or browse online, and you’ll be bombarded with ‘all-in-one’ microgreen kits for $50, $80, or even $100+. Don’t fall for it. It’s the same hustle as the grocery store, just packaged differently. You don’t need fancy bamboo trays, specialized grow lights, or branded ‘soil pucks.’ All you need are a few basic, cheap, and effective tools to get the job done.
The Bare-Bones Essentials:
- Growing Trays: You need two trays per crop. One with drainage holes, and one without to act as a watering tray and a blackout dome. Standard 10×20 inch trays are the workhorse of the industry, but you can start with something smaller. Heck, you can even use recycled black plastic takeout containers—just poke holes in one of them.
- Growing Medium: Forget expensive potting soil. The best and cheapest medium is coco coir. It comes in a compressed brick for a few bucks, expands with water, is sterile, and holds moisture perfectly. One brick will last you for dozens of trays.
- Quality Seeds: This is the one place not to skimp, but that doesn’t mean expensive. Buy seeds specifically for microgreens in bulk (4oz, 1lb, or more). It’s way cheaper than buying small garden packets. Start with easy ones like broccoli, kale, radish, or pea shoots.
- A Spray Bottle: Any cheap spray bottle will do for misting your seeds during germination.
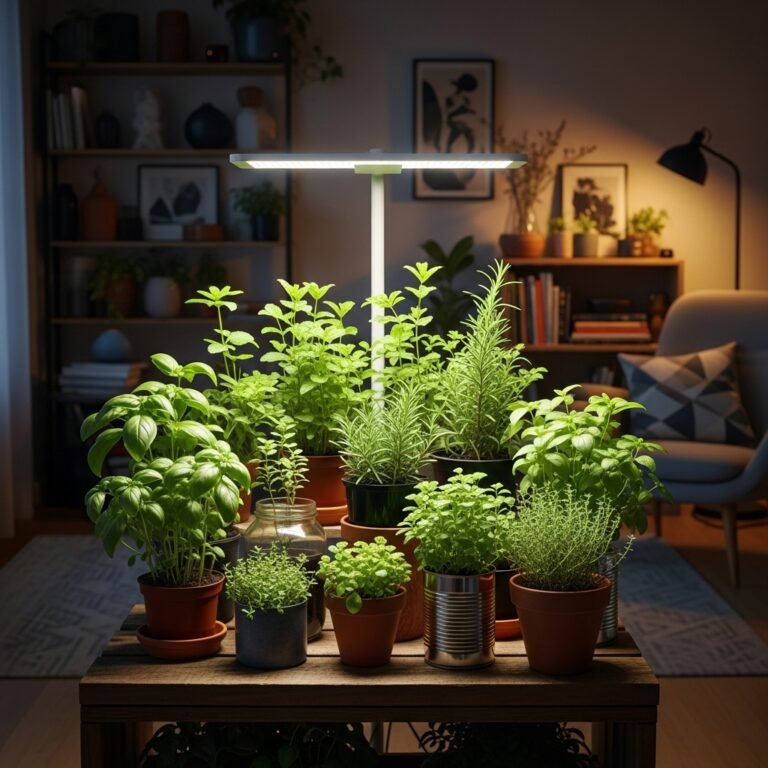
- A Light Source: You don’t need a fancy grow light to start. A south-facing windowsill that gets 4+ hours of direct sunlight is perfectly fine for your first few grows. If you get hooked, a simple shop light from a hardware store is a cheap and effective upgrade.
That’s it. That’s your entire shopping list. You can get all of this for under $30, and most of it is a one-time purchase. You’re setting up a food production line on your counter for less than the cost of a few family-sized bags of salad mix.
The 10-Day Grow-Op: Your Step-by-Step Playbook

This is where the magic happens. Don’t be intimidated; this process is incredibly simple and forgiving. Follow these steps, and you’ll be harvesting your own superfoods in about a week and a half. We’ll use broccoli as our example—it’s fast, easy, and packed with nutrients.
- Prep Your Medium: Take a chunk of your coco coir brick and place it in a bucket or bowl. Slowly add water. The brick will expand like crazy. Keep mixing it until you have a soil-like consistency that’s damp, but not soaking wet. A good test is to squeeze a handful—only a few drops of water should come out.
- Fill Your Tray: Take your tray with the drainage holes and fill it with about an inch of your prepared coco coir. Gently press it down to create a flat, even surface. Don’t compact it too tightly.
- Sow Your Seeds: Now, spread your broccoli seeds evenly and densely across the entire surface of the coir. You want them to be close, almost shoulder-to-shoulder, but not piled on top of each other. This is the key to a thick, lush canopy of greens. Don’t worry about covering them with soil.
- Mist and Stack (The Blackout): Give the seeds a good misting with your spray bottle. Then, place an empty tray directly on top of the seeds. This contact helps the seeds shed their hulls and encourages strong roots. Place a small weight on top (a book, a brick, another tray with soil) to apply gentle pressure. This is the ‘blackout period.’ Keep it in a dark place like a cupboard for 2-4 days. Mist once a day to keep them damp.
- Introduce to Light: After a few days, you’ll see pale, yellowish sprouts pushing up the top tray. That’s your cue! It’s time to take off the top tray and introduce them to light. Place them on your sunny windowsill or under a light. They will turn a deep green within 24 hours.
- Bottom Watering: From now on, don’t water from the top. This can cause mold. Instead, pour about a cup of water into the bottom tray (the one without holes) and place your seedling tray inside. The coir will soak up the water through the drainage holes. Do this once a day.
- Harvest Time: In about 7-10 days from sowing, your broccoli microgreens will be 2-3 inches tall and will have opened their first set of leaves (called cotyledons). This is the perfect time to harvest. Use a sharp pair of scissors or a knife to cut them just above the soil line.
Rinse your harvested greens, dry them in a salad spinner or with paper towels, and store them in a sealed container in the fridge. They’ll last for over a week. You just completed your first harvest and saved yourself five bucks. Now, do it again.
Level Up: Flipping Your Greens into a Side Hustle

Once you’ve mastered the grow process (which takes about two tries), you’ll realize something powerful: you can produce a lot of these greens for very little money and time. A single 10×20 tray can yield anywhere from 8 to 16 ounces of product, depending on the variety. That’s a product with a high perceived value and an extremely low production cost. Sound like a business opportunity? It is.
Realistic Earning Potential
Local chefs, boutique grocery stores, and health-conscious consumers at farmers’ markets pay top dollar for fresh, locally grown microgreens. Your cost to produce an ounce is pennies, but you can sell it for dollars. Let’s look at some conservative numbers for a small-scale operation.
| Scale of Operation | Weekly Cost to Produce | Weekly Gross Revenue (Selling at $2/oz) | Weekly Profit | Monthly Profit |
|---|---|---|---|---|
| Hobbyist (4 Trays/Week) | ~$10.00 | ~$80.00 (40 oz) | $70.00 | $280.00 |
| Serious Hustler (10 Trays/Week) | ~$25.00 | ~$200.00 (100 oz) | $175.00 | $700.00 |
| Small-Scale Pro (20 Trays/Week) | ~$50.00 | ~$400.00 (200 oz) | $350.00 | $1,400.00 |
This isn’t a get-rich-quick scheme; it’s a legitimate business model. You’re selling a fresh, high-quality product directly to consumers, cutting out the entire corporate supply chain.
The Approach: Sample & Sell
Your best sales tool is your product. Don’t just talk about it; show it. Here’s a script you can use to approach a local restaurant chef:
The Script:
“Hi Chef, my name is [Your Name] and I’m a local grower specializing in microgreens. I know you’re committed to fresh, quality ingredients, so I wanted to drop off a free sample for you to try. I’ve got some spicy radish and nutty pea shoots here. I can offer consistent, weekly delivery, and since I’m local, they’ll be fresher than anything you can get from a supplier. Can I leave this with you?”
Confidence and a quality product are all you need. Let the greens do the talking.
Scam Warning: Beware the ‘Guru’
Key Rule: You do NOT need to buy a $1,000 online course to learn this. The internet is full of ‘gurus’ selling overpriced information that is available for free. All the core knowledge you need is in this article and in free videos online. Start small, learn by doing, and scale with your profits, not with debt from buying a fancy program.
Conclusion
You now have the complete playbook. You see the outrageous markup at the store, you have the dirt-cheap shopping list, you know the step-by-step growing process, and you even have a path to turn this skill into a source of income. This is more than just gardening; it’s a statement. It’s a way to reclaim a piece of your budget from the big corporations and invest it back into your own health and wealth.
The barrier to entry is practically zero. For the cost of a few coffees, you can set up a system that provides you with fresh, nutrient-dense food week after week. Whether you do it to save $200 a year on groceries or to build a $1,000/month side hustle is up to you. The power is in your hands. So, what are you waiting for? Stop paying for overpriced plastic boxes of wilted greens. Go grab some seeds and a tray, and start your first grow-op this week. Your wallet and your body will thank you.