Turn Old Tees Into Treasure: Easy DIY T-Shirt Yarn Tutorial
Alright, let’s be real. You’ve got a drawer or a box filled with old t-shirts. The ones with the faded logos, the slightly-too-small fit, the pit stains you’d rather forget. Your first instinct is to trash them. Stop. You’re not looking at clutter; you’re looking at a goldmine. That pile of forgotten fabric is your ticket to high-end craft supplies for pennies, and maybe even a new side hustle that actually puts cash in your pocket.
Forget paying top dollar for chunky yarn at the craft store. That’s a sucker’s game. We’re about to turn those old tees into treasure with the ultimate frugal hack: DIY t-shirt yarn. It’s ridiculously easy, costs next to nothing, and is way better for the planet. Whether you want to make stylish home decor for cheap or sell your creations for a profit, this is the skill you need. Let’s get to it.
The Bottom Line: Why T-Shirt Yarn is a Genius Frugal Move

Before we get our scissors out, let’s talk numbers. Because if it doesn’t make sense for your wallet, it’s not worth your time. The craft industry is big business, and they love charging a premium for trendy materials like chunky, recycled yarn. But you’re smarter than that. You’re not going to pay for something you literally have stuffed in the back of your closet.
Making your own t-shirt yarn isn’t just about being crafty; it’s a strategic financial decision. You’re taking a zero-value item (an old shirt destined for the landfill) and transforming it into a high-value resource. Every ball of yarn you make is money you’re not spending. It’s a direct boost to your budget. Plus, the feeling of making something beautiful out of ‘nothing’ is a power move. You’re not just a consumer; you’re a creator and a resource-savvy hustler.
Cost Breakdown: DIY vs. Store-Bought
The math doesn’t lie. Check out how much you’re saving by skipping the store and heading to your closet instead. This isn’t chump change; this is real money that stays in your pocket.
| Item | Typical Store-Bought Cost | Your DIY Cost | Immediate Savings (Per Shirt!) |
|---|---|---|---|
| One Skein (approx. 50 yards) of T-Shirt Yarn | $12.00 – $20.00 | $0.00 (using an old tee) | $12.00 – $20.00 |
| Materials for a 2′ x 3′ Rug (approx. 6-8 shirts) | $72.00 – $160.00 | $0.00 | $72.00 – $160.00 |
| Materials for a Hanging Planter (approx. 1 shirt) | $12.00 – $20.00 | $0.00 | $12.00 – $20.00 |
The Gear You Need (Spoiler: It’s Already in Your House)
Forget fancy, expensive craft supplies. This is about being resourceful. You don’t need a dedicated studio or a massive budget to get started. In fact, you probably have everything you need right now. Keeping the barrier to entry at zero is key to making this a sustainable frugal habit or side hustle.
The Bare Essentials List:
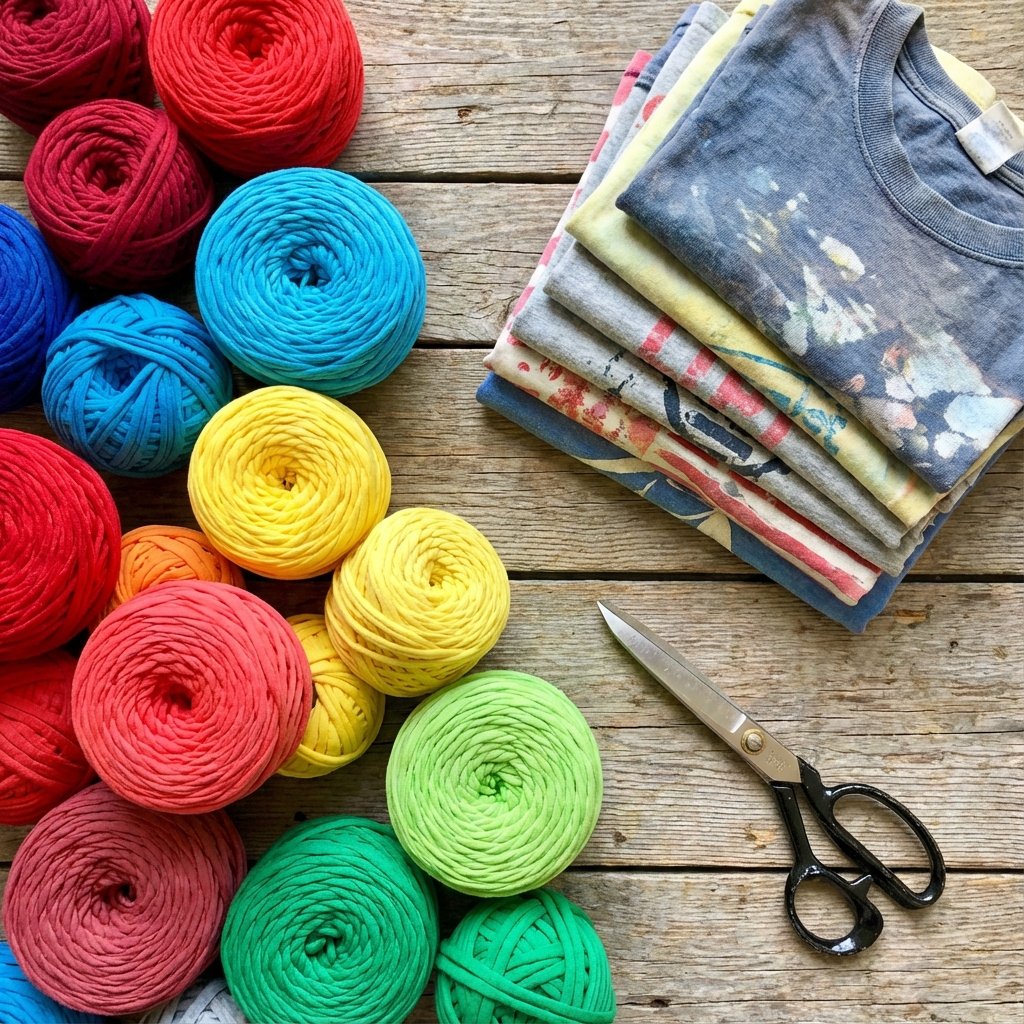
- Old T-Shirts: The star of the show. Adult sizes (Large or XL) work best because they give you more continuous yardage. Look for shirts without side seams for the smoothest yarn, but any tee will do. 100% cotton is great, but cotton blends work too.
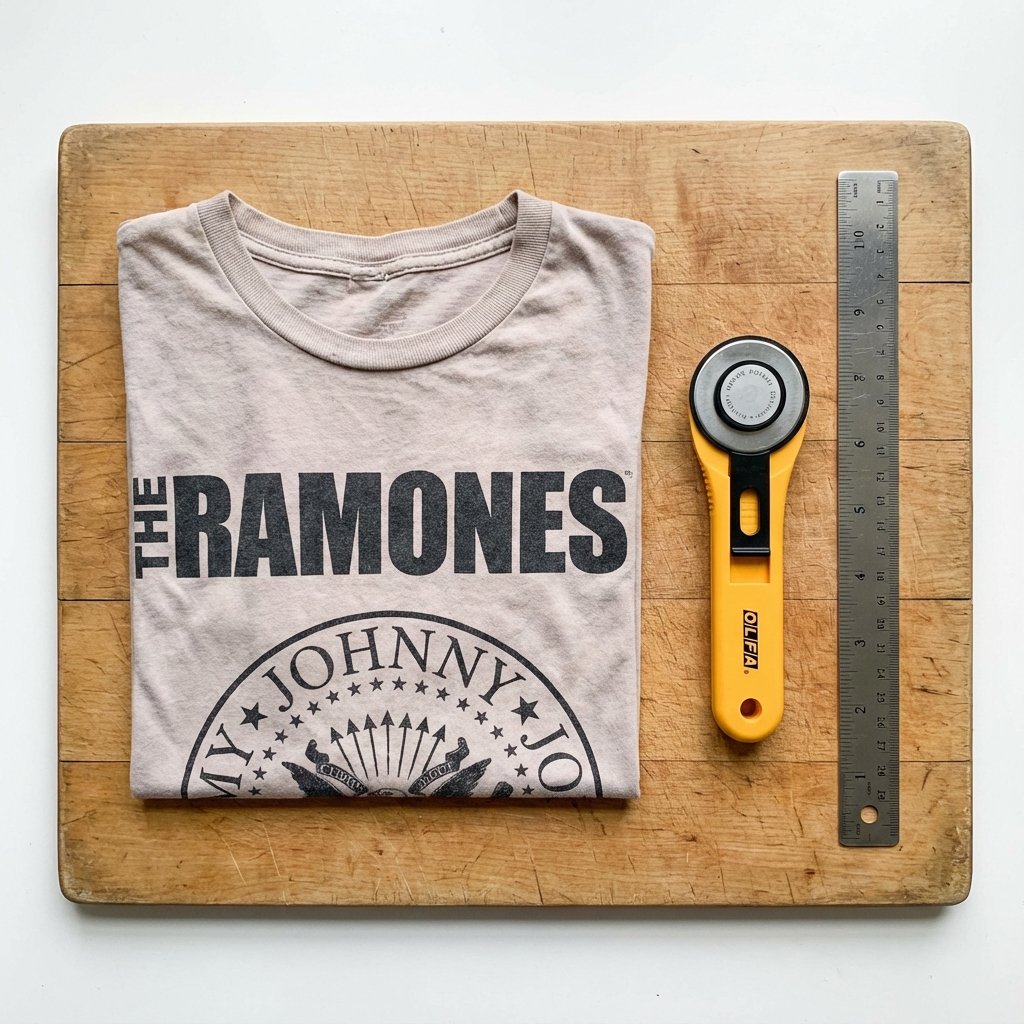
- Sharp Scissors or a Rotary Cutter: A good, sharp pair of fabric scissors is non-negotiable. If you have a rotary cutter and a self-healing mat from another project, even better. It makes the process faster and your lines cleaner, but it’s absolutely not necessary to go out and buy one.
- A Flat Surface: A table or even a clean floor. You just need space to lay the shirt flat for cutting.
That’s it. Seriously. No glue guns, no sewing machines, no complicated gadgets. Just you, a shirt, and something to cut it with. This is peak accessibility.
The No-Fail T-Shirt Yarn Tutorial: Step-by-Step
This is where the magic happens. Follow these steps exactly, and you’ll get a perfect, continuous strand of yarn every single time. Don’t rush it the first time. Once you get the hang of the ‘magic cut’ in Step 4, you’ll be able to crank these out in minutes.
-
Step 1: Prep Your Tee
First, wash and dry the t-shirt. You want to work with clean fabric. Lay it as flat as possible on your cutting surface. Smooth out all the wrinkles. Take your scissors or rotary cutter and cut a straight line across the shirt, right under the armpits. Then, cut off the bottom hem. You should be left with a simple fabric tube.
-
Step 2: Cut the Strips
Keep the tube folded flat. Start at one side and cut 1-inch to 1.5-inch wide strips horizontally across the fabric. Here’s the crucial part: DO NOT cut all the way to the other side. Stop cutting about one inch from the edge. You want to leave one side of the tube intact, like a spine. Continue cutting strips all the way down the tube.
-
Step 3: The Magic Unfolding
Carefully pick up the fabric you’ve just cut. It should look like a weird, fringed rectangle. Find the uncut ‘spine’ and open it up, draping it over your arm so you can clearly see the solid section with the loops hanging down. This is the part that turns a bunch of loops into one long string.
-
Step 4: Make the Continuous Cut
Now, pay attention. You’re going to make a series of diagonal cuts to connect the strips. Start with the first strip at the top. Cut diagonally from the outside edge of the spine to the inside edge of the *second* strip down. This connects strip one to strip two. Now, move to the second strip. Cut from the outside edge of the spine on strip two to the inside edge of strip three. Continue making these diagonal cuts all the way down. You’re essentially creating a spiral. When you’re done, you’ll have one single, super-long piece of fabric string.
-
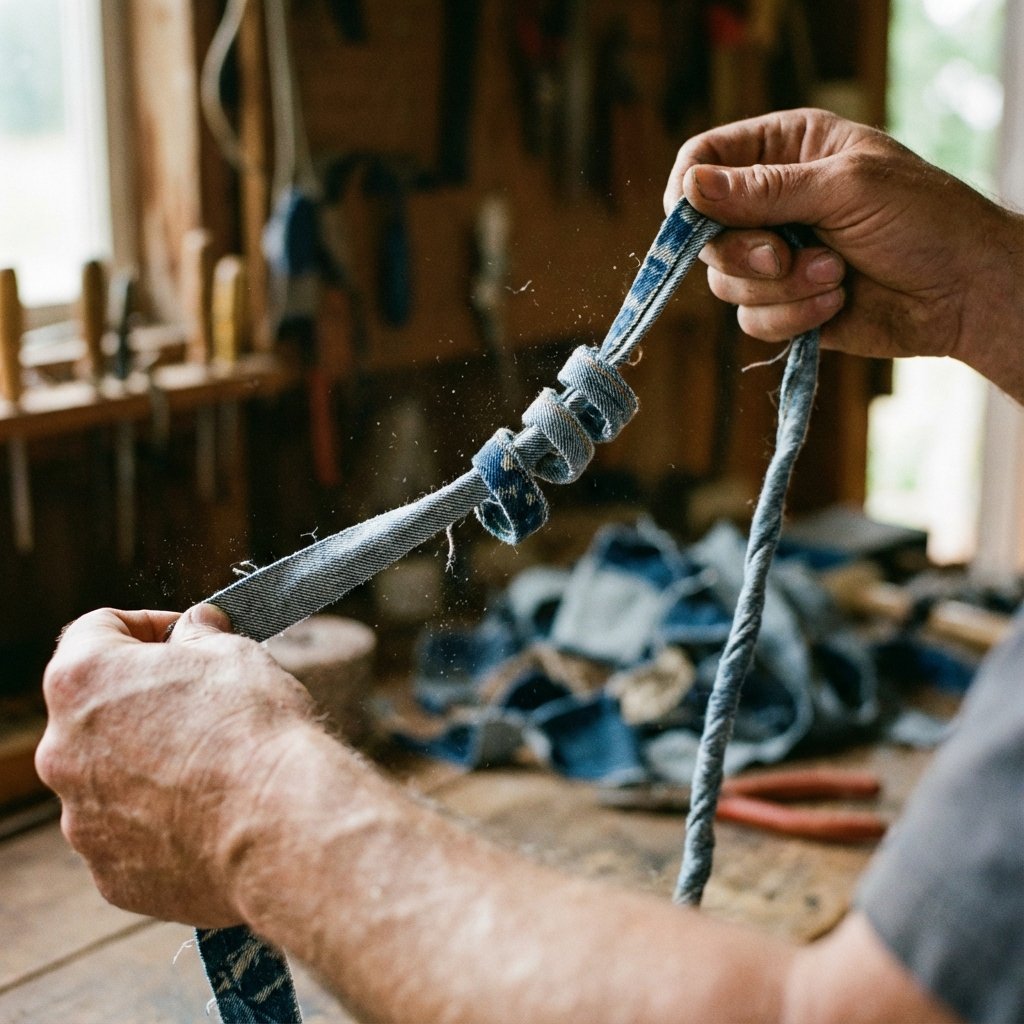
Step 5: Stretch and Roll
This is the most satisfying part. Take a section of your long fabric strip and give it a good, firm tug. You’ll see the cut edges curl in on themselves, transforming the flat strip into round, sturdy yarn. Work your way down the entire length, stretching as you go. Once it’s all stretched, simply roll it into a neat ball. You’re done. You’ve officially turned trash into treasure.
From Yarn to Cash: How to Monetize Your New Skill

Okay, so you’ve mastered the craft. Your closet is empty, and you have a mountain of beautiful, free yarn. Now what? It’s time to flip that effort into actual money. Don’t underestimate the market for handmade, eco-friendly goods. People pay good money for quality and a good story.
What to Make and Sell
Don’t just sell the yarn—sell the finished product. The markup is way higher. Focus on simple, popular items you can make quickly.
- Coasters and Trivets: Quick to make, easy to sell in sets. Perfect for using up smaller amounts of yarn.
- Sturdy Baskets: Storage baskets are always in demand. Think nursery decor, bathroom organizers, or living room catch-alls.
- Plant Hangers: Macrame-style hangers are hugely popular and require very little yarn.
- Pet Beds: A tightly crocheted or knitted cat or small dog bed is a high-value item.
- Rugs and Mats: These are time-intensive but fetch the highest prices. A durable, washable t-shirt yarn rug is a premium product.
Where to Sell Your Goods
- Etsy: The go-to for handmade goods. Use keywords like ‘upcycled decor,’ ‘recycled yarn basket,’ and ‘zero waste gift.’
- Local Craft Fairs & Farmers Markets: People love to see and feel the products. Your ‘trash to treasure’ story is a great selling point.
- Facebook Marketplace: Perfect for selling larger items like rugs locally to avoid shipping costs.
Earning Potential: A Realistic Look
This isn’t a get-rich-quick scheme; it’s a solid side hustle. Your profit is nearly 100% since your main material was free. Here’s a sample breakdown:
| Project | Materials Cost | Time to Make | Potential Sale Price | Estimated Profit |
|---|---|---|---|---|
| Set of 4 Coasters | $0.00 | 1 Hour | $15 – $20 | $15 – $20 |
| Small Storage Basket | $0.00 | 2-3 Hours | $25 – $40 | $25 – $40 |
| Macrame Plant Hanger | $0.00 | 1.5 Hours | $20 – $35 | $20 – $35 |
| Small Pet Bed | $0.00 | 4-5 Hours | $50 – $75 | $50 – $75 |
Scam Warning: The ‘Craft Supplier’ Trap
Be wary of anyone online promising to make you a ‘certified supplier’ or selling you a list of ‘guaranteed buyers’ for a fee. Real hustles don’t require you to pay to play. The power is in your hands. Sell directly to customers through established platforms like Etsy or in person. Don’t pay for promises.
Conclusion
You now have the playbook. You’ve seen how a worthless item taking up space can become a valuable resource. This is more than a cute craft project; it’s a mindset. It’s about seeing potential where others see trash. It’s about using your skills to save money, and then using those same skills to make money.
Every ball of t-shirt yarn you create is a win. It’s a win for your wallet, a win for the environment, and a win for your own creativity. You’re not just making yarn; you’re building self-reliance. So go on, raid that closet. That pile of old tees isn’t clutter anymore. It’s your next project, your next product, your next paycheck. Go get it.