Trash To Cash: 15 Delicious Meals Made Entirely From Kitchen Scraps
Listen up. Every time you toss a carrot peel, a broccoli stem, or the end of a loaf of bread, you’re literally throwing cash in the garbage. The average household wastes hundreds, even thousands of dollars a year on food that ends up in a landfill. That’s not a smart hustle; that’s a financial drain. But what if you could hack the system? What if you could turn that ‘trash’ into delicious, high-quality food that saves you serious money on your grocery bill?
This isn’t about being cheap. This is about being resourceful. It’s about leveling up your kitchen skills and understanding the hidden value in everything you buy. We’re about to show you how to transform the stuff you normally throw away into 15 game-changing meals and ingredients. Forget overpriced organic broth and fancy croutons. You’re about to become the master of your own kitchen economy. Get ready to turn your trash into cash on your plate.
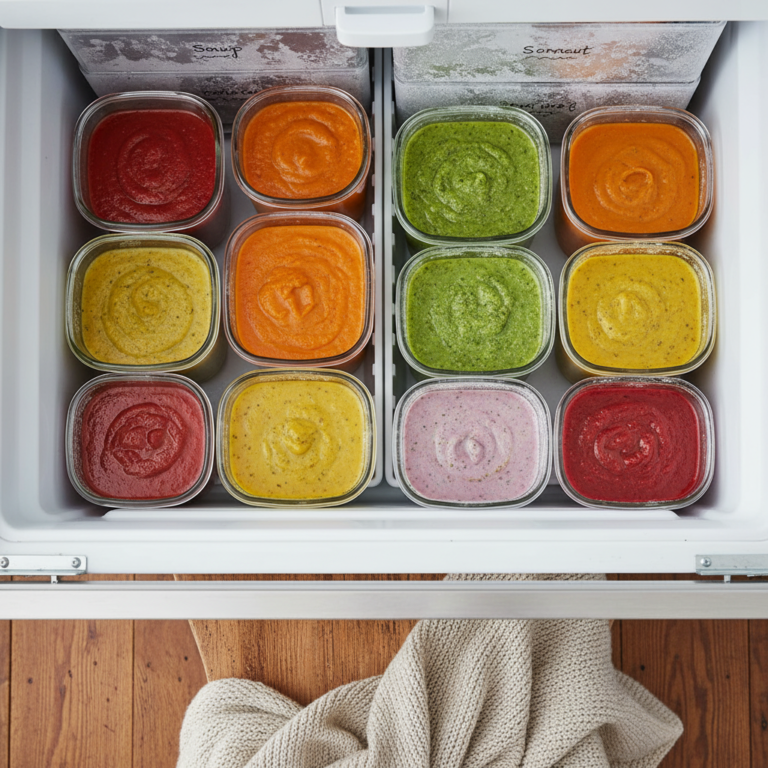
The Foundation: Liquid Gold From Your Scrap Bin
Before you do anything else, you need to master the art of scrap stock. This is the absolute cornerstone of no-waste cooking. That bag of veggie peels and ends in your freezer? That’s not waste; it’s a flavor bomb waiting to happen. Store-bought stocks and broths are often watery, salty, and expensive. Yours will be rich, nutrient-dense, and practically free.
1. ‘Liquid Gold’ Veggie Scrap Broth
This is the easiest win in the entire game. Keep a large freezer bag or container labeled ‘Scraps’ and add to it throughout the week.
- Collect Your Scraps: Aim for a mix of onion skins (for color), carrot peels and ends, celery butts, mushroom stems, leek tops, and herb stems (parsley, thyme). Avoid starchy things like potato peels (they make it cloudy) and bitter veggies like broccoli or cauliflower stems in large amounts.
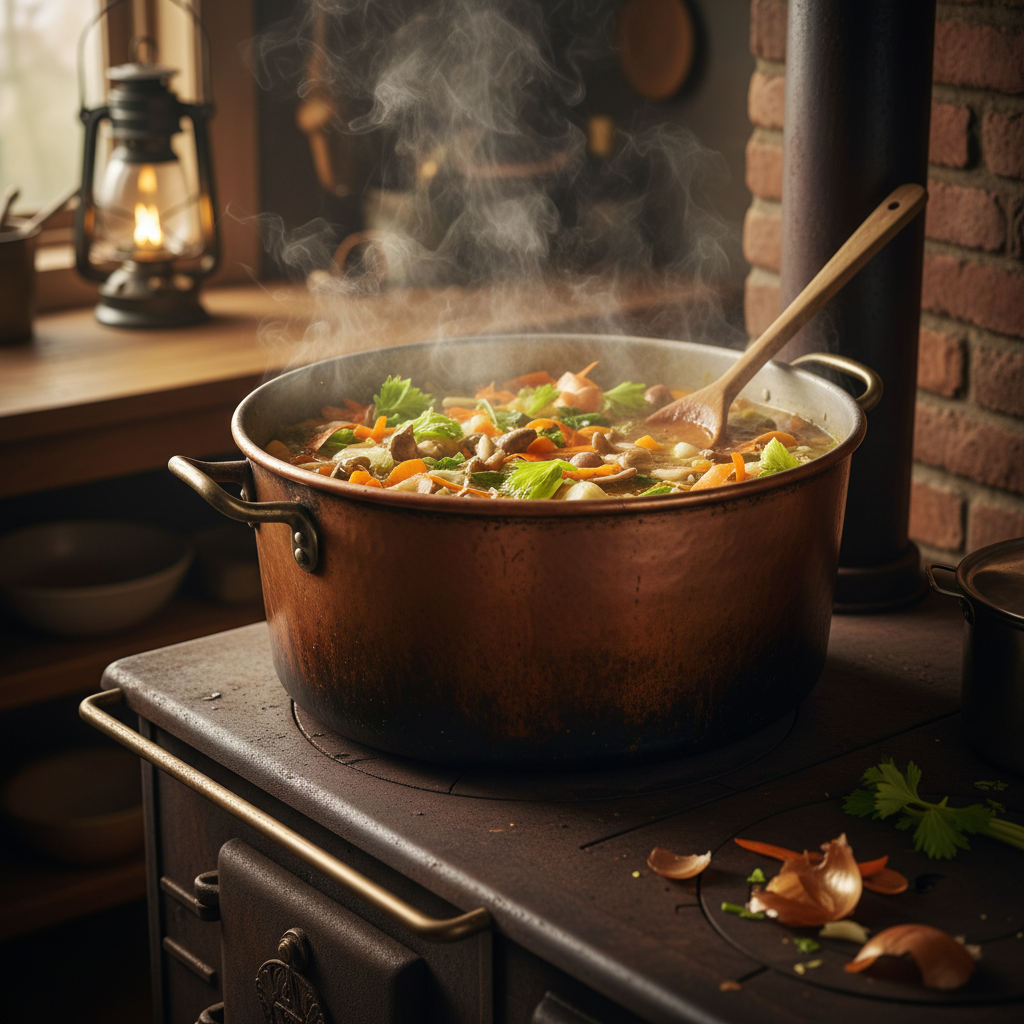
- Combine and Simmer: Once your bag is full (about 4-6 cups of scraps), dump it into a large stockpot. Add a bay leaf, a few whole peppercorns, and maybe a smashed garlic clove. Cover with cold water by about two inches.
- Heat and Strain: Bring to a boil, then immediately reduce to a low simmer. Let it gently bubble away, uncovered, for at least 1-2 hours. Don’t let it boil rapidly. Strain the liquid through a fine-mesh sieve, pressing on the solids to extract every last drop.
- Store Your Gold: Let it cool and store it in the fridge for a week or the freezer for up to six months. Use it as a base for soups, stews, or for cooking grains like rice and quinoa.
2. Ultimate Bone Broth
If you eat meat, never throw away bones. A leftover roast chicken carcass or beef bones are packed with collagen and flavor.
- Roast the Bones: For a deeper, richer flavor, roast your bones on a baking sheet at 400°F (200°C) for about 20-30 minutes until they’re nicely browned.
- Combine and Simmer: Place the roasted bones in a stockpot or slow cooker. Add the same veggie scraps as above. Add a splash of apple cider vinegar (a tablespoon or two) – the acid helps pull minerals from the bones. Cover with cold water.
- The Long Simmer: Bring to a boil, then reduce to the lowest possible simmer. For chicken, simmer for 6-12 hours. For beef, go for 12-24 hours. Skim any foam that rises to the top in the first hour.
- Strain and Store: Strain carefully and cool. The broth should be gelatinous when chilled – that’s the good stuff! Store the same as veggie broth.
Stem to Stern: No-Waste Vegetable Hacks

So many parts of vegetables get tossed simply because we don’t know what to do with them. It’s time to change that. These recipes focus on using the ‘other’ parts of your produce that are perfectly delicious and nutritious.
3. Killer Broccoli Stem Pesto
Broccoli stems are sweet and tender. Don’t you dare throw them away.
- Peel the tough outer layer of the broccoli stems and chop them into chunks.
- Steam or boil the chunks for 5-7 minutes until tender.
- Toss them in a food processor with a handful of nuts (pine nuts are classic, but walnuts or almonds work), a clove of garlic, a big handful of parmesan cheese (or nutritional yeast), and a glug of olive oil.
- Blend until smooth, adding more olive oil until you get the consistency you like. Season with salt and pepper. Boom. Pesto for pasta, sandwiches, or pizza.
4. Crispy Roasted Potato Peels
This is the ultimate snack hack. Tastes like a high-end chip, costs you nothing.
- When you peel potatoes, make sure to wash them thoroughly first.
- Toss the peels on a baking sheet with a drizzle of olive oil, salt, pepper, and any other spices you like (smoked paprika and garlic powder are amazing).
- Roast at 400°F (200°C) for 15-20 minutes, flipping halfway through, until they are golden brown and super crispy.
5. Sautéed Swiss Chard Stems
The stems of chard and other leafy greens are crunchy and delicious. Treat them like celery.
- Separate the stems from the leaves. Chop the stems into small, bite-sized pieces.
- Sauté them in a pan with some olive oil and garlic for 5-7 minutes before you add the leaves. They need a little more cooking time.
- They add an amazing texture and flavor to the final dish.
6. Pickled Watermelon Rinds
This is a classic frugal recipe that will blow your mind. It turns a tough, flavorless rind into a sweet, tangy, and crunchy pickle.
- Peel the tough green outer skin from the watermelon rind, leaving the white/pale green part. Cut it into 1-inch cubes.
- In a saucepan, create a brine by combining 1 cup vinegar (white or apple cider), 1 cup sugar, and 1 cup water. Add spices like cinnamon sticks, cloves, and star anise.
- Bring the brine to a boil. Add the rind cubes and simmer for 15-20 minutes until they become tender and translucent.
- Pack the rinds and brine into a jar and let them cool. Store in the fridge. They’re amazing with savory dishes or on a cheese board.
The Carb Revival: Resurrecting Stale Bread & Grains
Stale bread is not a tragedy; it’s an opportunity. Some of the best dishes in the world were invented to use up old bread. Stop seeing it as past its prime and start seeing it as a key ingredient.
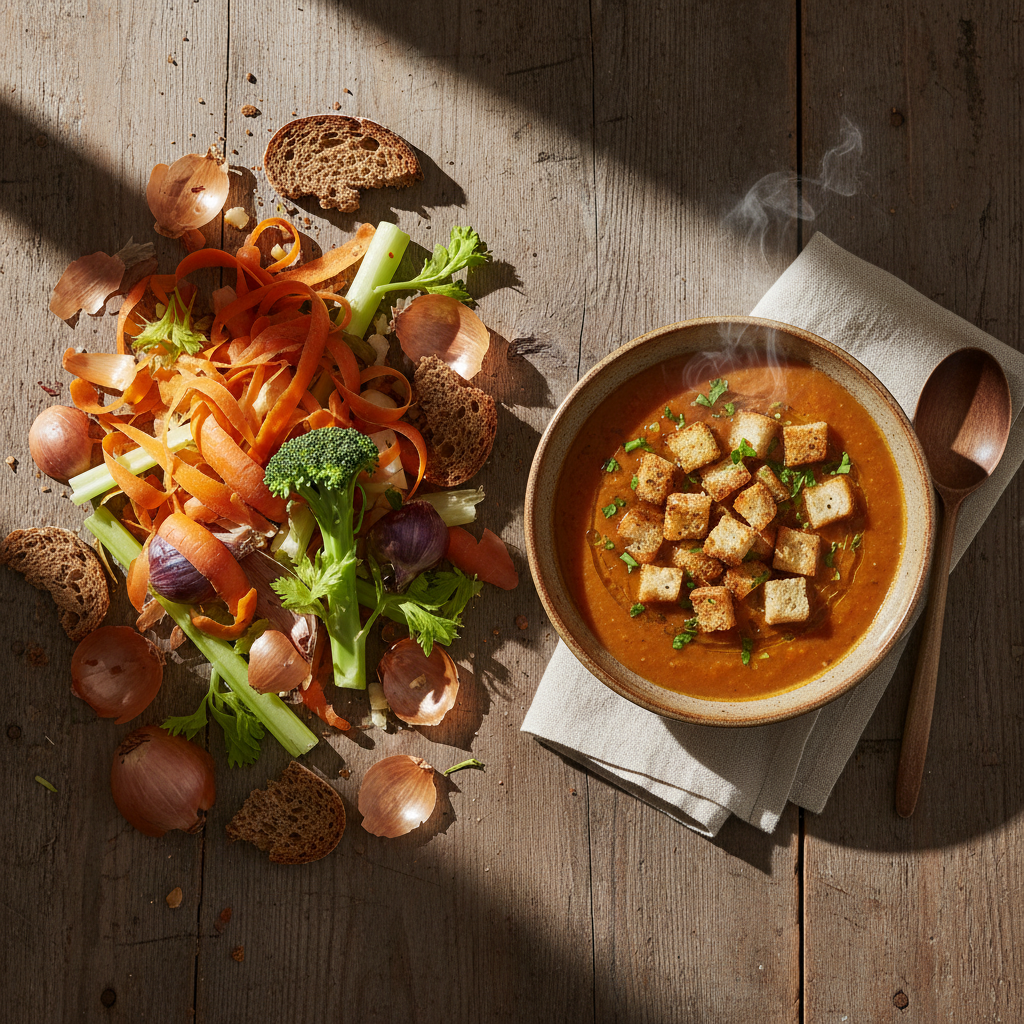
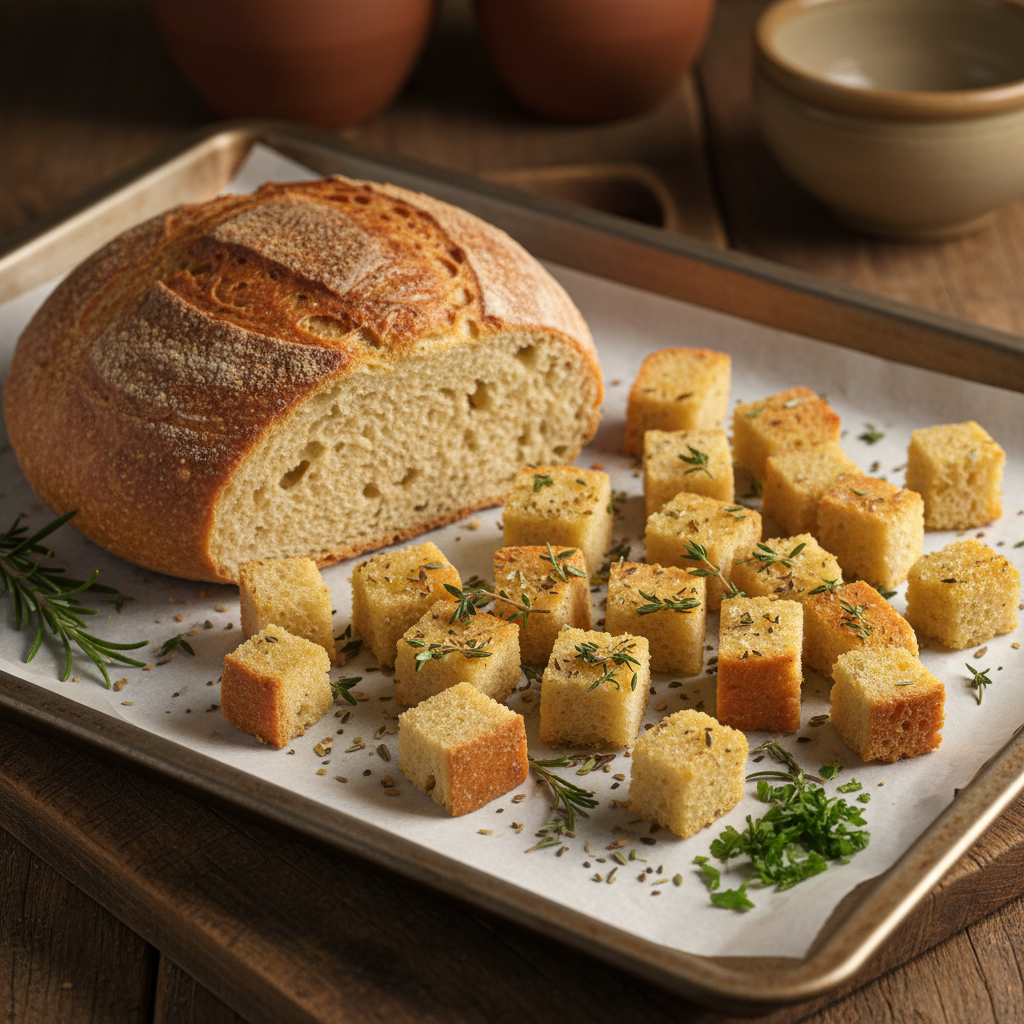
7. ‘Better Than Store-Bought’ Croutons
Never buy croutons again. Seriously.
- Take your stale bread (any kind works) and cut or tear it into bite-sized cubes.
- Toss the cubes in a bowl with a generous drizzle of olive oil, salt, pepper, garlic powder, and some dried herbs like oregano or rosemary.
- Spread them on a baking sheet in a single layer.
- Bake at 375°F (190°C) for 10-15 minutes, or until golden brown and crunchy. Let them cool completely before storing in an airtight container.
8. Savory Bread Pudding (Strata)
This is the perfect ‘clean out the fridge’ brunch or dinner. It’s a template, not a strict recipe.
- Grease a baking dish. Layer cubes of stale bread in the bottom.
- Sprinkle over leftover cooked veggies, meats, and cheese. Anything goes!
- In a separate bowl, whisk together eggs (about 1 egg per person) and milk or cream (about 1/4 cup per egg). Season well with salt, pepper, and maybe a pinch of nutmeg or mustard powder.
- Pour the egg mixture over the bread and fillings. Press down gently to make sure the bread soaks it all up. Let it sit for at least 30 minutes or overnight in the fridge.
- Bake at 350°F (175°C) for 45-60 minutes, until puffed, golden, and set in the center.
9. Homemade Breadcrumbs
Another product you should never pay for. Stale bread ends make the best breadcrumbs.
- Tear stale bread into pieces and let them dry out completely on the counter or in a very low oven.
- Blitz the dried bread in a food processor or blender until you have fine crumbs.
- Store in an airtight container in the pantry, or in the freezer to keep them fresh longer. Add dried herbs to make Italian-style breadcrumbs.
10. Panzanella (Tuscan Bread Salad)
A classic Italian salad designed specifically to use up stale, crusty bread. The bread soaks up the tomato juices and vinaigrette, becoming incredibly flavorful.
- Cube stale, crusty bread. Toast it lightly if it’s not completely hard.
- In a large bowl, combine chopped ripe tomatoes, sliced red onion, and cucumber.
- Make a simple vinaigrette with red wine vinegar, olive oil, salt, and pepper.
- Toss the bread, veggies, and fresh basil leaves with the vinaigrette. Let it sit for at least 30 minutes before serving to allow the flavors to meld and the bread to soften slightly.
The Ultimate Upcycles: Next-Level Scrap Meals

You’ve mastered the basics. Now it’s time to combine your skills and create entire meals from things that were destined for the bin. This is where you really start to see the savings stack up.
11. ‘Kitchen Sink’ Frittata
Similar to a strata, but faster. Perfect for a weeknight meal.
- Sauté any leftover cooked vegetables or wilting greens in an oven-safe skillet.
- Whisk eggs with a splash of milk and seasoning. Stir in any leftover cheese or cooked meats.
- Pour the egg mixture over the veggies in the skillet. Cook on the stovetop over medium heat for 3-5 minutes, until the edges start to set.
- Transfer the skillet to a preheated oven at 375°F (190°C) and bake for 10-15 minutes, until the frittata is puffed and cooked through.
12. Parmesan Rind Broth Infusion
The hard rind of a block of parmesan cheese is pure, concentrated flavor. Don’t throw it out!
Toss the entire rind into your next pot of soup, stew, or tomato sauce as it simmers. It will soften and release an incredible savory, nutty, umami flavor into the entire dish. Remove the last little bit before serving.
13. Apple Scrap Vinegar
Making your own raw, unpasteurized apple cider vinegar is a game-changer. It’s easy, but it takes patience.
- Fill a large, clean glass jar about 3/4 full with apple peels and cores.
- Create a sugar solution by dissolving 1/4 cup of sugar in 4 cups of water. Pour this over the scraps until they are fully submerged.
- Cover the jar with cheesecloth or a coffee filter secured with a rubber band. This keeps bugs out but lets air in.
- Store in a dark, cool place for about 2-3 weeks, stirring every few days. It will start to ferment and smell alcoholic.
- After a few weeks, strain out the solids. Return the liquid to the jar, cover it again, and let it sit for another 2-4 weeks until it develops the characteristic sharp, vinegary taste.
14. Candied Citrus Peels
Turn orange, lemon, or grapefruit peels into a sweet treat. Perfect for baking, cocktails, or dipping in chocolate.
- Slice the peels into thin strips.
- Boil the peels in water for about 15 minutes to remove bitterness. Drain and repeat 1-2 more times.
- In a saucepan, make a simple syrup by combining 1 cup of sugar and 1 cup of water. Bring to a simmer.
- Add the boiled peels and simmer gently for 45-60 minutes until they are translucent.
- Remove the peels with a fork and toss them in a bowl of sugar. Let them dry on a wire rack for a day or two.
15. Coffee Ground Steak Rub
Used coffee grounds have a deep, earthy flavor that pairs incredibly well with red meat.
- Spread your used coffee grounds on a baking sheet and bake at a low temperature (around 200°F / 95°C) until they are completely dry.
- In a bowl, mix the dried grounds with equal parts brown sugar and smoked paprika, plus salt, black pepper, and garlic powder to taste.
- Use this as a dry rub on steaks, brisket, or pork shoulder before grilling or roasting.
The Bottom Line: Your ‘Trash to Cash’ Savings

Talk is cheap. Let’s look at the actual numbers. This isn’t about saving a few pennies; it’s about re-routing a significant chunk of your grocery budget back into your pocket. The store-bought versions of these items aren’t just food; they’re ‘convenience products,’ and you pay a massive premium for that convenience. By using scraps, you’re paying yourself for the 10 minutes it takes to do it yourself.
Here’s a simple breakdown of what you’re saving on just three basic items. Now, multiply this by all 15 ideas, and you can see how this hustle adds up to hundreds of dollars a year.
| Item | DIY Cost (Using Scraps) | Typical Store-Bought Cost | Your Savings |
|---|---|---|---|
| Vegetable Broth (32oz) | $0.05 (for water/energy) | $3.99 | $3.94 per carton |
| Pesto (8oz Jar) | $1.50 (for oil/nuts/cheese) | $5.49 | $3.99 per jar |
| Gourmet Croutons (1 Bag) | $0.25 (for oil/spices) | $4.29 | $4.04 per bag |
Conclusion
You now have the playbook. You’ve seen how the stuff you once considered garbage is actually a collection of high-value ingredients. This is more than just a set of recipes; it’s a mindset shift. Every onion skin, every bread heel, every chicken bone is an asset. By learning to see the potential in your kitchen scraps, you’re not just cooking; you’re taking control of your finances and making your resources work harder for you.
Don’t get overwhelmed. Start small. This week, make a pact to save your veggie scraps for a broth. Next week, try making croutons. Before you know it, these frugal hacks will become second nature. You’ll be saving money, reducing your environmental footprint, and eating better than ever. Now get in that kitchen and start turning your trash into cash.