The Step-by-Step Guide to a Salon Quality Pedicure for $0
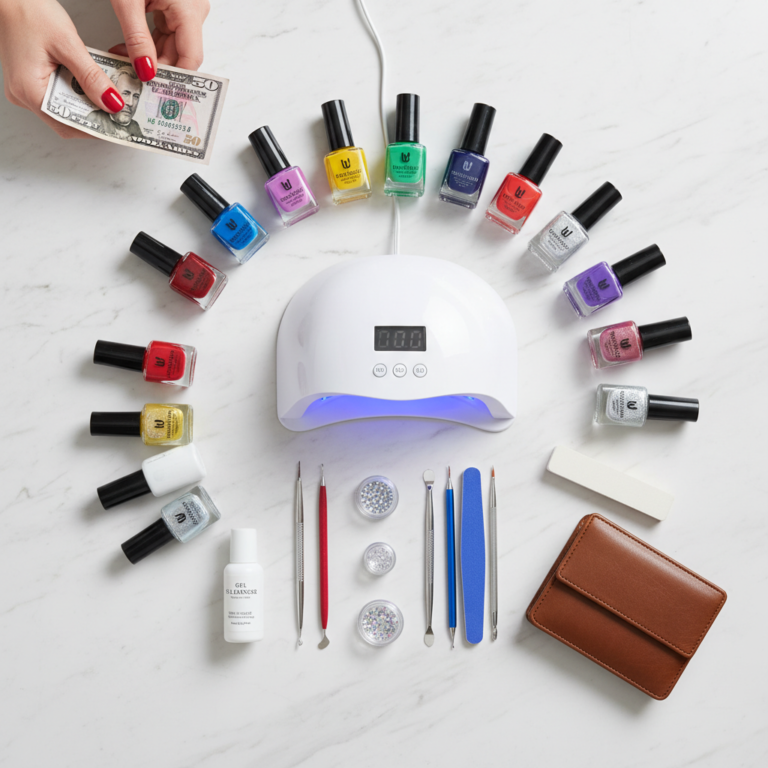
Listen up. That weekly or monthly salon pedicure? It’s a budget-killer disguised as self-care. You walk in for a $40 special and walk out $65 lighter after the callus remover upsell, the 10-minute massage add-on, and the obligatory tip. Do that twice a month, and you’re torching over $1,500 a year. For your feet. That’s a vacation, a debt payment, or a serious boost to your emergency fund.
Here’s the deal: you don’t need to spend a dime to get gorgeous, healthy, salon-worthy feet. The secret isn’t some expensive kit or fancy gadget. It’s already in your kitchen and bathroom. We’re talking about a true $0 pedicure. This isn’t about being cheap; it’s about being smart, resourceful, and taking back control of your money and your maintenance. This guide will walk you through the exact, step-by-step process to transform your feet from neglected to flawless, using stuff you already paid for. Get ready to fire your pedicurist and give your wallet the ultimate spa day.
The Zero-Dollar Pedicure Arsenal: Raid Your Kitchen & Bathroom
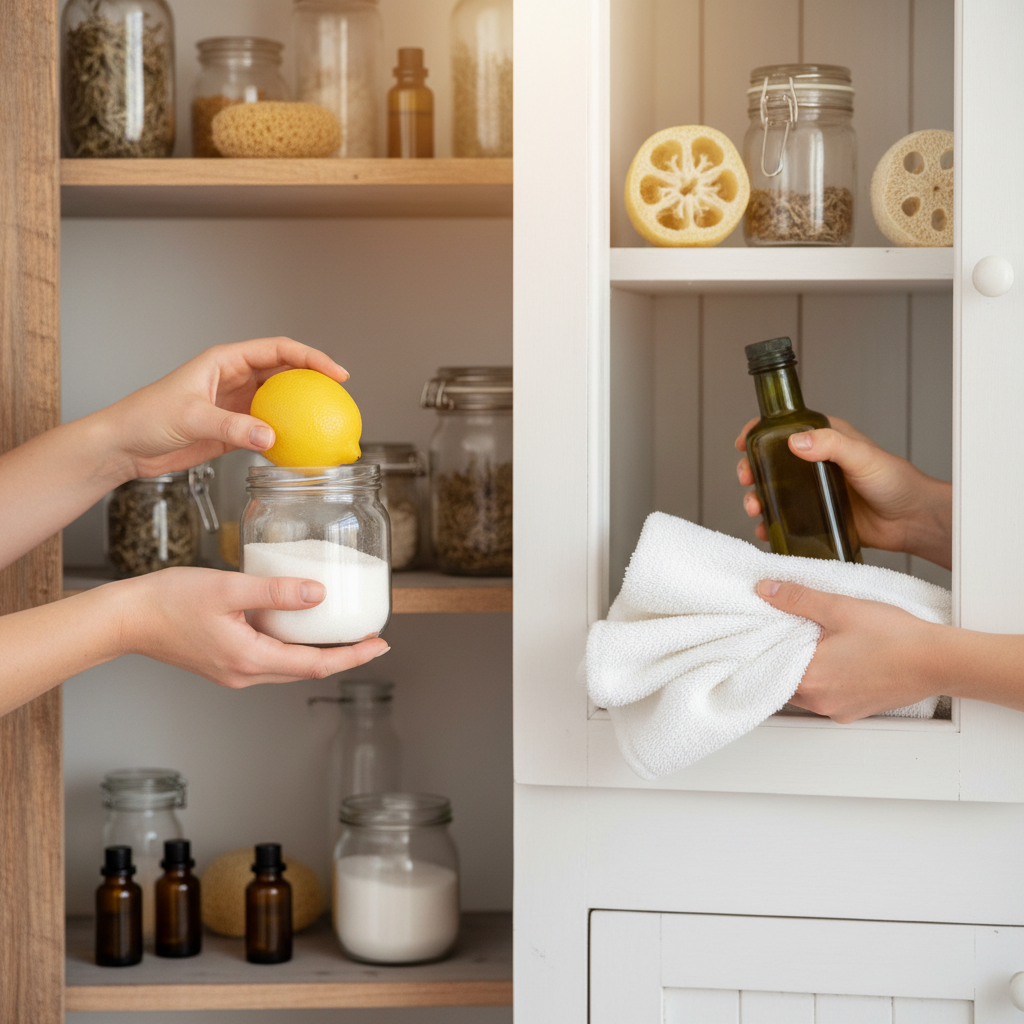
Forget the beauty supply store. Your first stop is your own home. You’ve got a goldmine of pedi-perfect ingredients hiding in plain sight. Before we get to the how-to, you need to gather your tools. This is your zero-cost shopping list. No excuses, you have this stuff.
Your Toolkit:
- A Large Bowl or Basin: Anything that comfortably fits your feet. Your biggest salad bowl, a dishwashing basin, or even a clean bucket will work. No need to be fancy.
- Towels: One for under your basin to catch spills and one to dry your feet.
- Nail Clippers & File: You own these. Find them. That cheap emery board at the back of your drawer is perfect.
- Orange Stick or Cuticle Pusher: If you don’t have one, the flat, blunt end of your nail file or even your own thumbnail (wrapped in a thin cloth) works in a pinch.
- Old Toothbrush: For scrubbing under nails and around cuticles. Give it a good wash first.
Your Potion Ingredients:
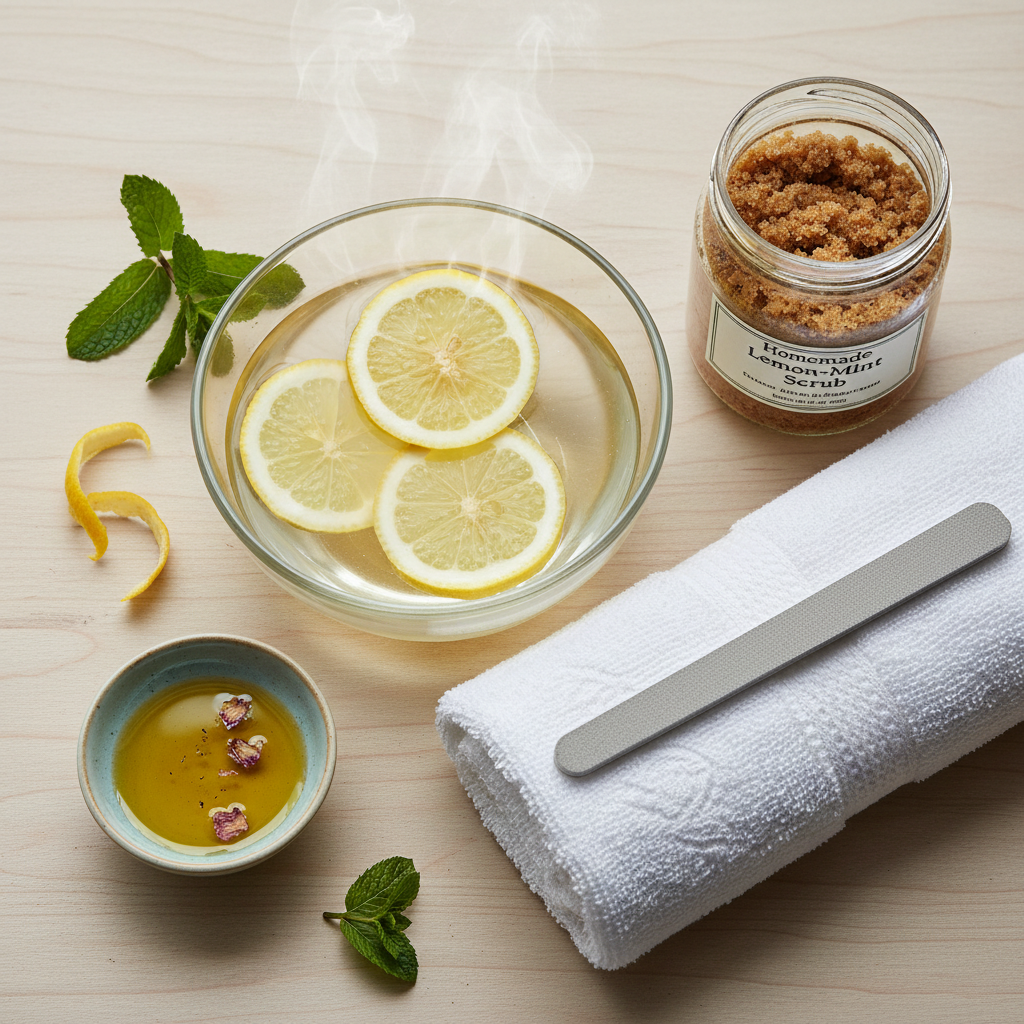
- Warm Water: The foundation of any good soak.
- Epsom Salt, Sea Salt, or Table Salt: Got a box of Epsom salt for sore muscles? Perfect. If not, regular table salt will do. Salt helps soften skin and reduce swelling.
- Lemon or Vinegar: A splash of acid is your secret weapon. Lemon juice or white/apple cider vinegar helps to soften tough skin, brighten nails, and has natural anti-fungal properties.
- Sugar (White or Brown): This is the base for your high-end, zero-cost exfoliating scrub. It’s a gentle but effective abrasive.
- Olive Oil, Coconut Oil, or Any Cooking Oil: Your luxury moisturizer. Forget $20 lotions. These oils are deeply hydrating and give your skin an incredible glow.
- Baking Soda (Optional): If you have it, a tablespoon in your soak can help deodorize and soften skin even more.
That’s it. See? You’re already equipped for a luxury treatment without spending a single cent. This is about using what you have to get what you want. Now let’s talk about the money you’re about to save.
The Cost Breakdown: Why Your Wallet Will Thank You
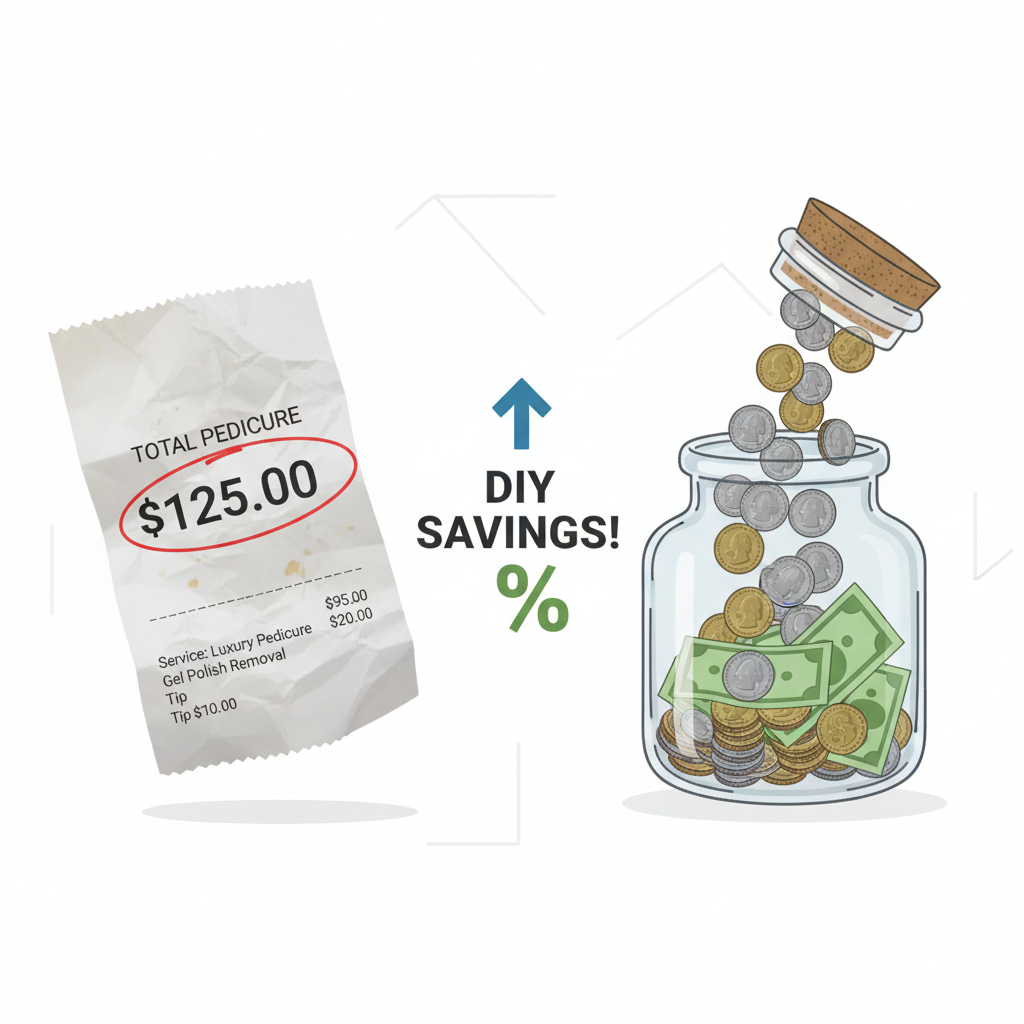
Numbers don’t lie. For side hustlers and frugal fanatics, seeing the raw data is what makes a hack stick. We’re conditioned to think that certain services are ‘necessary’ expenses, but a professional pedicure is a luxury, plain and simple. Let’s break down the real cost of outsourcing your foot care versus owning it.
A ‘basic’ pedicure at an average salon is just the starting point. The real cost creeps up with the small additions that feel standard but are designed to pump up the price. When you do it yourself for $0, you’re not just saving the base price; you’re dodging a minefield of upsells.
| Expense Category | Average Salon Visit | The Frugal Hacker DIY Method |
|---|---|---|
| Basic Pedicure Cost | $40.00 | $0.00 |
| Callus Removal Add-On | $10.00 | $0.00 (Lemon & Sugar do the work) |
| 10-Min Massage Add-On | $15.00 | $0.00 (Your own hands are free) |
| Tip (20%) | $13.00 | $0.00 |
| TOTAL per Session | $78.00 | $0.00 |
| TOTAL per Year (Twice a month) | $1,872.00 | $0.00 |
Look at that number: $1,872 a year. That’s a serious chunk of change. It’s enough to max out a Roth IRA contribution for a young investor, pay off a credit card, or fund a significant side hustle investment. Every time you choose your homemade sugar scrub over the salon chair, you are making a direct deposit into your own financial freedom. This isn’t about sacrificing; it’s about making a strategic financial decision that pays you back nearly $2,000 a year. That’s power.
The Step-by-Step Frugal Pedi Protocol
Alright, it’s go-time. Put on some music, grab a drink, and let’s get down to business. This is your new ritual. Follow these steps precisely, and you’ll get a result that rivals any salon.
-
Step 1: The Setup & Teardown
First, prep your station. Lay down your towel, fill your basin with comfortably hot water, and arrange your tools. The most important part of a $0 pedi? Removing old polish. If you have polish on, you’ll need remover. If you don’t have any, this is your motivation to go polish-free and focus on nail health. For this guide, we assume you’re starting with bare nails to stick to the zero-cost rule.
-
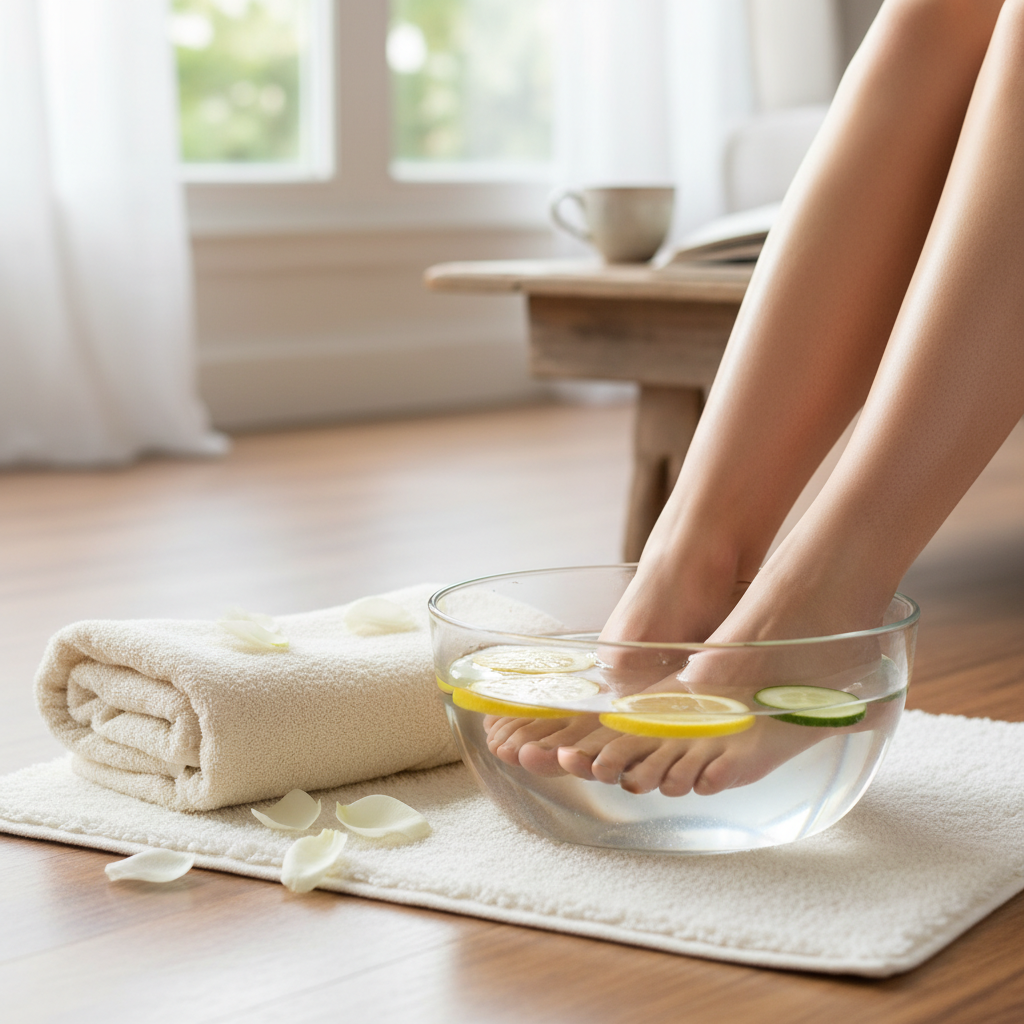
Step 2: The Ultimate Detox Soak
Pour the hot water into your basin. Now, add your magic ingredients. A handful of salt (about 1/4 cup), the juice of half a lemon OR a few tablespoons of vinegar. If you have baking soda, add a tablespoon. Swirl it all together. Submerge your feet and just relax for 15-20 minutes. Don’t cut this short. This step is crucial for softening everything—skin, calluses, and cuticles—making the next steps a breeze.
-
Step 3: Shape & Tame
Take one foot out of the water and pat it dry. Gently push back your cuticles with your orange stick or thumbnail.
Key Rule: Never, ever cut your cuticles. They are there to protect your nail bed from infection. Salons do it for aesthetics, but it’s a bad practice. Push them back gently, that’s it.
Now, clip your nails straight across to avoid ingrowns. Use your file to smooth the edges, always filing in one direction, not sawing back and forth, which can cause splitting.
-
Step 4: The Kitchen-Made Exfoliation
Time to make your scrub. In a small bowl, mix about 3 tablespoons of sugar with 1-2 tablespoons of olive or coconut oil. You want a thick, grainy paste. Scoop up a generous amount and start scrubbing. Focus on your heels, the balls of your feet, and any other rough spots. Use firm, circular motions. This sloughs off dead skin cells better than any store-bought product. Scrub your entire foot and ankle. Rinse, and be amazed at how soft your skin feels.
-
Step 5: Hydrate & Massage
Dry your feet completely. Now, take a small amount of your oil (olive, coconut, whatever you have) and massage it into your feet. This is your luxury moment. Don’t just slap it on. Work the oil into your heels, your arch, each individual toe. Spend at least 3-5 minutes per foot. This isn’t just moisturizing; it’s increasing blood flow and relieving tension. It feels incredible and costs nothing.
-
Step 6: The ‘No Polish’ Polished Finish
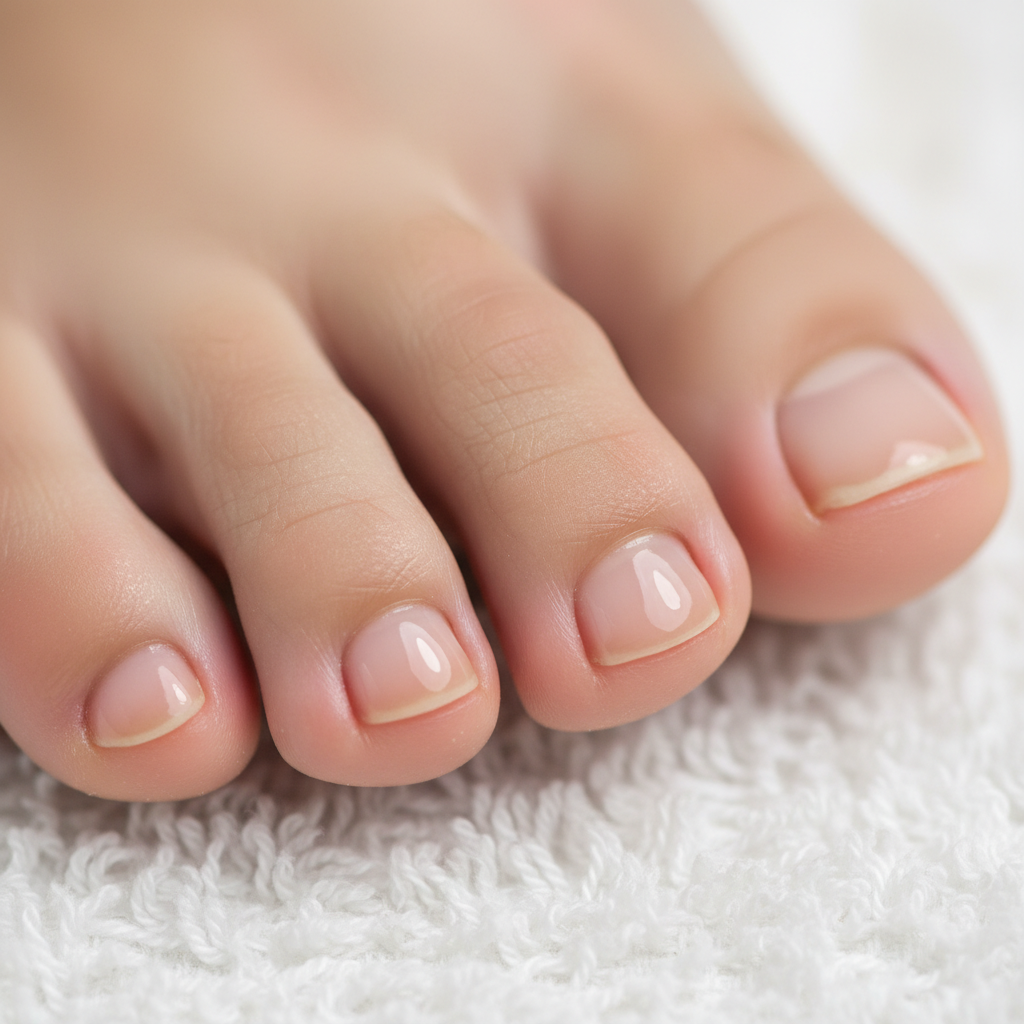
Wipe any excess oil off your toenails with a clean cloth. If you have existing polish you want to use, now’s the time. But for a true $0, pro-level look, grab your nail file/buffer. Use the finest-grit side to gently buff the surface of your nails. This smooths ridges and creates an insane natural shine. Your nails will look healthy, glossy, and intentionally polished without a drop of lacquer.
Level Up: Pro-Tips for a Flawless, Long-Lasting Finish
You’ve mastered the basics. Now, let’s make sure your work lasts and your feet stay healthy. These are the street-smart tips that separate the amateurs from the pros.
Maintain Your Masterpiece
Don’t let your hard work go to waste. Every night before bed, rub a little more of that kitchen oil on your heels and cuticles. It takes 30 seconds and will keep your skin soft and hydrated for days, preventing cracks and prolonging the effects of your pedicure.
The Callus-Fighting Secret
For seriously tough calluses, you need a pre-treatment. Before you even start your soak, make a paste of baking soda and water. Rub it onto your dry calluses and let it sit for 10 minutes. Then, proceed with the soak as usual. The baking soda provides an extra kick of softening power, making them much easier to scrub away.
Fixing a Broken Nail on the Cheap
Got a tear in a nail? Don’t cut it all off. Find a tea bag. Cut a tiny piece of the empty tea bag paper, just large enough to cover the tear. Apply a clear coat of polish if you have one (or even clear school glue in a real pinch), place the paper over the tear, and let it dry. File it smooth. It’s a surprisingly strong and virtually invisible patch.
The White Vinegar Trick for Polish Longevity
If you do decide to use polish you already own, this is non-negotiable. After buffing and before applying your base coat, wipe each nail with a cotton ball soaked in white vinegar. This removes any residual oils and moisture from the nail plate, allowing your polish to adhere way better. Your polish job will last days longer, guaranteed.
Scam Warning: Be wary of ‘pedicure fish spas’ or aggressive callus shavers (often called ‘the cheese grater’). The fish spas are often unsanitary, and the shavers can easily cut you, leading to dangerous infections. Your gentle, consistent sugar scrub is safer and more effective in the long run.
Conclusion
There you have it. You are now officially overpaying for pedicures. You’ve seen the math, you’ve got the tools, and you have the step-by-step playbook to achieve flawless feet for free. This is more than just a beauty hack; it’s a mindset shift. It’s about realizing that you have the power to create luxury and practice self-care without a hefty price tag. You’re not just saving nearly $2,000 a year; you’re investing in your skills, your resourcefulness, and your financial future. So go ahead, raid your kitchen, put your feet up, and enjoy the smartest, most satisfying pedicure you’ve ever had. Your feet and your bank account will be glowing.