
Salon Quality at Home: The Scary-Simple Guide to Cutting Your Own Hair
Let’s get real. Walking out of a salon with a fresh cut feels great, but that feeling fades fast when you look at your bank account. A simple trim can set you back $50, and if you’re going for color or style, you’re easily breaking $150. Multiply that by several visits a year, and you’re spending a small fortune just to maintain your hair. That’s money that could be crushing debt, building your emergency fund, or fueling your side hustle.
What if I told you that you could get that salon-quality look right in your own bathroom for a fraction of the cost? Forget the horror stories and the bowl-cut nightmares. Learning to cut your own hair is one of the most empowering, money-saving skills you can master. It’s not about being cheap; it’s about being smart with your money and investing in yourself. This guide is your blueprint. We’re cutting the fluff and giving you a scary-simple, step-by-step plan to take the shears into your own hands. You got this.
Gear Up: Your Home Salon Toolkit on a Dime
Before you make the first snip, you need the right tools. And no, the rusty scissors in your kitchen junk drawer won’t cut it—literally. Using the wrong equipment is the fastest way to a botched job. But you don’t need to spend a fortune to build a pro-level kit. Think of this as a one-time investment for a lifetime of savings.
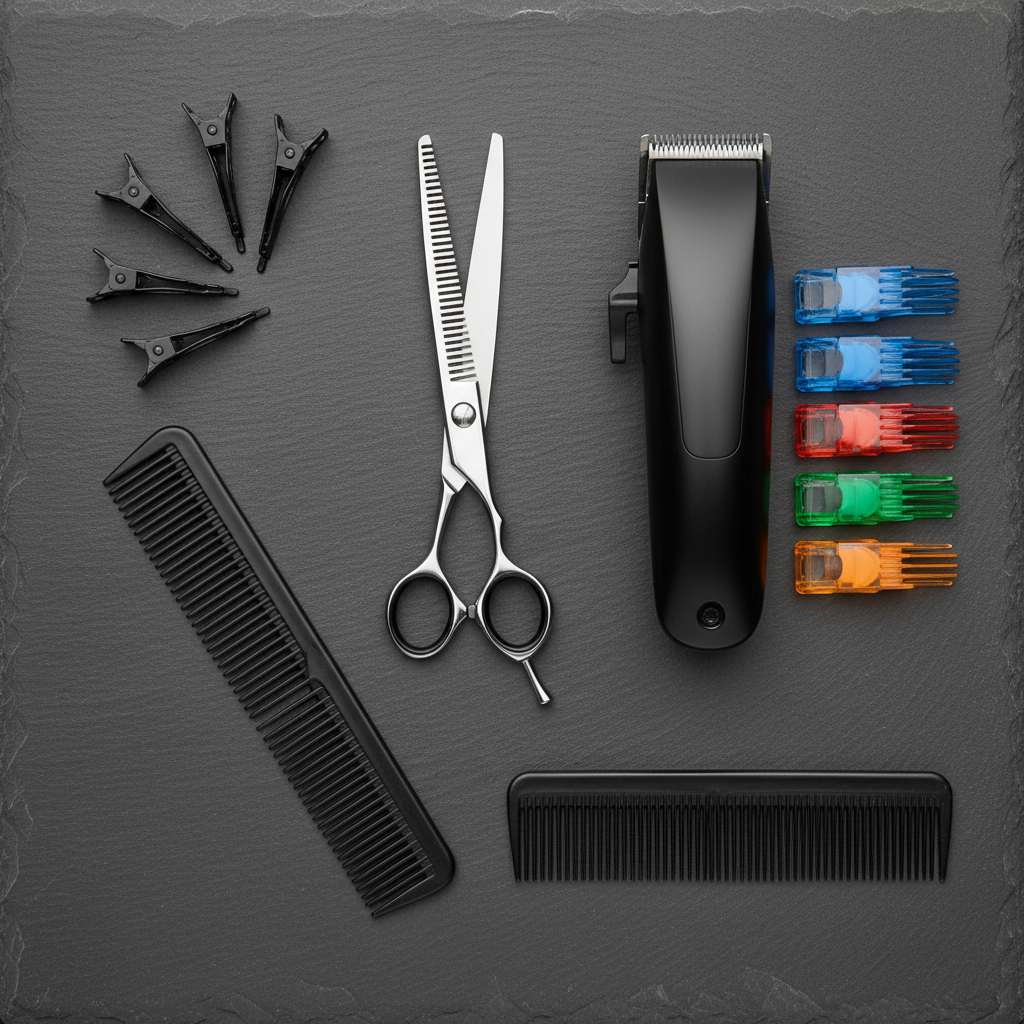
The Non-Negotiables:
- Professional Hair Shears: This is your most important tool. Look for stainless steel shears, at least 5.5 inches long. They are designed to make clean, sharp cuts, preventing split ends and uneven lines. You can find a solid pair online for $20-$30.
- Clippers with Guards: Essential for short hair, fades, and cleaning up necklines. A reliable corded or cordless clipper set with multiple guard sizes is a game-changer. A good starter kit will run you about $30-$40 and will last for years.
- A Good Comb: You’ll need a fine-tooth comb for precise sectioning and a wide-tooth comb for detangling. A simple two-pack costs less than $5.
- Hair Clips: To section off your hair so you can work on one small area at a time. This is the secret to a controlled, even cut. A pack of duckbill or alligator clips is around $5-$10.
- A Cape or Old Towel: To keep tiny, itchy hairs off your clothes and skin. An old t-shirt or towel works fine, but a waterproof cape is a cheap upgrade (around $10) that makes cleanup a breeze.
- Mirrors: You need to see what you’re doing. A standard bathroom mirror works for the front, but a handheld or tri-fold mirror is crucial for seeing the back of your head. This is non-negotiable for getting your neckline straight.
Forget the fancy thinning shears and razors for now. Master the basics with this core kit, and you’ll have everything you need for 99% of basic haircuts.
The Cost Breakdown: Why Your Wallet Will Thank You
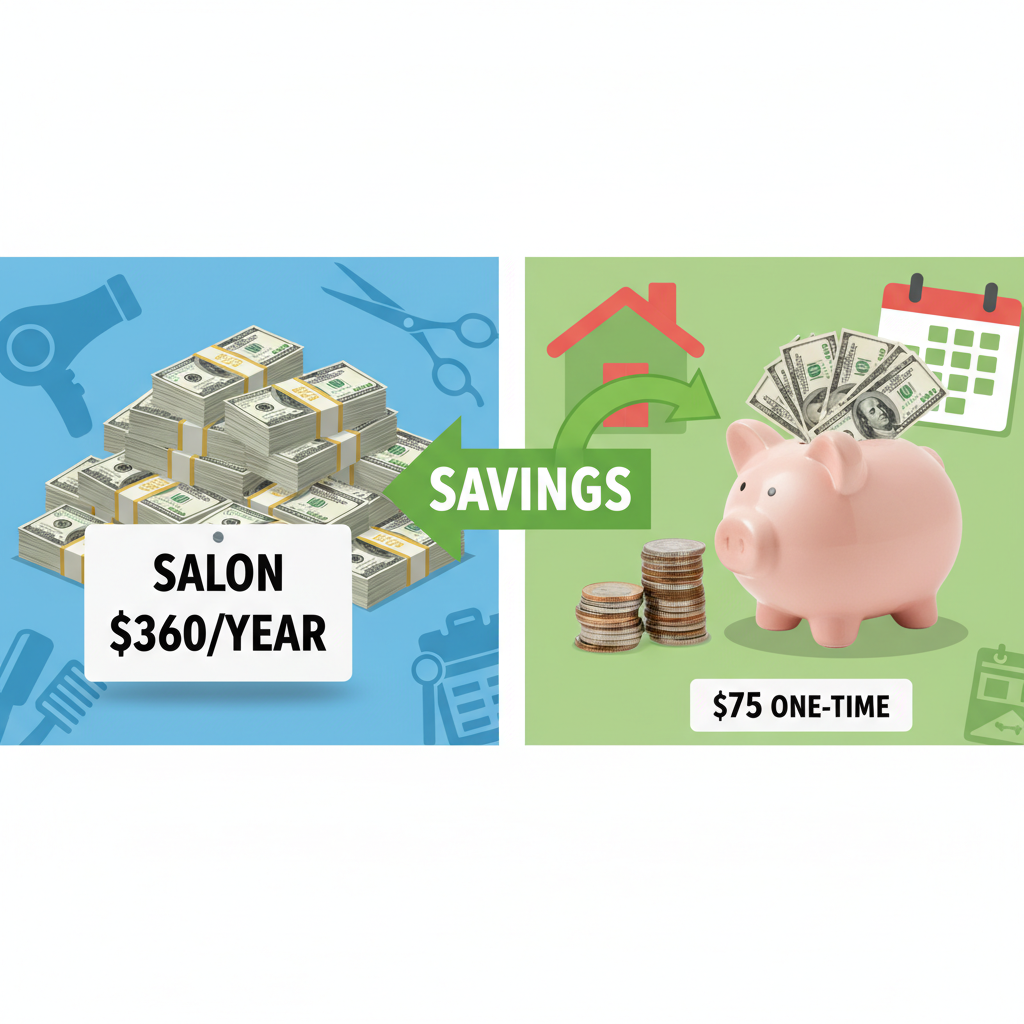
Still on the fence? Let’s talk numbers. The math behind cutting your own hair is a total no-brainer for any frugal living enthusiast. We’re not talking about saving a few bucks here and there; we’re talking about hundreds, even thousands, of dollars over time. A single salon visit often costs more than your entire at-home toolkit.
Let’s break down the potential savings for one person over a single year. We’ll be conservative with the salon prices.
| Expense Item | Salon Visits (6x per year) | DIY Home Haircuts |
|---|---|---|
| Initial Tool Investment | $0 | $75 (for a quality kit) |
| Cost per Haircut | $60 (incl. tip) | $0 (after initial investment) |
| Annual Cost | $360 | $75 (first year only) |
| First Year Savings | $285 | |
| Five-Year Savings | $1,725 (Salon: $1800 vs DIY: $75) | |
Look at that. You save nearly $300 in the very first year, and that’s on the low end. If you have a family, the savings multiply exponentially. Cutting hair for yourself and one other person could easily save you over $700 a year. That’s a car payment, a big chunk of a vacation, or a serious boost to your savings goals. The return on your initial $75 investment is massive. It’s one of the highest-impact frugal hacks you can implement, period.
The Blueprint: A Step-by-Step Guide to Your First Cut
Alright, it’s go time. Find a well-lit space, lay down some newspaper for easy cleanup, and put on some music. Your first time should be focused and unhurried. Remember the golden rule:
Rule #1: You can always cut more off, but you can’t put it back on. Start conservatively. Always cut less than you think you need to.
We’ll cover two basic, hard-to-mess-up styles. Pick the one that’s right for you and let’s get started.
The Simple Trim (For Straight or Wavy Hair, Shoulder-Length or Longer)
- Prep Your Hair: Start with clean, completely dry hair. Cutting wet hair can be deceptive; it shrinks as it dries, and you might end up with a much shorter cut than you intended. Comb through thoroughly to remove all tangles.
- Section it Off: Part your hair down the middle, from your forehead all the way to the nape of your neck, creating two equal sections. Bring both sections forward over your shoulders.
- Create Your Guide: Take a small piece of hair from the very front of one section, about a half-inch wide. Pull it straight down. Decide how much you want to trim (start with just half an inch!). Make a clean, blunt cut. This is now your ‘guide length.’
- Cut the First Section: Working with that same side, take the next small piece of hair, combine it with a little of your guide piece, pull it taut, and cut it to the same length. Continue this process, working your way towards the back. Always bring the hair forward to cut it.
- Repeat on the Other Side: Once one side is done, do the exact same thing on the other side. Use your already-cut hair as the guide to ensure both sides are even.
- Check Your Work: Once you’re done, stand up straight and look in the mirror. Pull pieces from both sides forward to see if they match up. Use the handheld mirror to check the back. Make any tiny adjustments needed.
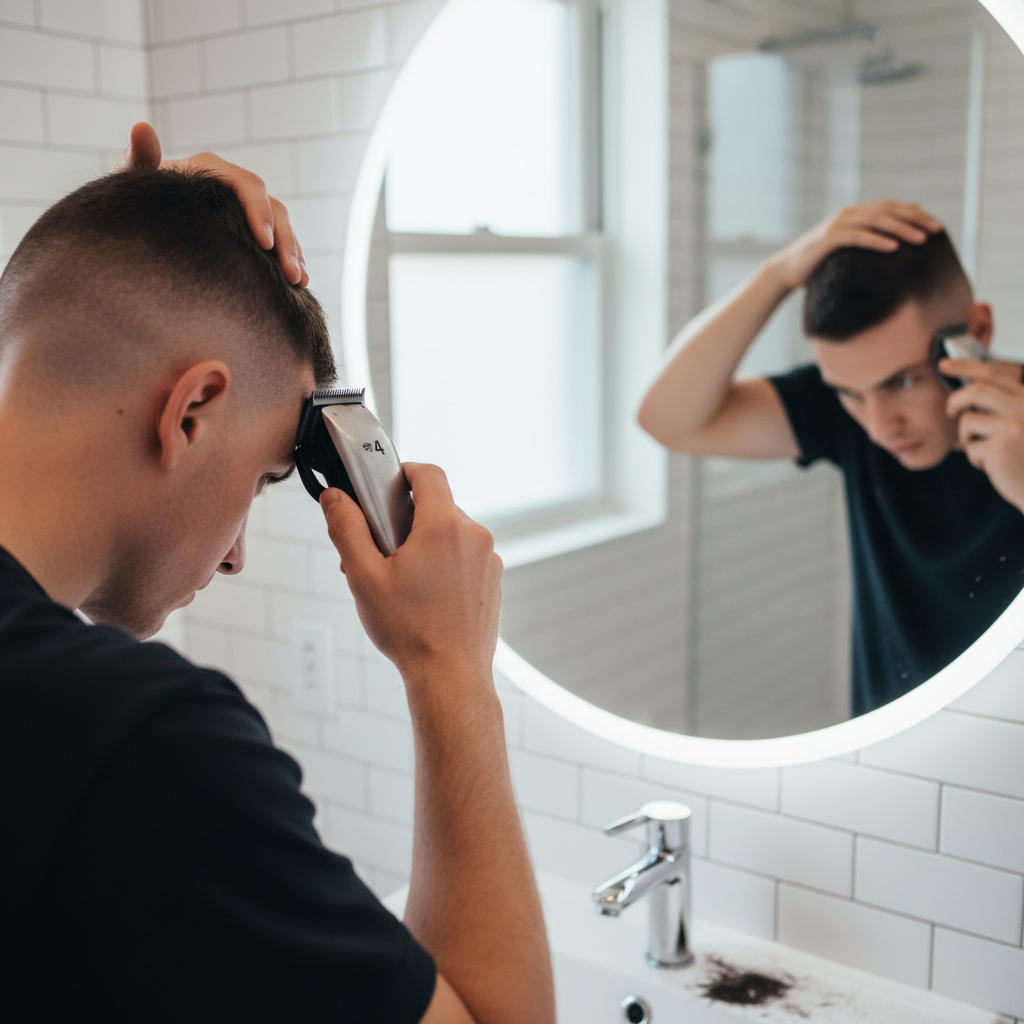
The Basic Buzz (The Foolproof Clipper Cut)
- Pick Your Guard: The guards are numbered; the higher the number, the longer the hair. If you’re nervous, start high! A #4 or #5 is a safe bet. You can always go shorter later. Snap it securely onto your clippers.
- Start at the Bottom: Turn the clippers on. Start at the nape of your neck and move the clippers upwards against the direction of hair growth. Keep the clipper guard flat against your scalp.
- Work in Sections: Move in straight, steady lines from the bottom up, overlapping each pass slightly to avoid lines. Go all the way around your head with your chosen guard length.
- Fade (Optional Advanced Step): To create a simple fade, switch to a lower number guard (e.g., a #3 if you started with a #4). Run this guard up the back and sides, but only go about halfway up to where your head starts to curve. Use a scooping ‘C’ motion at the top to blend the line.
- Clean Up the Edges: Remove the guard entirely. Carefully use the bare clipper blade (or the trimmer attachment) to create clean lines around your ears and at your neckline. Use your other hand to pull your skin taut for a cleaner line. Use your second mirror constantly for the back.
Dodging Disaster: Pro Tips & Common Mistakes

Your first few haircuts are a learning experience. Don’t aim for perfection; aim for ‘pretty darn good.’ You’ll get better and faster with every cut. Here’s how to avoid the most common rookie mistakes and fix them if they happen.
Common Mistakes to Avoid:
- Using Dull or Wrong Scissors: This is the cardinal sin. Kitchen scissors will bend and chew your hair, creating split ends and a choppy look. Invest in proper shears.
- Cutting Too Much at Once: Nerves can make you rush. Stick to the rule of cutting less than you think you need. A half-inch at a time is a good pace.
- Poor Sectioning: Just grabbing random chunks of hair and snipping is a recipe for an uneven mess. Use your clips. Work in small, manageable sections for maximum control.
- Forgetting to Check the Back: The back of your head is the easiest place to miss a spot or create a wonky line. Use your second mirror frequently and ask a trusted friend or family member to do a quick spot check when you’re done.
- Cutting a Straight Line on Curly Hair: If you have curly hair, cutting it dry and curl by curl (a ‘DevaCut’ style method) is often better than a blunt, straight trim which can look uneven when your curls bounce back up. Research methods specific to your hair type.
Quick Fixes for Small Goofs:
Made a small mistake? Don’t panic. If one side is slightly longer, go back and trim the longer side to match—don’t try to trim the shorter side again. If you have a choppy spot, you can often disguise it with styling, or use point cutting (snipping into the ends vertically with the tips of your shears) to soften the blunt line. Remember, hair grows back! A minor imperfection is invisible to everyone but you.
Conclusion
You did it. You’ve got the tools, the knowledge, and the step-by-step blueprint to ditch expensive salon appointments for good. Think about it: with just one or two successful home haircuts, your initial investment in tools has already paid for itself. Everything after that is pure profit, straight back into your pocket. This isn’t just about saving money; it’s about gaining a valuable, practical skill. It’s about the confidence that comes from taking control and realizing you are more capable than you thought. Your first cut might not be perfect, but it will be yours. And the next one will be even better. Welcome to the club.