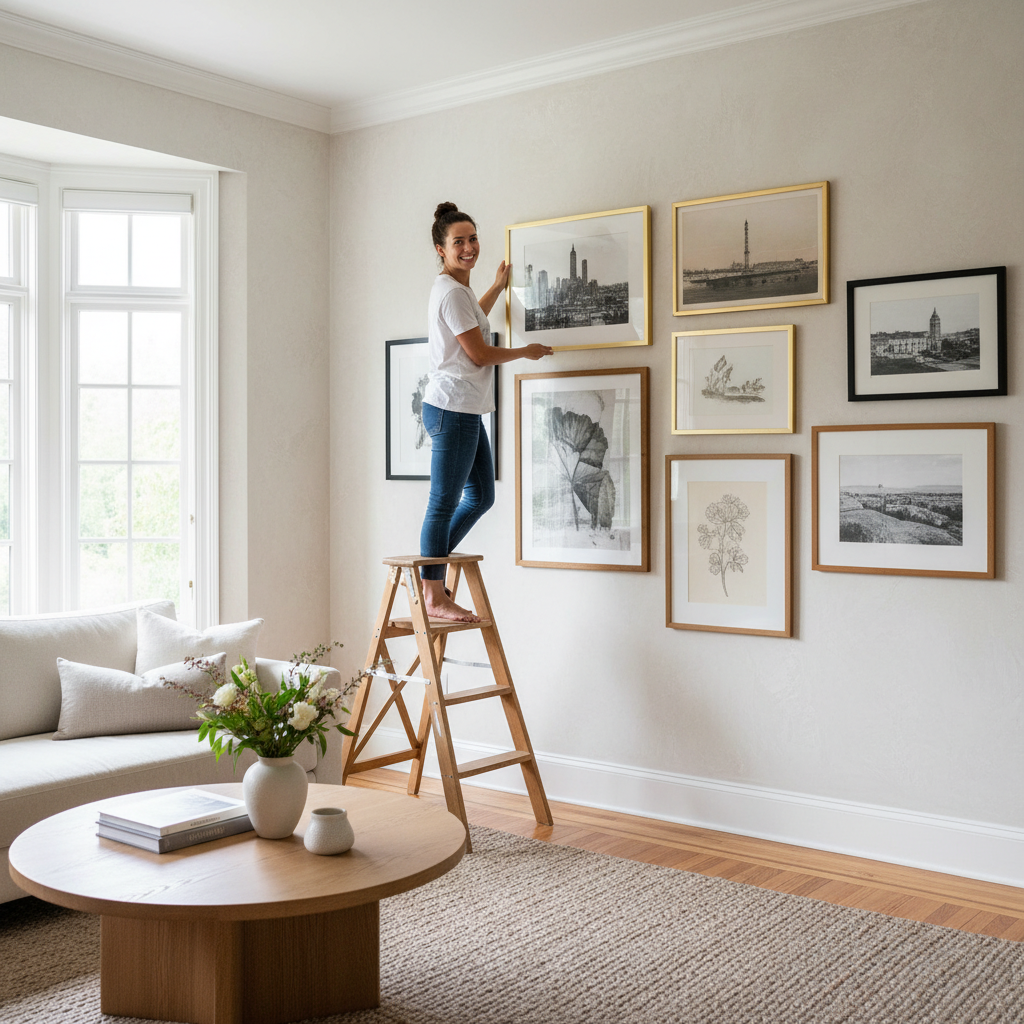
Expensive-Looking Gallery Walls for the Cost of Paper and Ink
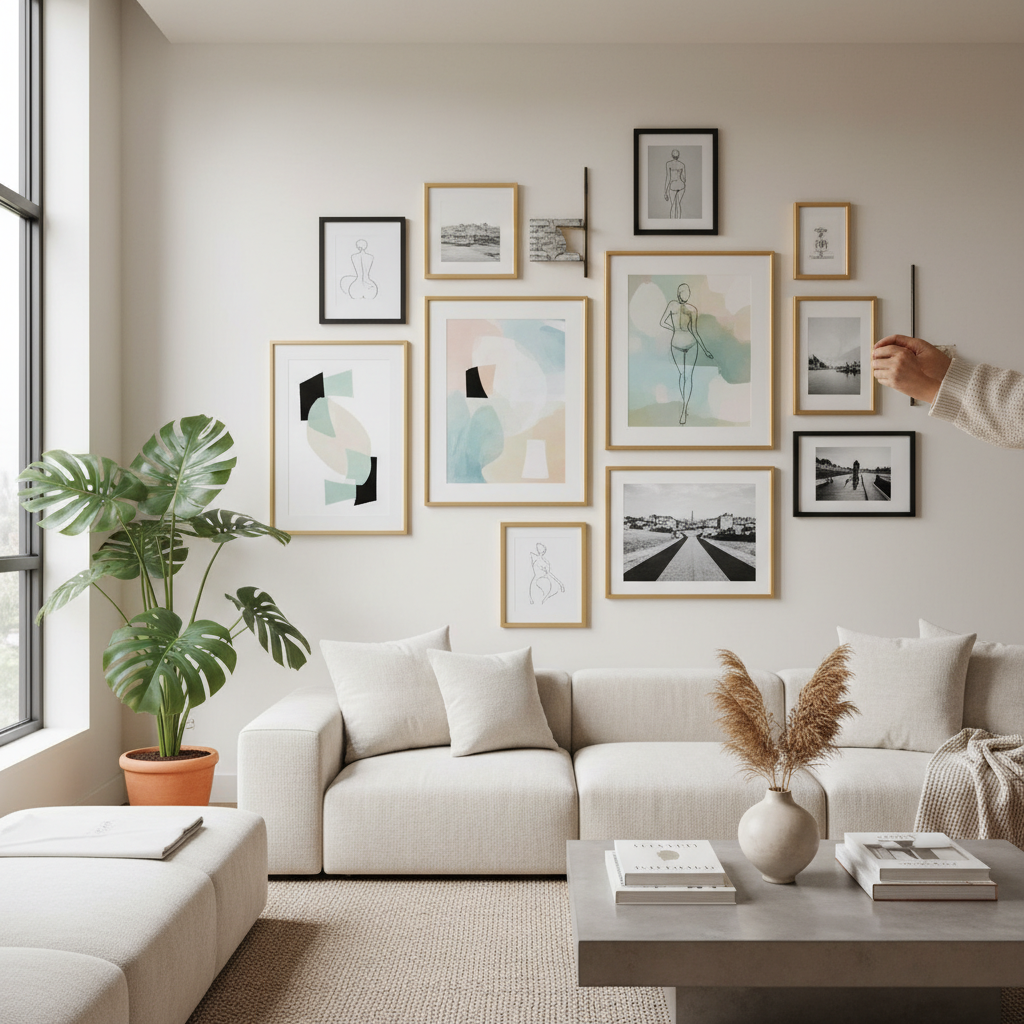
Let’s get real. You scroll through Pinterest, you see those perfectly curated gallery walls in flawless, light-filled homes, and you think, ‘I want that.’ Then you click over to a home decor site and see a single, medium-sized framed print costs $150. For one piece. A whole wall could set you back more than your car payment. It feels like another one of those things reserved for people with endless cash. But that’s where they’re wrong, and where you’re about to get smart.
Forget the retail markup. Forget the gatekeeping of interior design. We’re about to blow the lid off the best-kept secret in budget decorating. You can have that drool-worthy, expensive-looking gallery wall for, and I’m not kidding, the cost of some decent paper, a little printer ink, and a bit of hustle. This isn’t about settling for less; it’s about hacking the system to get a high-end look for a rock-bottom price. Ready to turn your blank wall into a masterpiece without emptying your wallet? Let’s get to it.
The Game Plan: Sourcing Your High-End Art for Free (or Dirt Cheap)
First things first: the art. This is the soul of your gallery wall, and it’s where most people think they have to spend big bucks. Wrong. The internet is a treasure trove of stunning, high-resolution images you can get for free or next to nothing. You just need to know where to look. This isn’t about stealing low-quality images from a Google search; this is about tapping into legitimate, incredible resources.
The Public Domain Goldmines
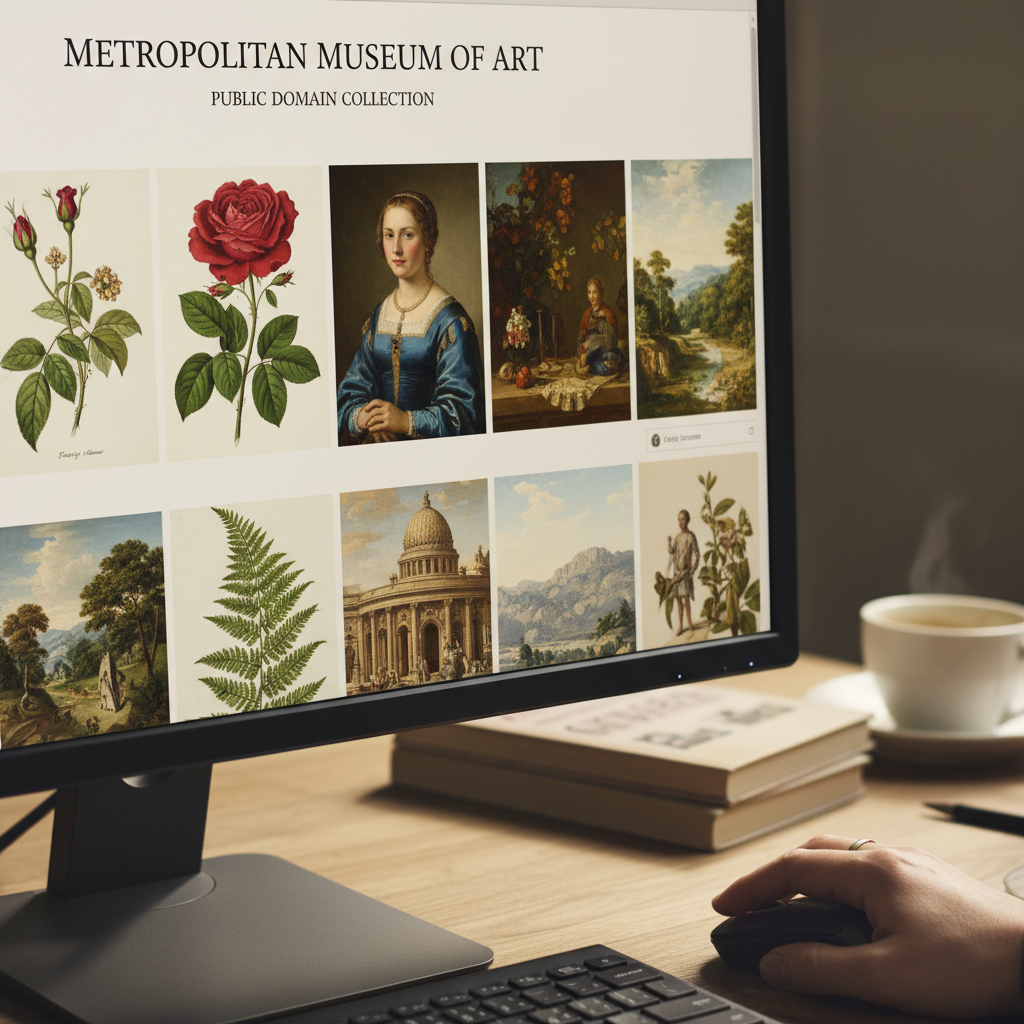
Some of the world’s most prestigious museums have digitized their collections and offered up high-resolution images for public use. This means you can hang a centuries-old masterpiece on your wall for free. It’s the ultimate life hack.
- The Metropolitan Museum of Art: Their Open Access collection is staggering. You can find everything from vintage Japanese woodblock prints to classic European oil paintings.
- The Getty: The Getty’s Open Content Program has thousands of images from their collection available to download and use.
- The National Gallery of Art: Another incredible source for classic art, with a massive digital collection you can filter through.
- New York Public Library Digital Collections: An absolute goldmine for vintage illustrations, maps, posters, and botanical drawings. If you want a specific vibe, you can probably find it here.
Modern & Royalty-Free Havens
If classic art isn’t your jam, no sweat. You can get a modern, minimalist, or photographic look for free, too.
- Unsplash & Pexels: These sites are packed with beautiful, high-quality photos from talented photographers around the world. Search for ‘abstract,’ ‘minimalist,’ ‘landscape,’ or any aesthetic you love. The key is to find images that look intentional and artistic, not like generic stock photos.
- Etsy Digital Downloads: Okay, this isn’t free, but it’s dirt cheap. You can buy entire gallery wall sets of 6-10 curated digital prints for $5 to $15. Artists create cohesive collections, so you don’t even have to worry about matching styles. It’s an insane value. Just search ‘gallery wall set digital’ and prepare to be amazed.
Key Rule: Always download the highest resolution file available. You can always scale an image down, but you can’t scale it up without it looking like a pixelated mess. Aim for 300 DPI (dots per inch) for a crisp, professional-looking print.
The Gear You Actually Need: Paper, Ink, and Printers
Now that you’ve got your art files, let’s talk about bringing them into the real world. The quality of your paper and print job is what separates a ‘college dorm poster’ from a ‘curated art piece.’ Don’t cheap out here—spending a few extra bucks on the right materials makes all the difference.
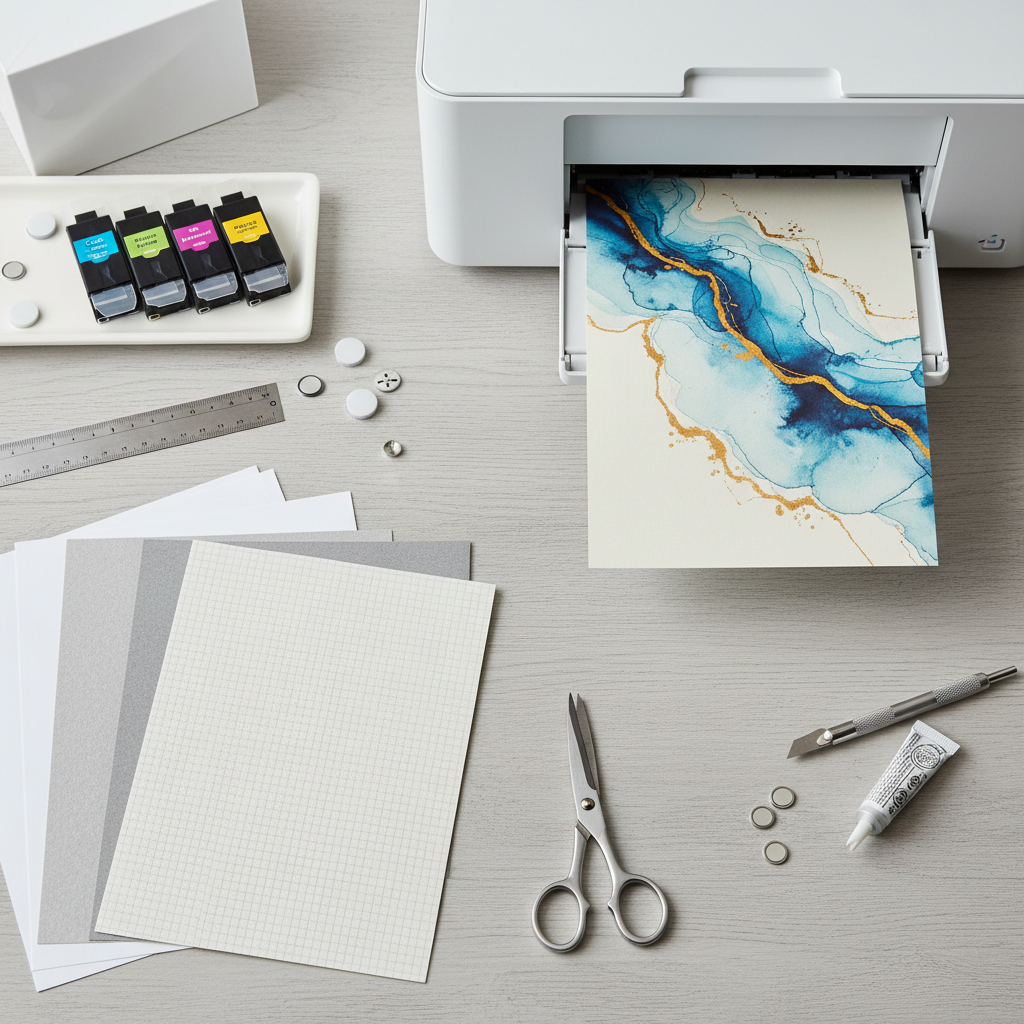
Paper is Paramount
Your standard, flimsy printer paper isn’t going to cut it. It will wrinkle, the colors will look dull, and it will scream ‘I printed this at work.’ You need to step it up. Go to any office supply or craft store and look for these:
- Matte Cardstock: This is your best all-around choice. A weight of 65lb or higher gives it a sturdy, substantial feel. The matte finish eliminates glare and looks incredibly chic and modern. It’s perfect for everything from graphic prints to vintage paintings.
- Luster or Satin Photo Paper: If you’re printing photographs, this is a great option. It has a slight sheen that makes colors pop without being overly glossy and reflective.
- Textured Art Paper: For a truly high-end touch, look for watercolor or linen-textured paper. When you print a classic painting on this, the texture adds a layer of authenticity that makes it look like a real art print.
Printers & Ink: The Home vs. Pro Debate
You have two main paths here: printing at home or outsourcing to a print shop.
Printing at Home: If you have a decent inkjet photo printer, you’re in business. The key is to go into your printer settings and choose the ‘High Quality’ or ‘Best’ setting and select the correct paper type (e.g., ‘Matte Photo Paper’). This tells the printer to use more ink and produce a much richer, more accurate image. Yes, it uses more ink, but the result is worth it.
The ‘No Printer?’ No Problem! Hack
Don’t have a good printer? Don’t sweat it. Outsourcing is cheap, easy, and often yields even better results. Save your art files to a USB drive or upload them online to one of these places:
- Local Print Shop: Your neighborhood print and copy center can print your files beautifully on high-quality cardstock for just a few dollars per sheet.
- Staples/Office Depot: Their print centers are surprisingly good. You can upload your files online, choose your paper, and pick them up in an hour. An 8×10 print on heavy cardstock will often cost you less than $2.
- Online Printers (Mpix, Printique): For photographic prints, these services offer professional-grade quality for a very reasonable price.
The Frame Hustle: Making Cheap Frames Look Like a Million Bucks
A killer print in a cheap, flimsy frame still looks cheap. The frame is just as important as the art itself. Custom framing can cost hundreds of dollars per piece, which is ridiculous. The hustle is to find cheap frames and elevate them. Your new favorite spots are thrift stores, IKEA, and craft store sales.
Sourcing Your Frames
- Thrift Stores (Goodwill, Savers): This is your number one destination. People donate old, high-quality frames all the time. Look past the ugly art inside and focus on the frame itself. Is it solid wood? Does it have interesting details? You can score heavy, well-made frames for $3–$5 a pop.
- IKEA: The RIBBA and FISKBO series are famous for a reason. They’re simple, modern, and incredibly cheap. They provide a clean, cohesive look if you want all your frames to match.
- Craft Stores (Michaels, Jo-Ann): Never pay full price here. Wait for their 50% off or BOGO frame sales, which happen constantly. You can get their basic gallery wall frames for a steal.
The Transformation
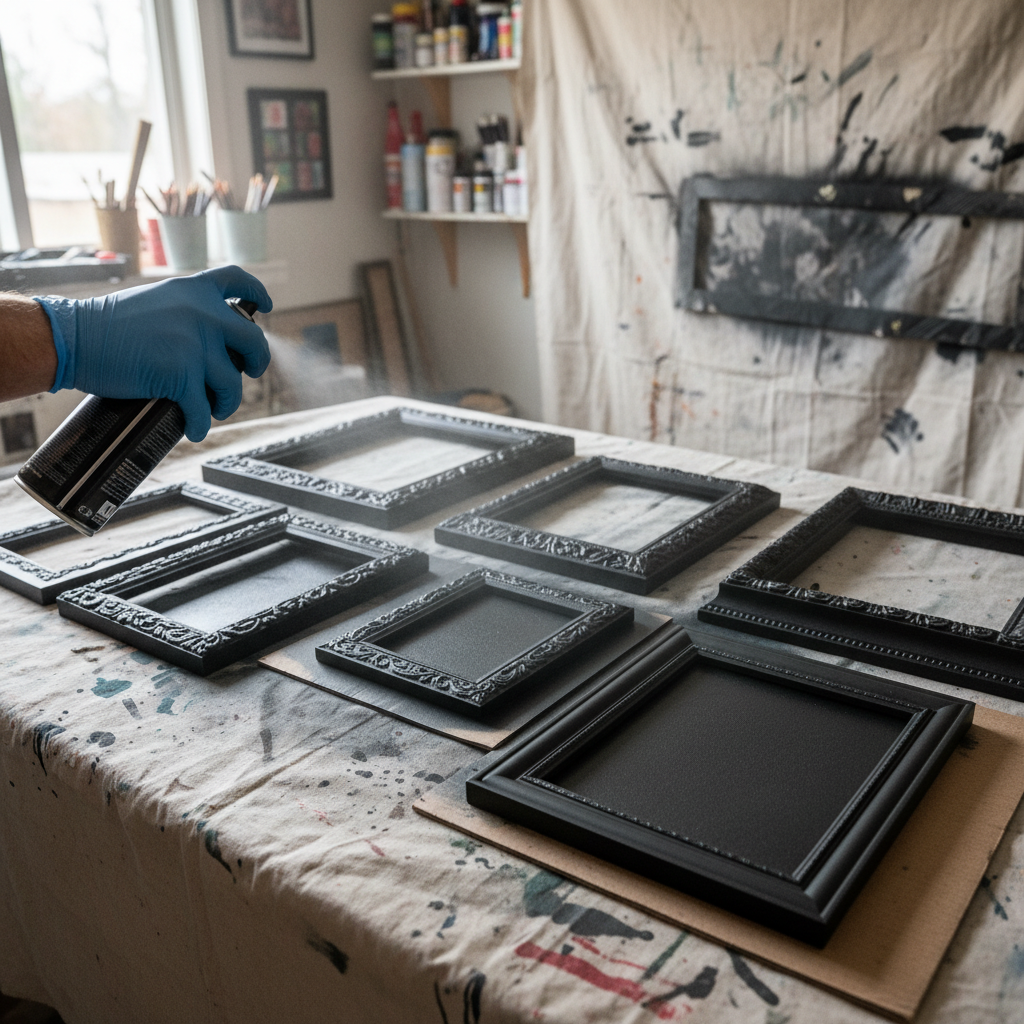
Once you have your mismatched collection of frames, it’s time for the magic. A single can of spray paint is your most powerful tool for creating a cohesive, high-end look.
- Unify with Color: Take all your different frames—ornate, modern, wood, metal—and spray paint them all the same color. A uniform matte black or a sophisticated brushed gold instantly makes the collection look intentional and curated.
- Add a Mat: A mat is the cardboard border around the art. It’s the single thing that makes art look professionally framed. You can buy pre-cut mats at any craft store. A large mat with a smaller art opening creates visual breathing room and makes the whole piece look more important.
- Ditch the Glass (Sometimes): For prints that mimic oil paintings (like your public domain downloads), try framing them without the glass. This eliminates glare and makes the print look more like an actual canvas painting.
Scam Warning: Beware of flimsy, plastic frames with a thin plexiglass front instead of real glass. They feel light, scratch easily, and have a noticeable glare that screams ‘cheap.’ Always look for frames with a bit of weight and real glass for that authentic, expensive feel.
The Step-by-Step Build: From Digital File to Stunning Wall
Alright, you’ve got your art, your prints, and your souped-up frames. It’s go time. Here’s the assembly line process to take you from a pile of parts to a finished gallery wall.
- Curate & Download: Finalize your art selections. Try to get a mix of styles that work together—maybe a line drawing, an abstract painting, a landscape photo, and a vintage sketch. Download the highest-resolution files.
- Print Your Pieces: Whether at home or at a print shop, get your art printed on your chosen paper. Remember: high-quality settings are a must. Don’t rush this step.
- Prep Your Frames: Clean your frames thoroughly. If you’re painting them, do it now in a well-ventilated area. Apply 2-3 light coats for the best coverage. Let them dry completely.
- Assemble the Art: Carefully open the back of your frames. Clean the inside of the glass. Place your mat in, then position your art print behind it. Use a tiny piece of tape on the back to hold the print in place against the mat so it doesn’t shift. Secure the backing, and you have a finished piece of art.
- Plan Your Layout on the Floor: Before you put a single nail in the wall, lay all your framed pieces out on the floor. Arrange them, move them around, and play with the spacing until you find a layout you love. A good rule of thumb is to keep 2-3 inches of space between each frame.
- Trace & Tape to the Wall: This is the ultimate pro hack. Take craft paper or old wrapping paper and trace each frame onto it. Cut out the paper templates. Then, using painter’s tape, tape these paper templates to the wall in the exact arrangement you finalized on the floor. You can live with it for a day or two to make sure you love the placement.
- Hang Your Art: Once you’re happy with the paper layout, it’s time to hang. For each piece of paper, hammer your nail or hook directly through the paper where the frame’s hook will be. Then, tear the paper away, and you have a perfectly placed nail. Hang your art, step back, and admire your masterpiece.
The Math: Why This Hack Crushes Retail Prices
Still not convinced this is one of the best frugal hacks out there? Let’s break down the numbers. Talk is cheap, but the savings here are massive. We’ll compare creating a 6-piece gallery wall using our method versus buying a pre-curated set from a popular high-end home decor store.
| Item | High-End Retail Cost | DIY Hacker Cost |
|---|---|---|
| 6 x Framed Art Prints (Avg. $120/each) | $720.00 | N/A |
| 6 x Digital Art Files (Public Domain/Free Sites) | N/A | $0.00 |
| 6 x Thrifted/IKEA Frames (Avg. $5/each) | N/A | $30.00 |
| 1 x Can of Spray Paint | N/A | $8.00 |
| 6 x Sheets of Matte Cardstock (Printed at Staples, Avg. $2/each) | N/A | $12.00 |
| 6 x Pre-Cut Mats (Avg. $4/each) | N/A | $24.00 |
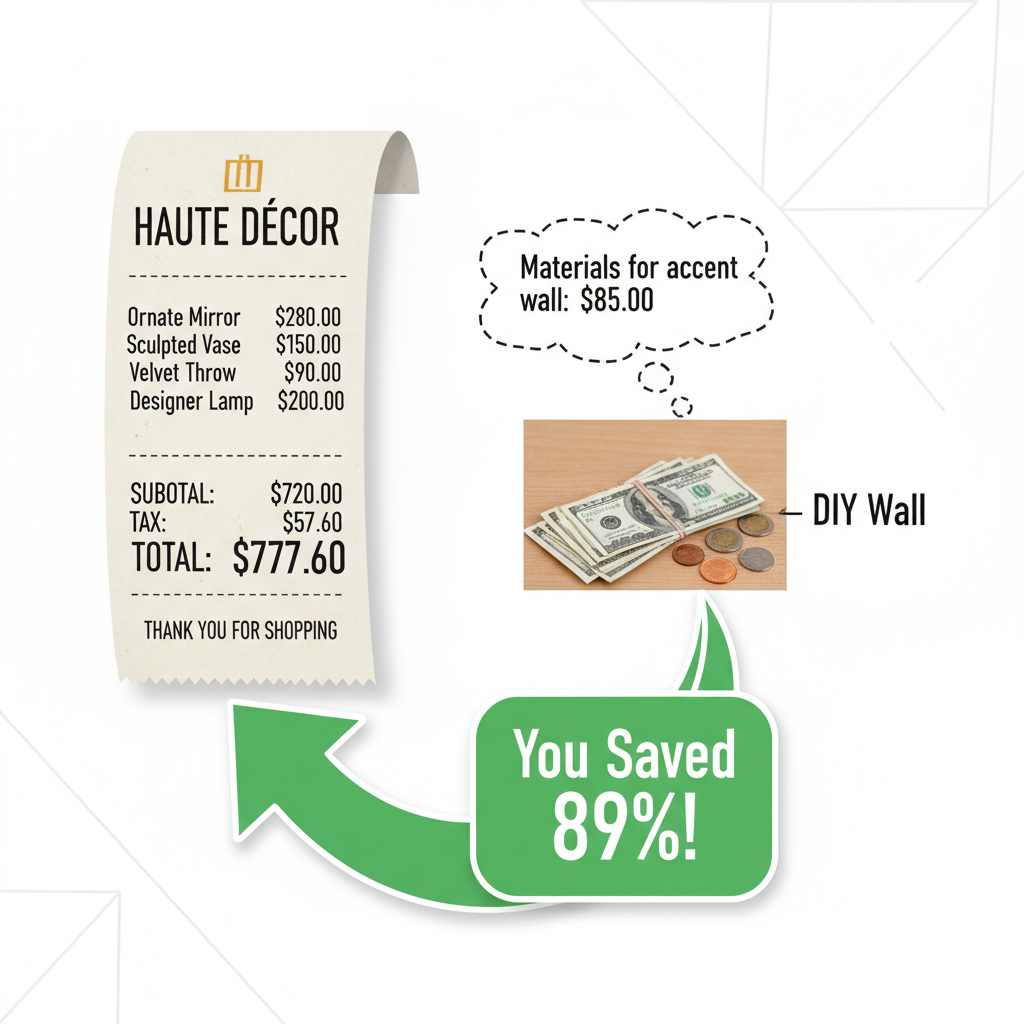
| TOTAL COST | $720.00 | $74.00 |
| TOTAL SAVINGS | $646.00 (An 89% Savings!) | |
Look at that. You are getting the exact same high-impact, wall-filling result for less than the price of a single framed print from a retail store. You’re not just saving a little money; you’re saving a staggering $646. That’s money you can put toward debt, savings, or another side hustle. This isn’t about being cheap; it’s about being smart with your money and refusing to pay an outrageous markup for something you can create yourself. The sense of accomplishment you’ll feel is just a bonus.
Conclusion
There you have it. The complete playbook to creating a gallery wall that looks like it was curated by a professional designer, for the price of a few pizzas. You’ve learned where to source limitless art for free, how to make cheap materials look expensive, and the step-by-step process to bring it all together. No more staring at blank walls and wishing you had a bigger budget. You have the skills and the strategy now.
This is what frugal hacking is all about: identifying what you want, figuring out what it’s *really* worth, and finding a smarter way to get it. You just unlocked a new level of home decor, and you did it by being resourceful and creative. Now go build something beautiful.