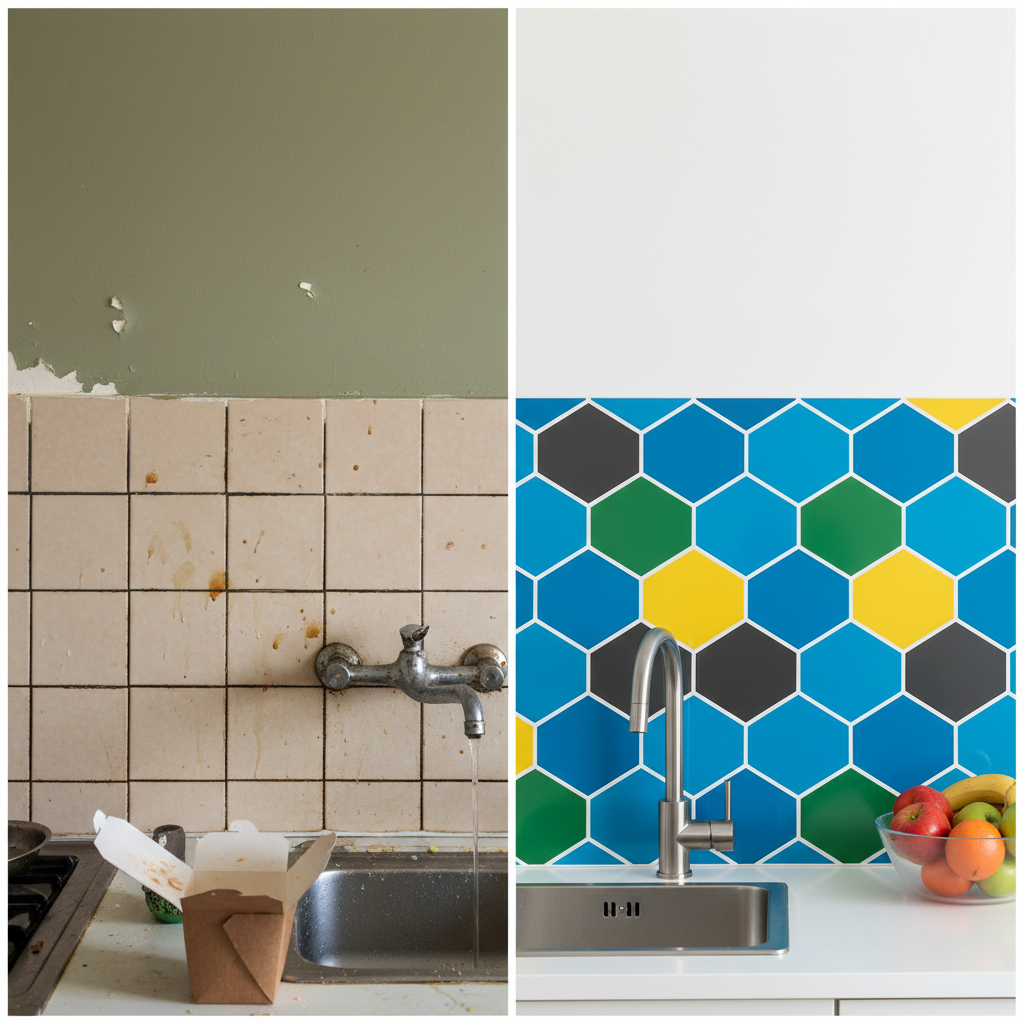
Kitchen Makeover: Installing Peel and Stick Backsplash Like a Pro (Renter Friendly)
Let’s be real: staring at a bland, uninspired kitchen wall every day is a soul-crusher. You see those glossy magazine kitchens and think, ‘Not in my rental.’ You’re convinced you’re stuck until you can buy your own place. Wrong. That’s the kind of thinking that keeps you from living in a space you love. The game has changed, and the secret weapon is peel-and-stick backsplash. This isn’t your grandma’s flimsy contact paper. We’re talking about high-quality, 3D tiles that look and feel like the real deal—ceramic, stone, or glass—without the cost, the mess, or the commitment. It’s the ultimate hack for renters, budget-conscious homeowners, and anyone who wants a massive visual upgrade in an afternoon. This guide isn’t just about sticking tiles on a wall; it’s about reclaiming your space and doing it like a pro, on a shoestring budget. Get ready to transform your kitchen from ‘meh’ to magnificent.
The Lowdown: Why Peel and Stick is Your Ultimate Kitchen Hack
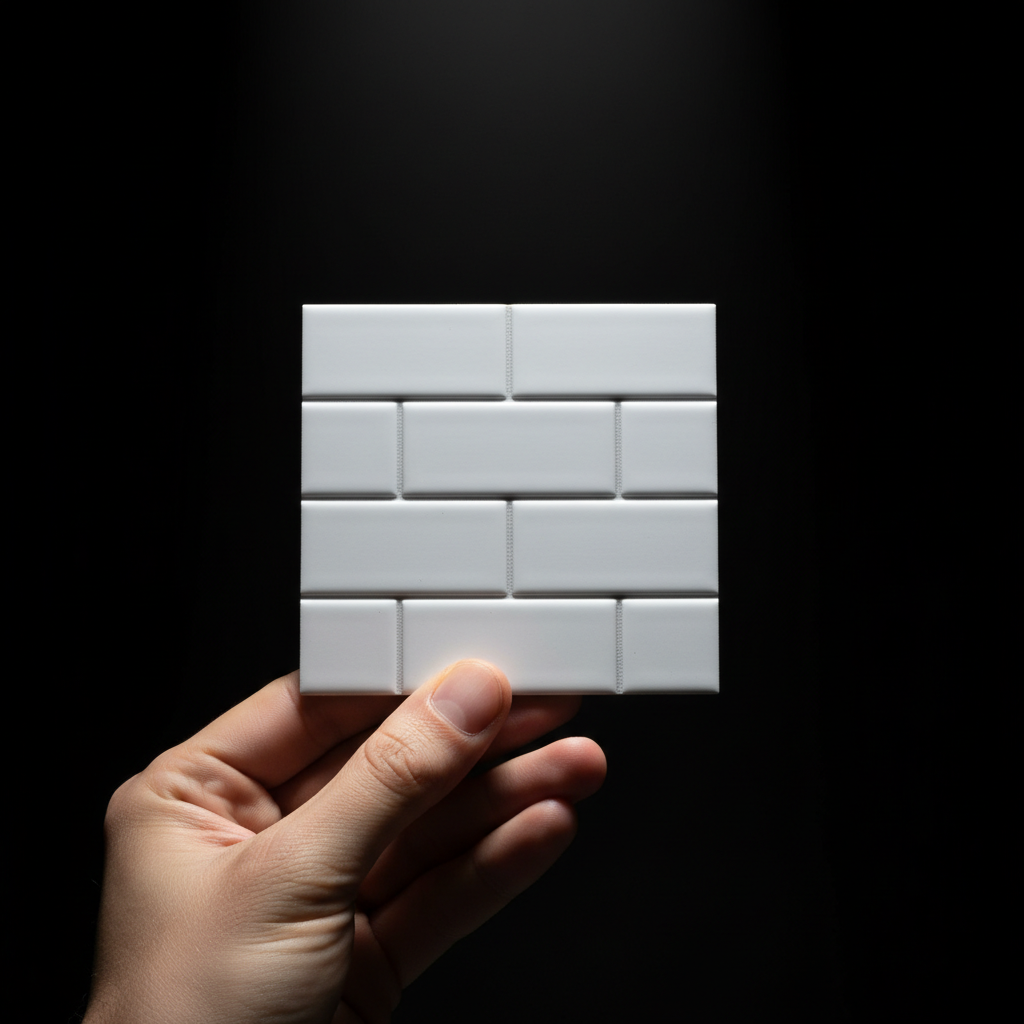
Before we get our hands dirty, let’s talk strategy. Why is this the smartest move for your wallet and your walls? Forget everything you think you know about ‘stickers.’ Modern peel-and-stick tiles are a whole different beast. They’re durable, heat-resistant, water-resistant, and designed to fool even the most critical eye. This is a high-impact, low-risk upgrade that puts you in control.
The Big Wins:
- Budget-Friendly Badassery: We’re talking a fraction of the cost of traditional tile. You get the high-end look without the high-end price tag. More money in your pocket for other hustles.
- Renter’s Paradise: The best part? It’s completely removable. When it’s time to move out, you can peel it off without damaging the wall behind it. Say goodbye to losing your security deposit over home improvements.
- Instant Gratification: A traditional backsplash job can take days of messy, dusty work. You can knock this project out in a single afternoon. Go from drab to fab between lunch and dinner.
- Zero Experience Needed: You don’t need to be a contractor. If you can use a ruler and a utility knife, you have all the skills required to pull this off flawlessly. No grout, no thin-set mortar, no tile saws. Just peel, stick, and admire.
The Arsenal: Gathering Your Tools for a Flawless Finish
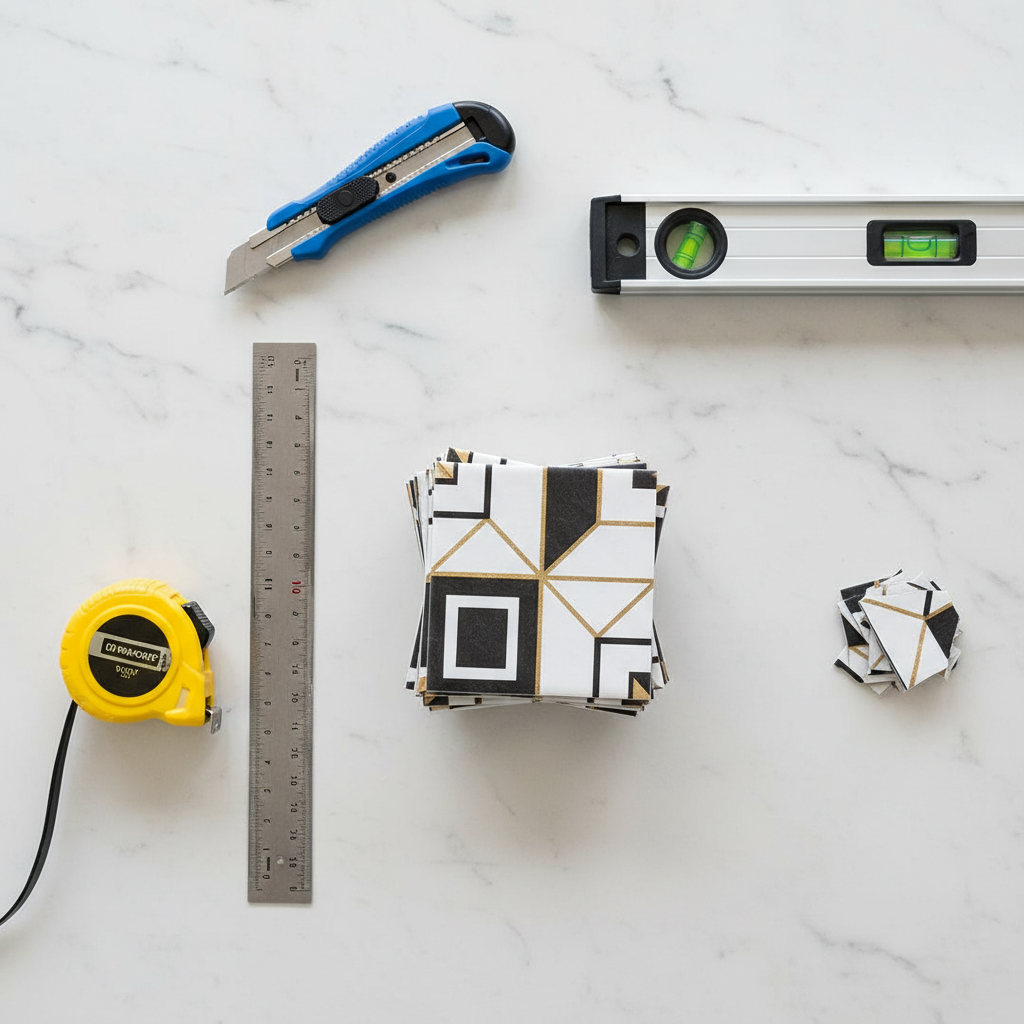
Walking into a battle unprepared is a rookie mistake. A pro finish comes from having the right tools on deck before you even peel the first tile. The good news is you probably have most of this stuff already. No need to drop a ton of cash on specialized equipment. This is your pre-installation checklist. Get it all together first, and the rest is smooth sailing.
Your Must-Have Gear:
- Peel-and-Stick Tiles: The main event. Order about 10-15% more than your measurements call for. This covers you for any ‘oops’ cuts or tricky angles.
- Degreasing Cleaner: A clean surface is non-negotiable. Grease and grime are the enemies of adhesion. A simple solution of dish soap and water or a dedicated TSP (trisodium phosphate) substitute works perfectly.
- Measuring Tape: Measure twice, cut once. This is the mantra. Accuracy is your best friend.
- Utility Knife or Box Cutter: A sharp blade is crucial for clean, straight cuts. Have extra blades on hand.
- Level: Don’t trust your eyes or your countertops. A level ensures your first row is perfectly straight, which sets the foundation for the entire project.
- Straight Edge or Ruler: Use a metal ruler for guiding your utility knife. It gives you a much cleaner cut than freehanding it.
- Cutting Mat (Optional but recommended): Protects your countertops from your super-sharp utility knife.
The Cost Breakdown: DIY Hack vs. Professional Hit

This is where the frugal magic really happens. Seeing the numbers in black and white proves that this DIY project isn’t just about aesthetics; it’s a massive financial win. Let’s break down the cost for a typical 20-square-foot kitchen backsplash area. The difference is staggering and shows why taking the DIY route is a no-brainer for any side hustler or budget-conscious shopper.
| Item | DIY Peel & Stick | Professional Traditional Tile |
|---|---|---|
| Tiles / Materials | Approx. $100 – $200 (for 20 sq. ft. + 10% overage) | Approx. $150 – $400 (tile, grout, mortar, sealant) |
| Tools | Approx. $20 – $30 (if you don’t own them already) | Contractor brings their own |
| Labor | $0 (Your time and a little elbow grease) | Approx. $500 – $1000+ (depending on location and complexity) |
| Total Estimated Cost | $120 – $230 | $650 – $1400+ |
| SAVINGS | You save a minimum of $500 and potentially over $1,000! | |
The Playbook: Your Step-by-Step Installation Guide
Alright, it’s go time. We’ve prepped, we’ve planned, and now it’s time for the fun part. Follow these steps exactly, and you’ll have a backsplash that looks so good, your friends will be begging you to do theirs next (hello, new side hustle?). Don’t rush. Put on some music, take your time, and enjoy the process.
-
Step 1: The Deep Clean
This is the most critical step. If your wall isn’t perfectly clean, your tiles won’t stick properly. Use your degreasing cleaner and a sponge to scrub down the entire area. Pay extra attention to the area behind the stove. Once clean, wipe it down with a damp cloth and then let it dry completely. We’re talking bone-dry. Don’t skip this.
-
Step 2: Plan Your Attack
Don’t just start sticking from one end. Find the center of your main wall and draw a light pencil line using your level. This will be your starting point. Doing a ‘dry fit’ by laying out some tiles on the counter helps you visualize how they’ll interlock and where you’ll need to make cuts.
-
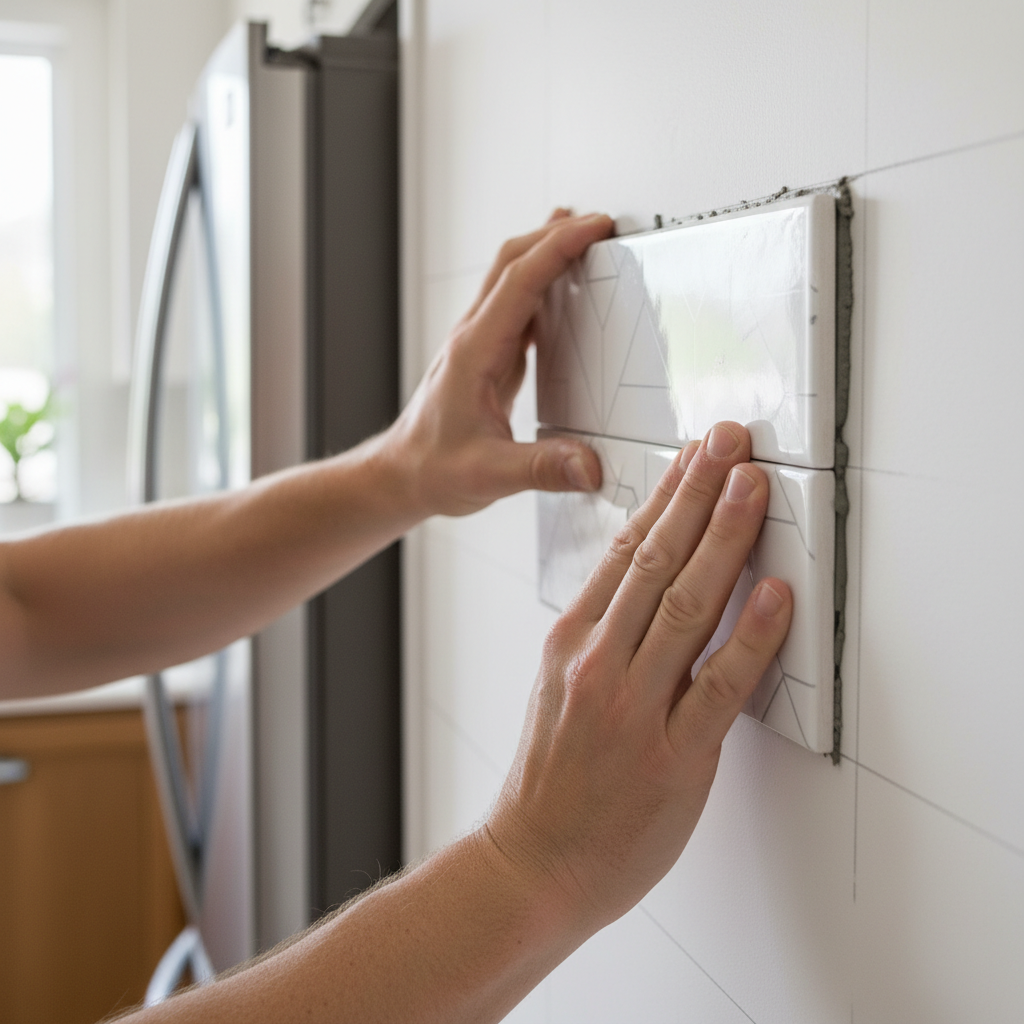
Step 3: The First Tile is Everything
Using your level, draw a perfectly straight horizontal line where the bottom of your first row of tiles will sit. Peel the backing off your first tile, line it up with your center and level lines, and press it firmly onto the wall. Press across the entire surface to ensure a strong bond.
-
Step 4: Build Your Foundation
Work your way out from that first center tile. Overlap the tiles according to the manufacturer’s instructions (they usually have a small ‘overlap here’ section). This is what makes the seams disappear and look like real grout lines. Press each tile firmly into place.
-
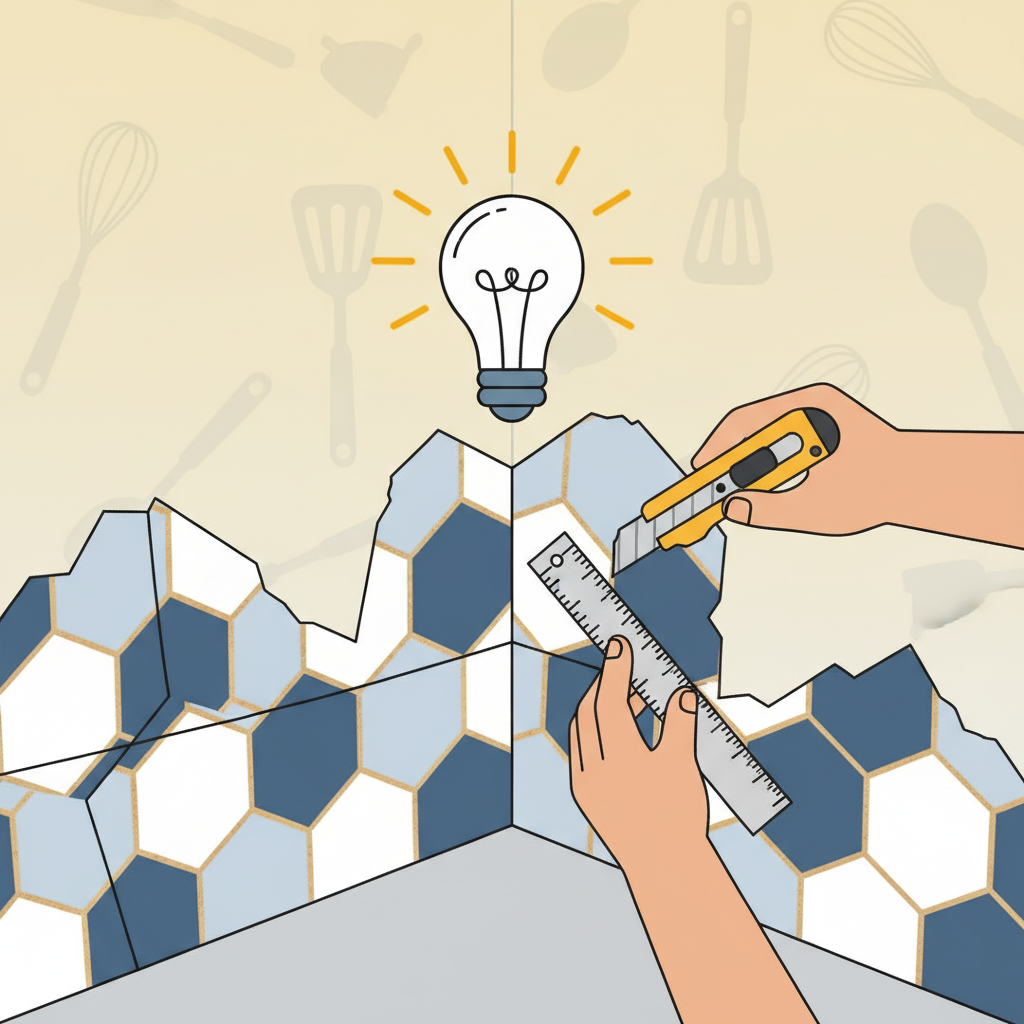
Step 5: Master The Cuts
When you reach a corner or an outlet, it’s time to cut. Measure the space carefully. Mark your tile with a pencil. Place the tile on your cutting mat, line up your straight edge, and press down firmly with your utility knife. It may take a couple of passes to get a clean cut. For outlets, measure and draw the box you need to cut out, then carefully cut along the lines. It’s better to cut a little too small at first—you can always trim more off.
-
Step 6: The Final Press
Once all the tiles are in place, go back over the entire backsplash with a clean, dry cloth or a small roller, pressing firmly one last time. This ensures every inch of adhesive has made contact with the wall. Let it cure for 24-48 hours as recommended by the manufacturer before wiping it down.
Pro Hacks & Rookie Mistakes to Dodge
Installing the tiles is one thing, but making it look like a high-end custom job is another. These are the street-smart tips that separate the amateurs from the pros. Pay attention to these, and you’ll avoid the common pitfalls that scream ‘DIY job’.
Key Rules for a Flawless Look:
- Acclimatize Your Tiles: Don’t install tiles straight out of the box, especially in winter or summer. Let them sit in the room for at least 24 hours to get used to the temperature and humidity. This prevents peeling and shrinking later.
- Caulk the Edges: For a truly professional, built-in look, run a thin bead of clear or paintable caulk along the bottom edge where the backsplash meets the countertop, and along any exposed outer edges. It’s a small step that makes a huge difference.
- Heat it Up: Some pros swear by this trick. After applying a tile, gently warm it with a hairdryer and press down again. This can help the adhesive create an even stronger bond with the wall.
Scam & Mistake Warnings:
Warning: Don’t stick these on freshly painted walls! Your paint needs to cure for at least 3-4 weeks. If you apply tiles too soon, the adhesive could bond with the uncured paint and peel it right off when you try to remove it later. Patience is key.
Warning: Avoid heavily textured walls. Peel and stick works best on smooth, flat surfaces. If you have a bumpy or ‘orange peel’ texture, the tiles won’t adhere properly and you’ll see the bumps through them. You may need to sand the wall smooth or install a thin panel of hardboard first.
Conclusion
And there you have it. You just pulled off a professional-grade kitchen makeover for less than the cost of a fancy dinner out. You didn’t just add some tiles to a wall; you took control of your environment, added value to your space, and did it all on your own terms. That’s the power of a good hack. Every time you walk into your kitchen, you’ll have a visual reminder that you’re smart, capable, and can create a home you love without going into debt. So go ahead, admire your work. You’ve earned it. Now, what’s the next project?