7 Chest Freezer Organization Hacks To Store 6 Months Of Food Efficiently
Let’s be real. That cavernous white box in your garage or basement is supposed to be a money-saving powerhouse, not a frosty graveyard for freezer-burnt mystery meats and forgotten bags of peas from 2019. You bought it with the best intentions: to stock up on sales, buy in bulk, and get ahead of inflation. But now, finding anything in it is an arctic expedition that usually ends in frustration and a takeout order. You’re losing money, wasting food, and stressing out. It’s time to stop the chaos.
A disorganized chest freezer isn’t just an inconvenience; it’s a hole in your wallet. Every forgotten steak or lost bag of veggies is cash you might as well have thrown away. But what if you could turn that chaotic abyss into a finely tuned, money-saving machine? What if you could open that lid and see six months of food, perfectly organized, inventoried, and ready to go? You can. It’s not about buying expensive systems; it’s about being street-smart. These seven hacks are your battle plan to reclaim your freezer, dominate your grocery budget, and put your food storage on autopilot. Get ready to turn that appliance into your most valuable financial asset.
Hack #1: The Zone Defense System — Bins Are Your MVP
The number one mistake people make with a chest freezer is treating it like a single, giant bucket. You toss things in, they sink to the bottom, and they’re never seen again. The solution is simple and cheap: create zones. Stop thinking of it as one big space and start thinking of it as a filing cabinet for food. This is where bins become your Most Valuable Player.
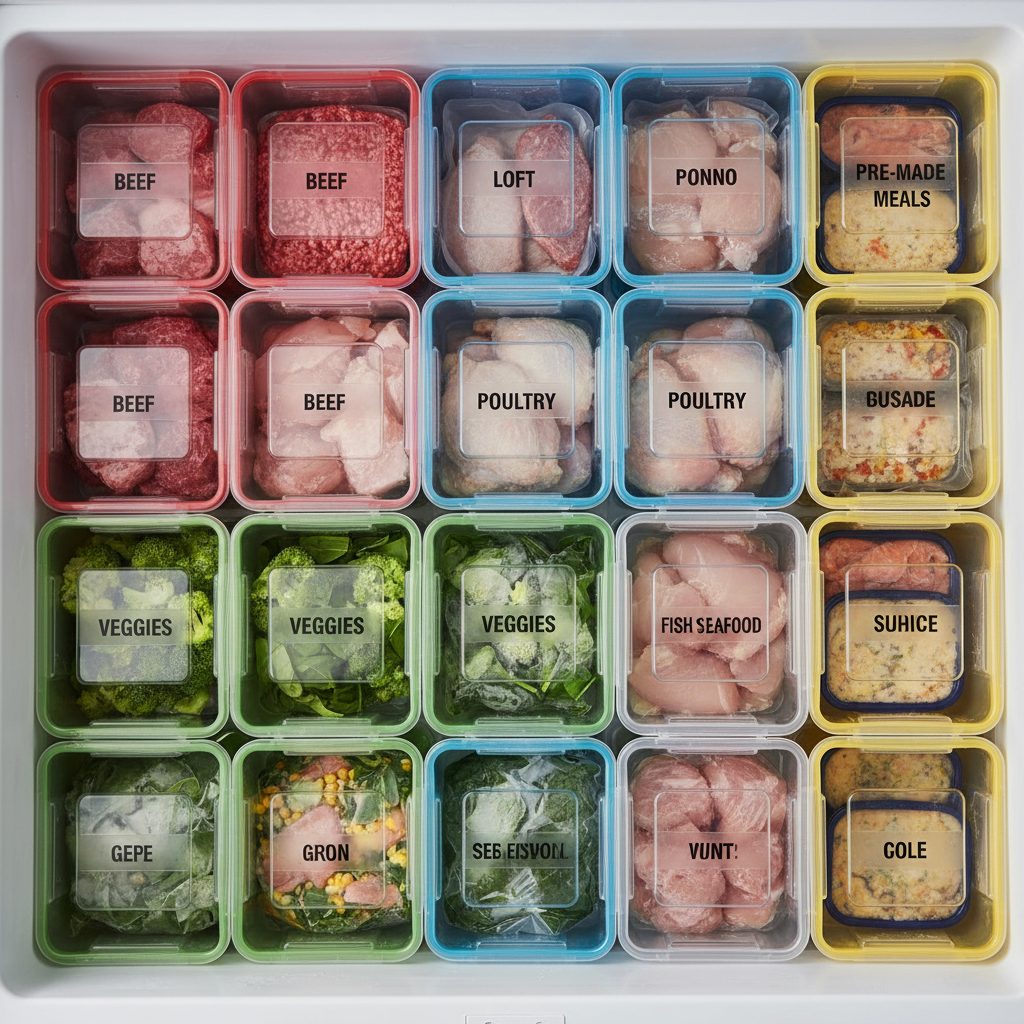
The goal is to categorize everything. You can use stackable plastic bins, wire baskets, or even sturdy reusable shopping bags. Assign a category to each container. For example:
- Bin 1: Ground Meats (Beef, Turkey, Pork)
- Bin 2: Poultry (Chicken Breasts, Thighs, Whole Chickens)
- Bin 3: Red Meat (Steaks, Roasts)
- Bin 4: Seafood
- Bin 5: Frozen Vegetables & Fruits
- Bin 6: Pre-made Meals & Leftovers
- Bin 7: Breads & Baked Goods
By containerizing your food, you eliminate the dig. Need ground beef for tacos? Just lift out the ‘Ground Meats’ bin. No more emptying half the freezer to find one package. This system not only saves you time but also prevents the delicate items at the bottom from getting crushed. You can find cheap, durable bins at dollar stores or big-box retailers. Measure your freezer’s interior dimensions before you shop to ensure a perfect fit. This single change will revolutionize your freezer experience overnight.
Hack #2: The Vertical Victory — Stop Digging, Start Stacking
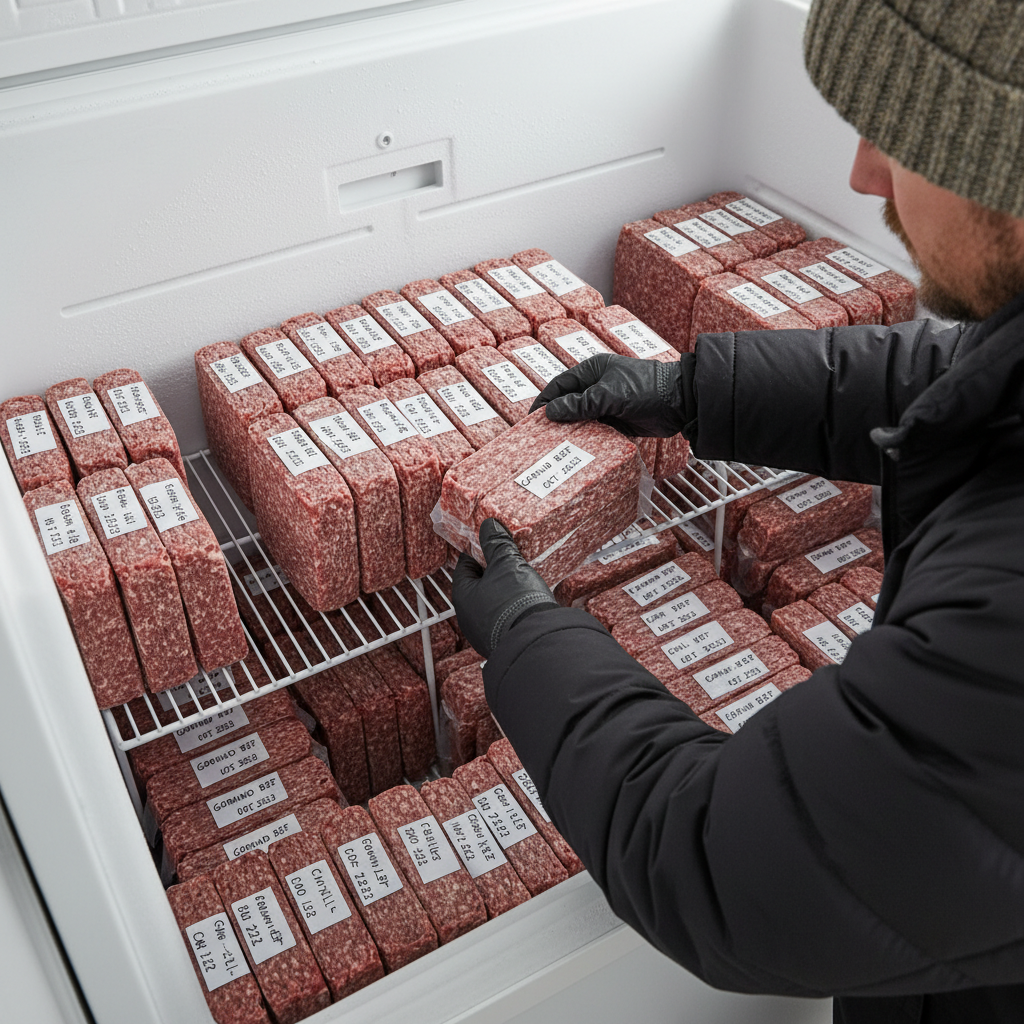
Chest freezers are deep, which means horizontal space is limited, but vertical space is abundant. The key to maximizing it is to stop thinking in lumps and start thinking in flat, stackable bricks. This is especially crucial for ground meats, soups, sauces, and anything else that can be frozen in a bag.
The Flat-Pack Technique:
- Place ground meat, chili, soup, or stock into a zip-top freezer bag.
- Squeeze out as much air as possible. For bonus points and longer-lasting food, use a vacuum sealer. This is a game-changing tool for any serious frugal foodie, preventing freezer burn for months or even years.
- Lay the bag flat on a baking sheet. This ensures it freezes in a uniform, thin shape.
- Once frozen solid, remove the baking sheet. You now have a perfect, stackable food brick.
These frozen bricks can be ‘filed’ vertically like books in a bookshelf or stacked horizontally like pancakes. You can fit three or four flat-packed pounds of ground beef in the same space that one lumpy, store-packaged container would take up. This method not only saves an incredible amount of space but also makes thawing quicker and more even. You’re not just organizing; you’re engineering your freezer for maximum capacity and efficiency.
Hack #3: The Inventory Intel — Your Freezer’s Command Center
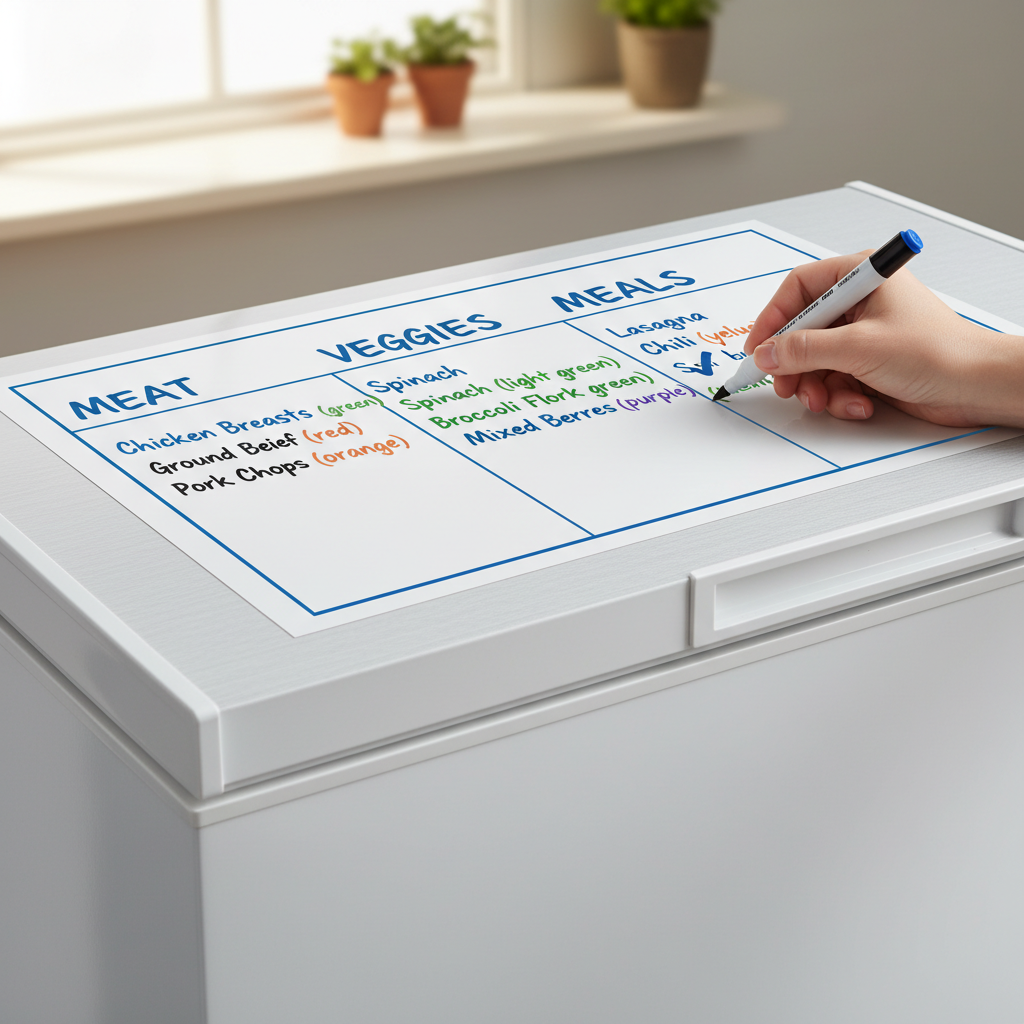
An organized freezer is useless if you don’t know what’s in it. Opening the lid and rummaging through everything to see what you have defeats the whole purpose. You need an external brain for your freezer—an inventory system. This is your command center, and it’s non-negotiable for preventing waste and avoiding duplicate purchases.
Key Rule: Nothing goes into the freezer without being logged on the inventory. Nothing comes out without being checked off.
You don’t need a complex system. Here are a few street-smart options:
- The Analog Method: A simple magnetic whiteboard or a laminated sheet of paper stuck to the freezer lid. Use a dry-erase marker to list items and quantities. Simple, cheap, and effective.
- The Digital Method: A dedicated spreadsheet using Google Sheets or Excel. You can access it from your phone while you’re at the grocery store, preventing you from buying that third bag of frozen broccoli you don’t need.
- The App Method: For the tech-savvy, apps like Cozi, OurGroceries, or dedicated freezer inventory apps can track your stock, set expiration reminders, and even help with meal planning.
Your inventory is your power. It tells you what you have, what you need to use soon, and what you can skip buying on your next shopping trip. It’s the single best tool for making sure that six-month food supply actually gets eaten.
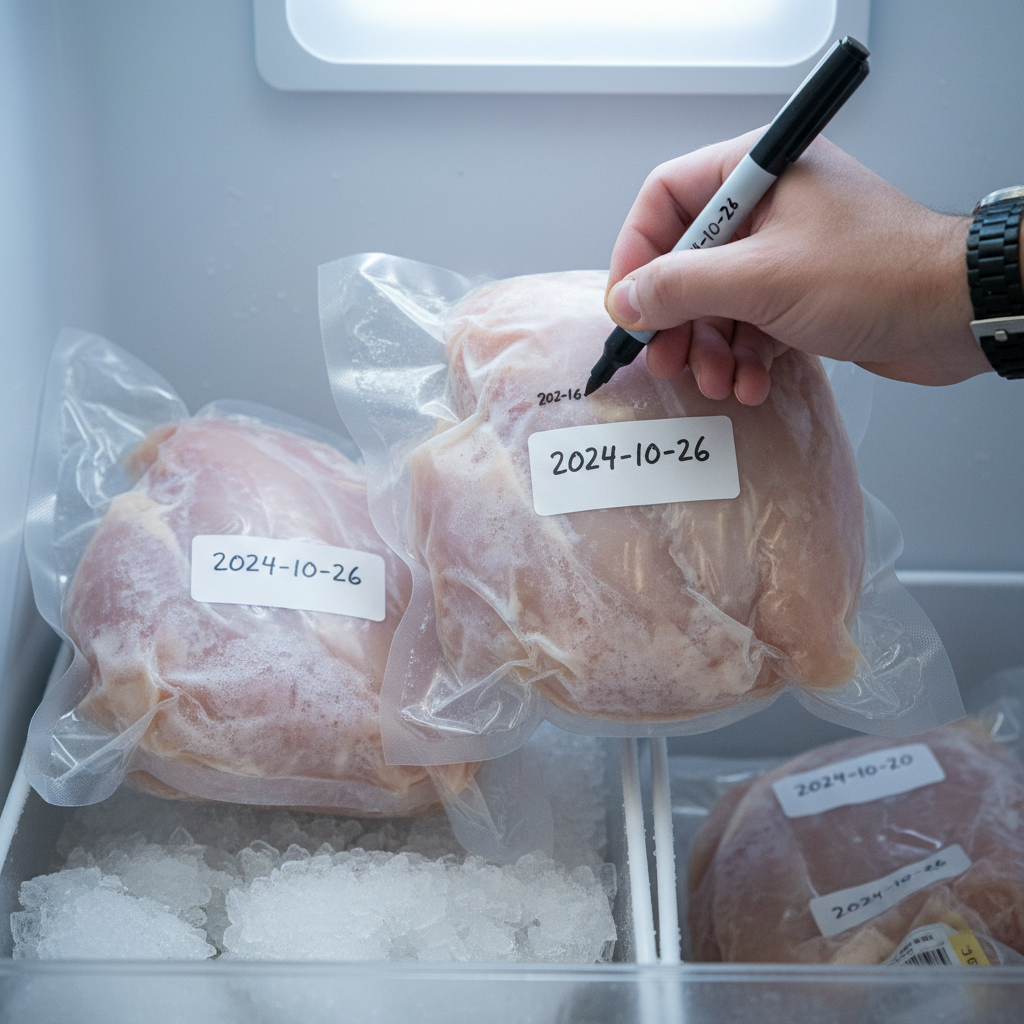
Hack #4: The FIFO Flow — Master the Stock Rotation
In the world of inventory management, there’s a golden rule: FIFO, or ‘First In, First Out.’ The food that you put in first should be the food you take out first. This simple principle is the ultimate weapon against freezer burn and food waste. It ensures that older items are constantly being rotated to the front and used before they expire.
How do you implement FIFO without creating a logistical nightmare? It’s easier than you think. When you add new items, simply place them at the back or bottom of their designated bin. The older items should always live at the front or top, in plain sight.
Practical FIFO Strategies:
- Date Everything: Before anything enters the freezer, grab a permanent marker and write the date on it. Not the date you bought it, but the date you’re freezing it. This removes all guesswork.
- The ‘Use First’ Bin: Designate one smaller, brightly colored bin near the top of the freezer as the ‘Use First’ bin. When you notice an item is getting old or you have an excess of something, move it to this bin. When you’re planning meals, you’re visually prompted to shop from this bin first.
- Color-Coded System: For the super-organizers, use different colored labels or zip ties for different months or quarters. For example, all items frozen in January-March get a red label, April-June get a blue one, and so on. This allows you to see at a glance what your oldest stock is.
Mastering FIFO transforms your freezer from a passive storage unit into an active, dynamic part of your kitchen that constantly saves you money.
Hack #5: The DIY Divider Domination — Hack Your Space for Pennies
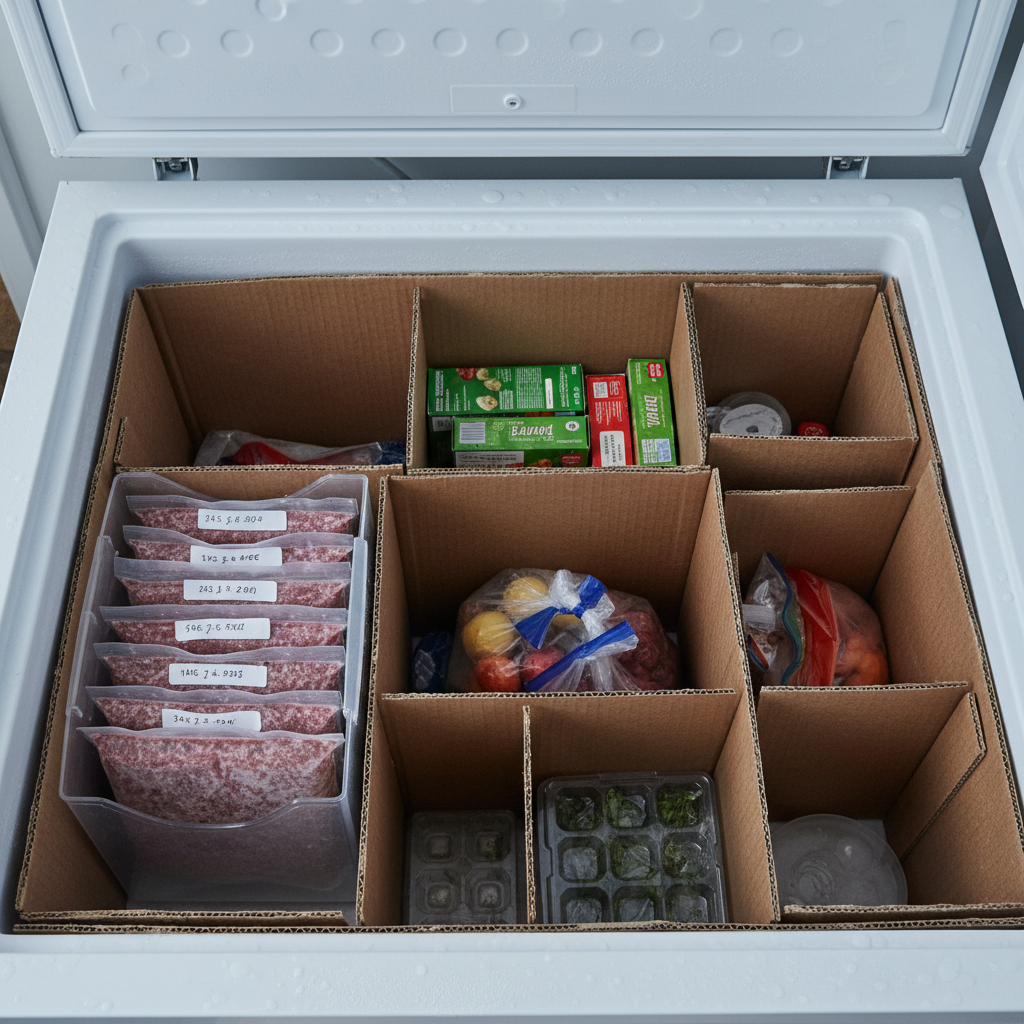
You don’t need to drop $100 on fancy, custom-fit freezer organization systems. You’re a frugal hacker, and your best tools are resourcefulness and creativity. You can create a perfectly customized divider system for your exact needs using stuff you probably already have or can get for next to nothing.
The goal is to create rigid ‘walls’ inside your freezer to keep your zones and stacks from collapsing into a jumbled mess. Think outside the (expensive) box:
- Cardboard Boxes: The ultimate free resource. Find sturdy cardboard boxes from shipments or grocery stores. Cut them down to fit the height and width of your freezer to create custom compartments. They work surprisingly well in the dry, cold air.
- Tension Rods: The same spring-loaded rods you use for curtains can be used vertically or horizontally in your freezer to create instant, adjustable dividers that hold bins and stacked items in place.
- Plastic Magazine Holders: Those cheap plastic files from the office supply store are the perfect shape and size for ‘filing’ your flat-packed food bricks.
Why pay a premium for plastic when you can get the same result for pennies? This is about making your resources work for you. Check out how the savings stack up:
| Organization Tool | DIY Cost | Store-Bought Cost | Potential Savings |
|---|---|---|---|
| Large Freezer Dividers (Set of 2) | $0.00 (Upcycled Cardboard) | $30.00 | $30.00 |
| Stackable Bins (Set of 4) | $5.00 (Dollar Store Bins) | $25.00 | $20.00 |
| Vertical File Organizers | $0.00 (Repurposed Office Supplies) | $15.00 | $15.00 |
By going the DIY route, you’re not just saving money upfront; you’re creating a system that’s perfectly tailored to the food you actually buy and store.
Hack #6: The Flash Freeze Foundation — Stop the Clump
Ever tried to grab a handful of frozen berries or chicken wings, only to find they’ve fused into a single, unbreakable ice boulder? This happens when you dump fresh, wet items into a bag and throw them straight into the deep freeze. The solution is a quick pre-freeze step called ‘flash freezing’.
This technique ensures every individual piece freezes separately, allowing you to grab exactly the portion you need without a chisel. It’s a pro move that makes your stored food infinitely more usable.
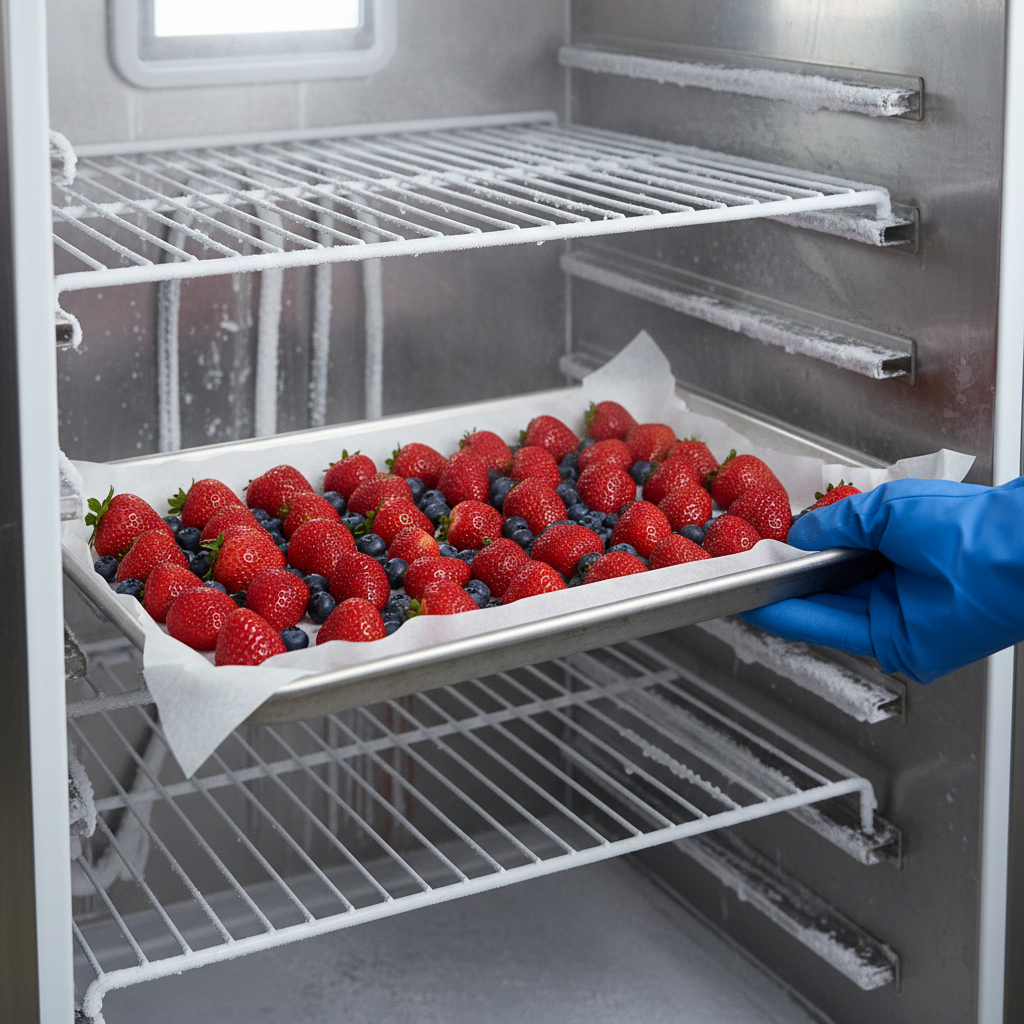
How to Flash Freeze:
- Line a baking sheet with parchment paper or a silicone mat. This is critical to prevent sticking.
- Spread your food items in a single layer on the baking sheet. Make sure the individual pieces aren’t touching. This works for berries, fruit slices, chicken nuggets, meatballs, shrimp, chopped veggies—anything small.
- Place the baking sheet flat in your freezer for 1-2 hours, or until the items are frozen solid.
- Once solid, you can transfer the individually frozen items into a larger freezer bag or container.
Now, when you need a cup of blueberries for a smoothie or four chicken wings for the air fryer, you can just pour them out. No more defrosting an entire ice block for a small portion. This simple, extra step saves you time, reduces food waste from unused portions, and makes your freezer stash way more convenient.
Hack #7: The Grab-and-Go Goldmine — Build Your Own Meal Kits
This is the ultimate power move for busy side-hustlers and budget-conscious families. You’re not just storing ingredients; you’re pre-assembling future meals. This saves you an incredible amount of time and mental energy on chaotic weeknights and makes you far less likely to give in to expensive takeout.
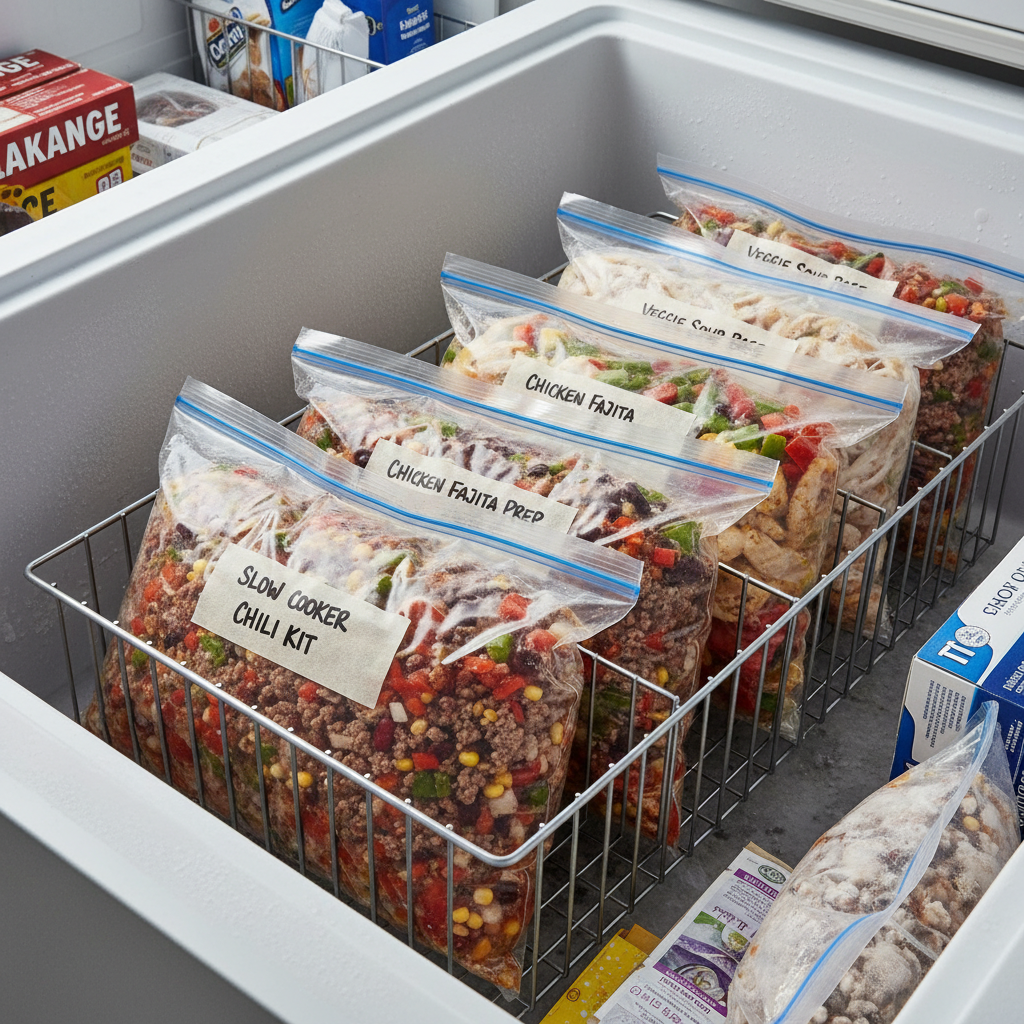
Think of it as creating your own high-end, frozen meal kits. Get large, gallon-sized freezer bags and label them with the meal and cooking instructions.
Meal Kit Ideas:
- Slow Cooker Chili Kit: Combine a flat-packed pound of cooked ground beef, a bag of frozen chopped onions and peppers, a bag of frozen corn, and a small bag of chili spices. On cooking day, just dump it all in the slow cooker with a can of tomatoes and beans.
- Stir-Fry Kit: Combine sliced chicken or beef, broccoli florets, sliced carrots, and snap peas. Store a small container of stir-fry sauce separately.
- Smoothie Packs: In individual-serving bags, combine a handful of spinach, mixed berries, a scoop of protein powder, and half a banana. Just add liquid and blend.
Dedicate one bin in your freezer to these ‘Grab-and-Go’ kits. When life gets hectic, you have a pre-built, cost-effective meal ready to go. You’ve done the work upfront, and now you get to reap the rewards. This isn’t just organization; it’s a strategy for buying back your time and protecting your budget.
Conclusion
Your chest freezer is more than just an appliance; it’s a strategic asset in your fight against inflation and food waste. It’s a tool that, when wielded correctly, can save you hundreds, if not thousands, of dollars a year. Stop letting it be a source of chaos and start making it work for you. By implementing these seven street-smart hacks—from the Zone Defense to Grab-and-Go meal kits—you’re not just organizing a metal box. You’re taking command of your food supply, your time, and your budget.
An organized freezer is a declaration that you’re in control. It’s a system that pays you back every single day in saved time, reduced stress, and more money in your pocket. So go on, grab some bins, a marker, and a roll of freezer bags. It’s time to hack your freezer and unlock its true money-saving potential.